Heading out the door? Read this article on the new Outside+ app available now on iOS devices for members! Download the app.
In her monthly column, The Survivalist, Jessie Krebs writes about self-care and safely getting out of the occasional rough backcountry scenario. Krebs is a former Air Force S.E.R.E (survival, evasion, resistance, and escape) instructor and owner of O.W.L.S. Skills.
I have a confession: I don’t particularly like backpacking despite having done it as part of my career and for most of my life. What I do like is getting into areas that others balk at due to time, effort, and lack of experience. I like getting to where backpacking takes me, but I’m not a fan of the act itself. Carrying an extra 20 to 80 pounds isn’t something most of us happily sign up for. However, we can make it easier on ourselves.
In the military, I learned and later taught various methods and principles around carrying loads. Over thousands of miles and decades on the trail, I’ve gotten pretty good at carrying heavy weight in the form of a backpack or a burden (anything you carry that isn’t a pack, like an injured person needing evacuation).
These principles come in handy in survival situations, where you may need to move loads like supplies, water, or an injured person without the proper tools to do so. Many people have left critical gear behind when leaving a stranded vehicle, or they ditch crucial supplies because they didn’t want to or know how to carry them. Far too often, they pay for the lack of preparation later. Let’s learn from their mistakes with these burden-carrying techniques.
How To Carry Heavy Items
People all around the world carrying large burdens in baskets on their heads know what’s up. While maintaining straight posture with a level head, this is one of the most effortless ways to carry heavy items. The weight is pushing directly down, not forward, sideways, or back. This method can be essential for hikers, too, who need to carry firewood, fuel, or water jugs over long distances. On trails or in open areas, it’s easier to manage this weight on your head than carrying it in your arms or in a backpack. The hardest part of this technique is getting the bundle up and down from your head, and even harder in moderate to dense foliage. Using clothing as padding between the top of your head and the load really helps with comfort.
Where To Arrange Weight In A Pack
Carrying additional weight on your head keeps your spine aligned and creates the least amount of strain on the body. Packing the weight higher is the closest we can get to this ideal while wearing a pack. However, this also gives us a high center of gravity, making us top-heavy and more susceptible to falling. If you’re an experienced hiker or traversing easy terrain, falling is unlikely, so pack the heavy items high near your neck and head where just a small lean forward balances the weight easily over your feet. For difficult terrain and/or novice hikers, heavy items should be low and close to the lumbar to lower the center of gravity, increasing stability.
In rough terrain, technical trails, bushwhacking sections, river crossings, or if you’re injured, weak, or sick, a high center of gravity could be deadly. In these situations, pack the heavy stuff low. Play with this concept in different terrain to see what works for you. Always pack the weight as close to your spine as possible, whether high or low, and balance it as best you can side to side.
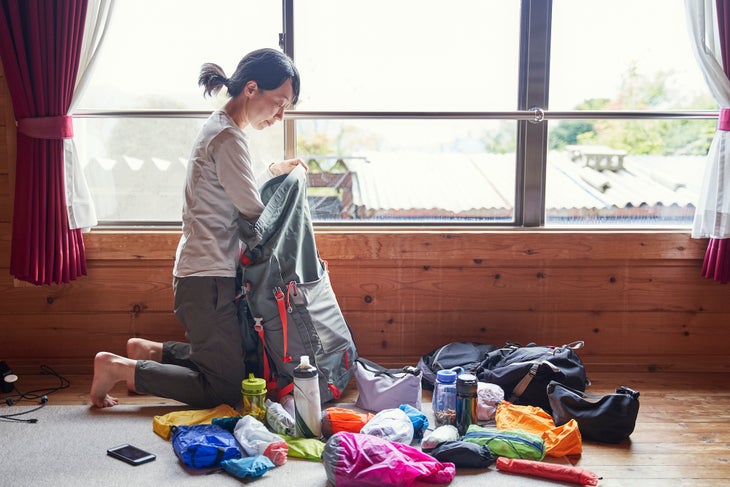
Pack Tight
While working in wilderness therapy, I’d frequently have new staff marvel at my small, compact, heavy pack. Theirs would often be twice the size, sticking up sometimes almost a foot over their heads and hanging halfway down their thighs, all while weighing less than mine. Having a compact pack is much easier to carry and manage. Imagine having to carry a bulky sleeping bag through the woods that’s hard to see around, catches onto tree branches, and slips on the ground, versus a rock of the same weight. Which will be easier to carry and manage?
Items belong in your pack, not dangling or hanging from the outside. Every time an item sways, micro-muscles all over your body compensate for it. This also means packed water bottles should be completely full, empty, or in a flexible container with the air squeezed completely out.
How To Adjust And Size Your Pack
No matter if I bought the backpack or built it myself, I want a pack that from the waist belt to the top of the shoulder strap is at least 6 inches longer than I am from the top of my hip bone to the top of my shoulder. This allows me to put most of the weight on my waist belt without pushing down on my shoulders. When I’m wearing a pack, the only pressure I feel in the shoulder straps should be at the front, not the top.
Sometimes store-bought backpacks aren’t very useful in survival situations when you need to carry heavy items—like people—or need to move efficiently. Here are some ways to improvise while managing burdens on the trail.
Horseshoe Blanket Roll
Want to keep a fairly small amount of gear wrapped up tight? Time to learn the Horseshoe blanket roll. Making it requires a piece of reasonably sturdy material (tarp, poncho, blanket, sheet, heavy duty garbage bag, etc.) at least 2.5 by 5 feet, and 10 to 20 feet of cord (I use military grade paracord). Roll your items inside, then tie the ends together to form a horseshoe shape. Drape the roll across your body, supported on one shoulder and resting diagonally on the opposite hip.
If you want to pack your water and easy-access items, be sure to tie the end knots in a way that can be untied easily. Consider packing heavy items on the two ends so that the softer middle sits on your shoulder and keeps your center of gravity low. You can also put lightweight, easy-access items inside the hood area (if using a poncho) after the pack is rolled. This can be useful when you need just a couple of items on-hand.
“C” Pack
What I’ve used most in the field is a variation of a blanket pack, or what we called a “C” (short for construction) pack in wilderness therapy. For this method, which works best with weights between 30 and 70 pounds, use your tarp or blanket to wrap your gear into a long rectangular shape. To size it properly, the long side should be at least a foot longer than the wearer is from hip to top of shoulder. This is because shoulder and waist straps are attached to the line tying the pack together, and those will be a few inches from the top and bottom of the pack. Plus, there is a bit more sag in construction packs, and once it’s on, you’ll want to be able to take the weight off your shoulders.
You’ll need a large piece of sturdy material (I usually have an 8 by 10 tarp that also acts as my shelter), about 25 feet of cord, and preferably wide material to use for shoulder straps and a waist belt. Two-inch webbing is ideal, and you’ll want 6 to 8 feet for the shoulder straps (one piece that will be doubled to create both straps), and about 3 to 5 feet for a waist belt that can be continuous (an additional length on the shoulder straps), or a separate piece. A person should be pretty confident in their knot craft to make this type of pack successfully.
Tumpline and Travois
A tumpline can be a simple and effective way to carry or redistribute the weight of burdens in emergency situations. Early Canadian explorers and fur traders used this method when they needed to carry heavy gear or large bundles of fur through the backcountry. In this method, a wide strap is placed high on the forehead that supports a load—such as firewood—carried against the back. It pulls down and slightly backwards on the head, so it’s similar in concept to carrying bundles on the top of the head, but lowering the center of gravity since the bundle is usually nestled near the lumbar of the back.
Have an exceptionally large load to bear, such as an injured friend you want to move to a safer location? A travois, a pull sled made of hardwood, is the most efficient burden-carrying technique to get help faster.
From 2024