Updated July 7, 2025 02:31PM
Learn How to Use a Compass and Never Get Lost Again
Make sure you never get lost again by mastering the underappreciated art of navigating with a compass and map.
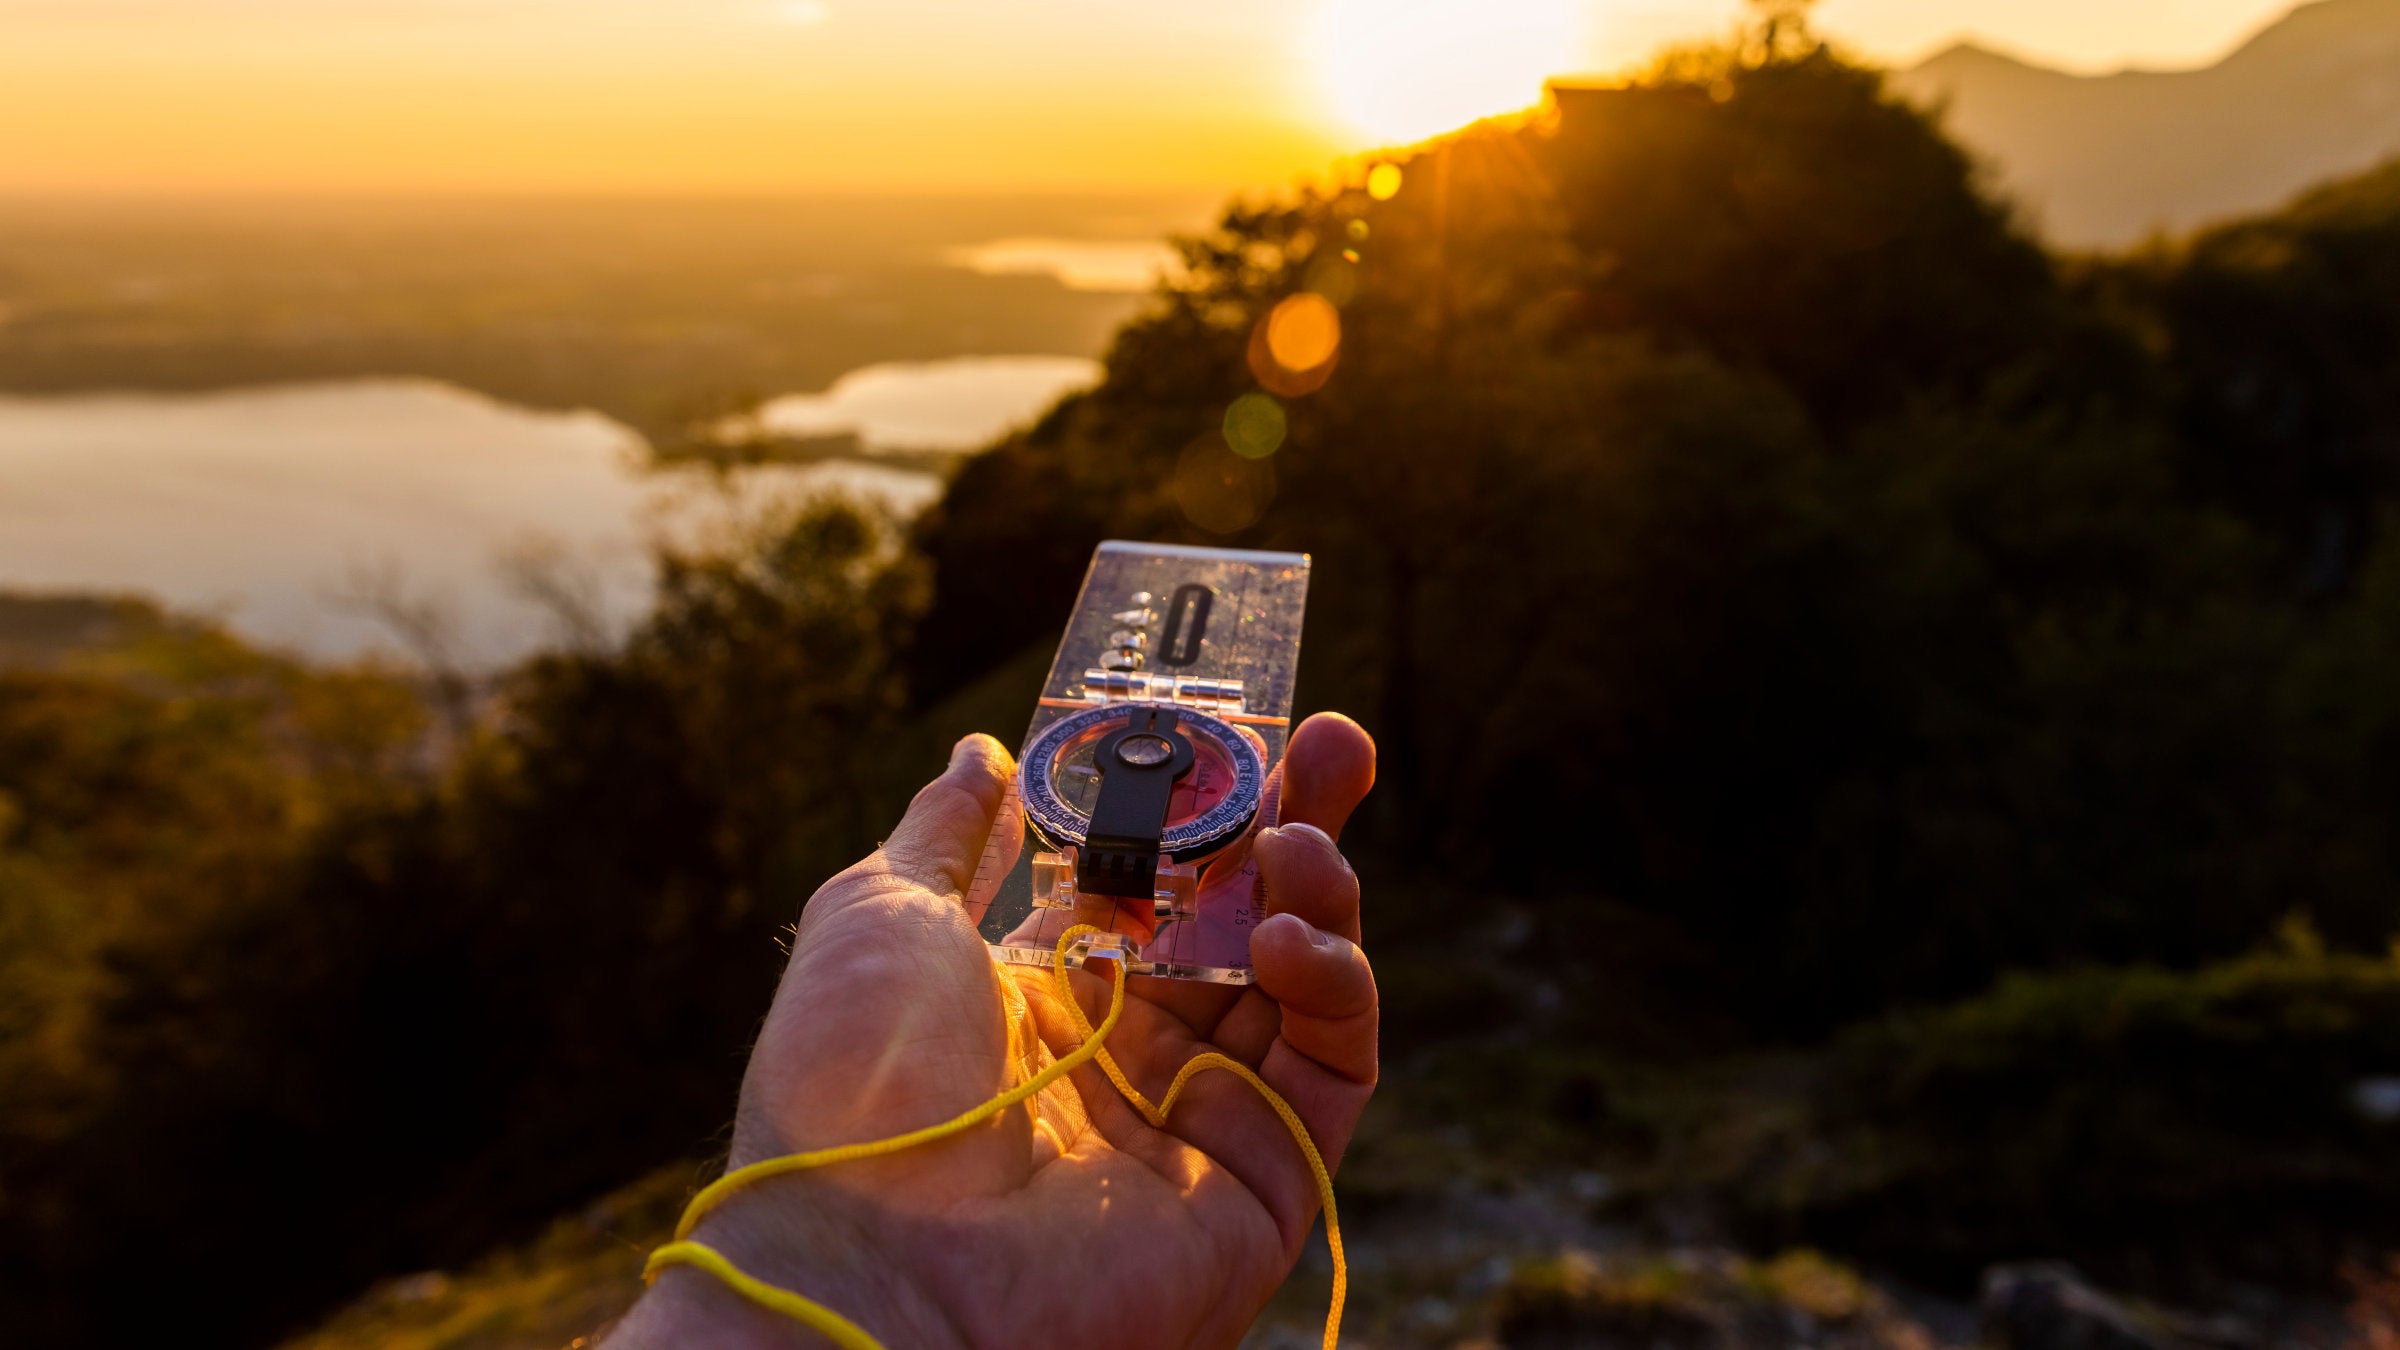
A hiker navigates with a compass in Switzerland. (Photo: massimo colombo / Moment via Getty)
Sure, not all who wander are lost. But when you’ve been walking in circles for hours and your day hike is stretching into an overnight, that saying is cold comfort. The solution? Don’t get lost in the first place. Learning how to use a compass and map is something all hikers and backpackers need to know.
Even experienced backpackers sometimes neglect their navigation skills, but when the trail peters out or is covered by snow, knowing how to blaze your own path is absolutely essential. And even in the age of GPS and smartphones, the most dependable way to make sure that you stay on track is by carrying a map and compass and knowing how to use them. Below, we’ll cover both the basics and finer points of compass navigation.
More: Get unlost with our Backcountry Navigation course on Outside LEARN
ADVERTISEMENT
Why Should I Learn How to Use a Compass?
With the advent of GPS, navigating by compass has become something of a lost art. It’s easy to see why: In clear skies, modern GPS receivers can determine a user’s location accurately and quickly with little to no user skill necessary.
But here’s the thing: GPS units are electronic, and electronics fail at the most inopportune times. Sometimes, they run out of battery; sometimes, after years of use, they fail. Furthermore, they can usually only tell which way you’re facing once you’re on the move.
ADVERTISEMENT
Compasses, on the other hand, are nigh-indestructible. They don’t take batteries, don’t have screens to break, and don’t need software updates. When protected with either waterproof coatings or careful storage, maps rarely fail. Keeping these two simple items in your pack—and knowing how to use them—is a small step that could save you a lot of trouble.
Tip: Once you’ve got the hang of navigating the old-school way, you can use apps like Gaia GPS to check your work or get more specialized data like slope angle.
Get to Know Your Compass
A compass is the most reliable navigation method—but it’s no good unless you know your way around it. Which parts your compass has depends largely on what kind you carry. Here are some common components.
Parts of a compass
Baseplate: A clear back that lets you see the map underneath. The ruled edge helps with triangulation and taking your bearings.
Direction of travel arrow: This shows you where to point your compass when taking a bearing.
Index line: An extension of the direction of travel arrow that indicates where to read bearings.
Rotating bezel: A circular area marked with number degrees from (clockwise) 0 to 360.
Magnetized needle: Located inside of the bezel, it always points to magnetic north, not true north. (They’re hundreds of miles apart.)
Orienting arrow: It helps line the bezel up with the directions on the map.
Declination scale: Hash marks on the inside of the bezel that are designed to help adjust declination. (Don’t know how to do that? Read on.)
ADVERTISEMENT
Correcting for Declination
One of the tricky parts of navigating with a compass is that magnetic north isn’t the same as true north. The angle between the two—known as the declination—varies depending on your location. It also gradually changes over time as the Earth’s tectonic plates shift. If you don’t adjust your compass to compensate, you’ll find yourself headed in the wrong direction.
The easiest way to find the angle of declination is to check your map: most have declination diagrams, along with the date it was last revised. Because declination changes over time, newer maps will have more accurate figures. There should be an angle and a direction—for example, 8 degrees east.
ADVERTISEMENT
Working off an older map? Check online. There are several different services that can use the location you’ll be hiking in to calculate your declination.
Once you have your declination, subtract it from your compass bearing for west and add it for east. If you have trouble remembering that rule, try this mnemonic: Maps Tell Almost Everything. (Translation: Magnetic to True: Add East.)

What Are the Different Types of Compasses?
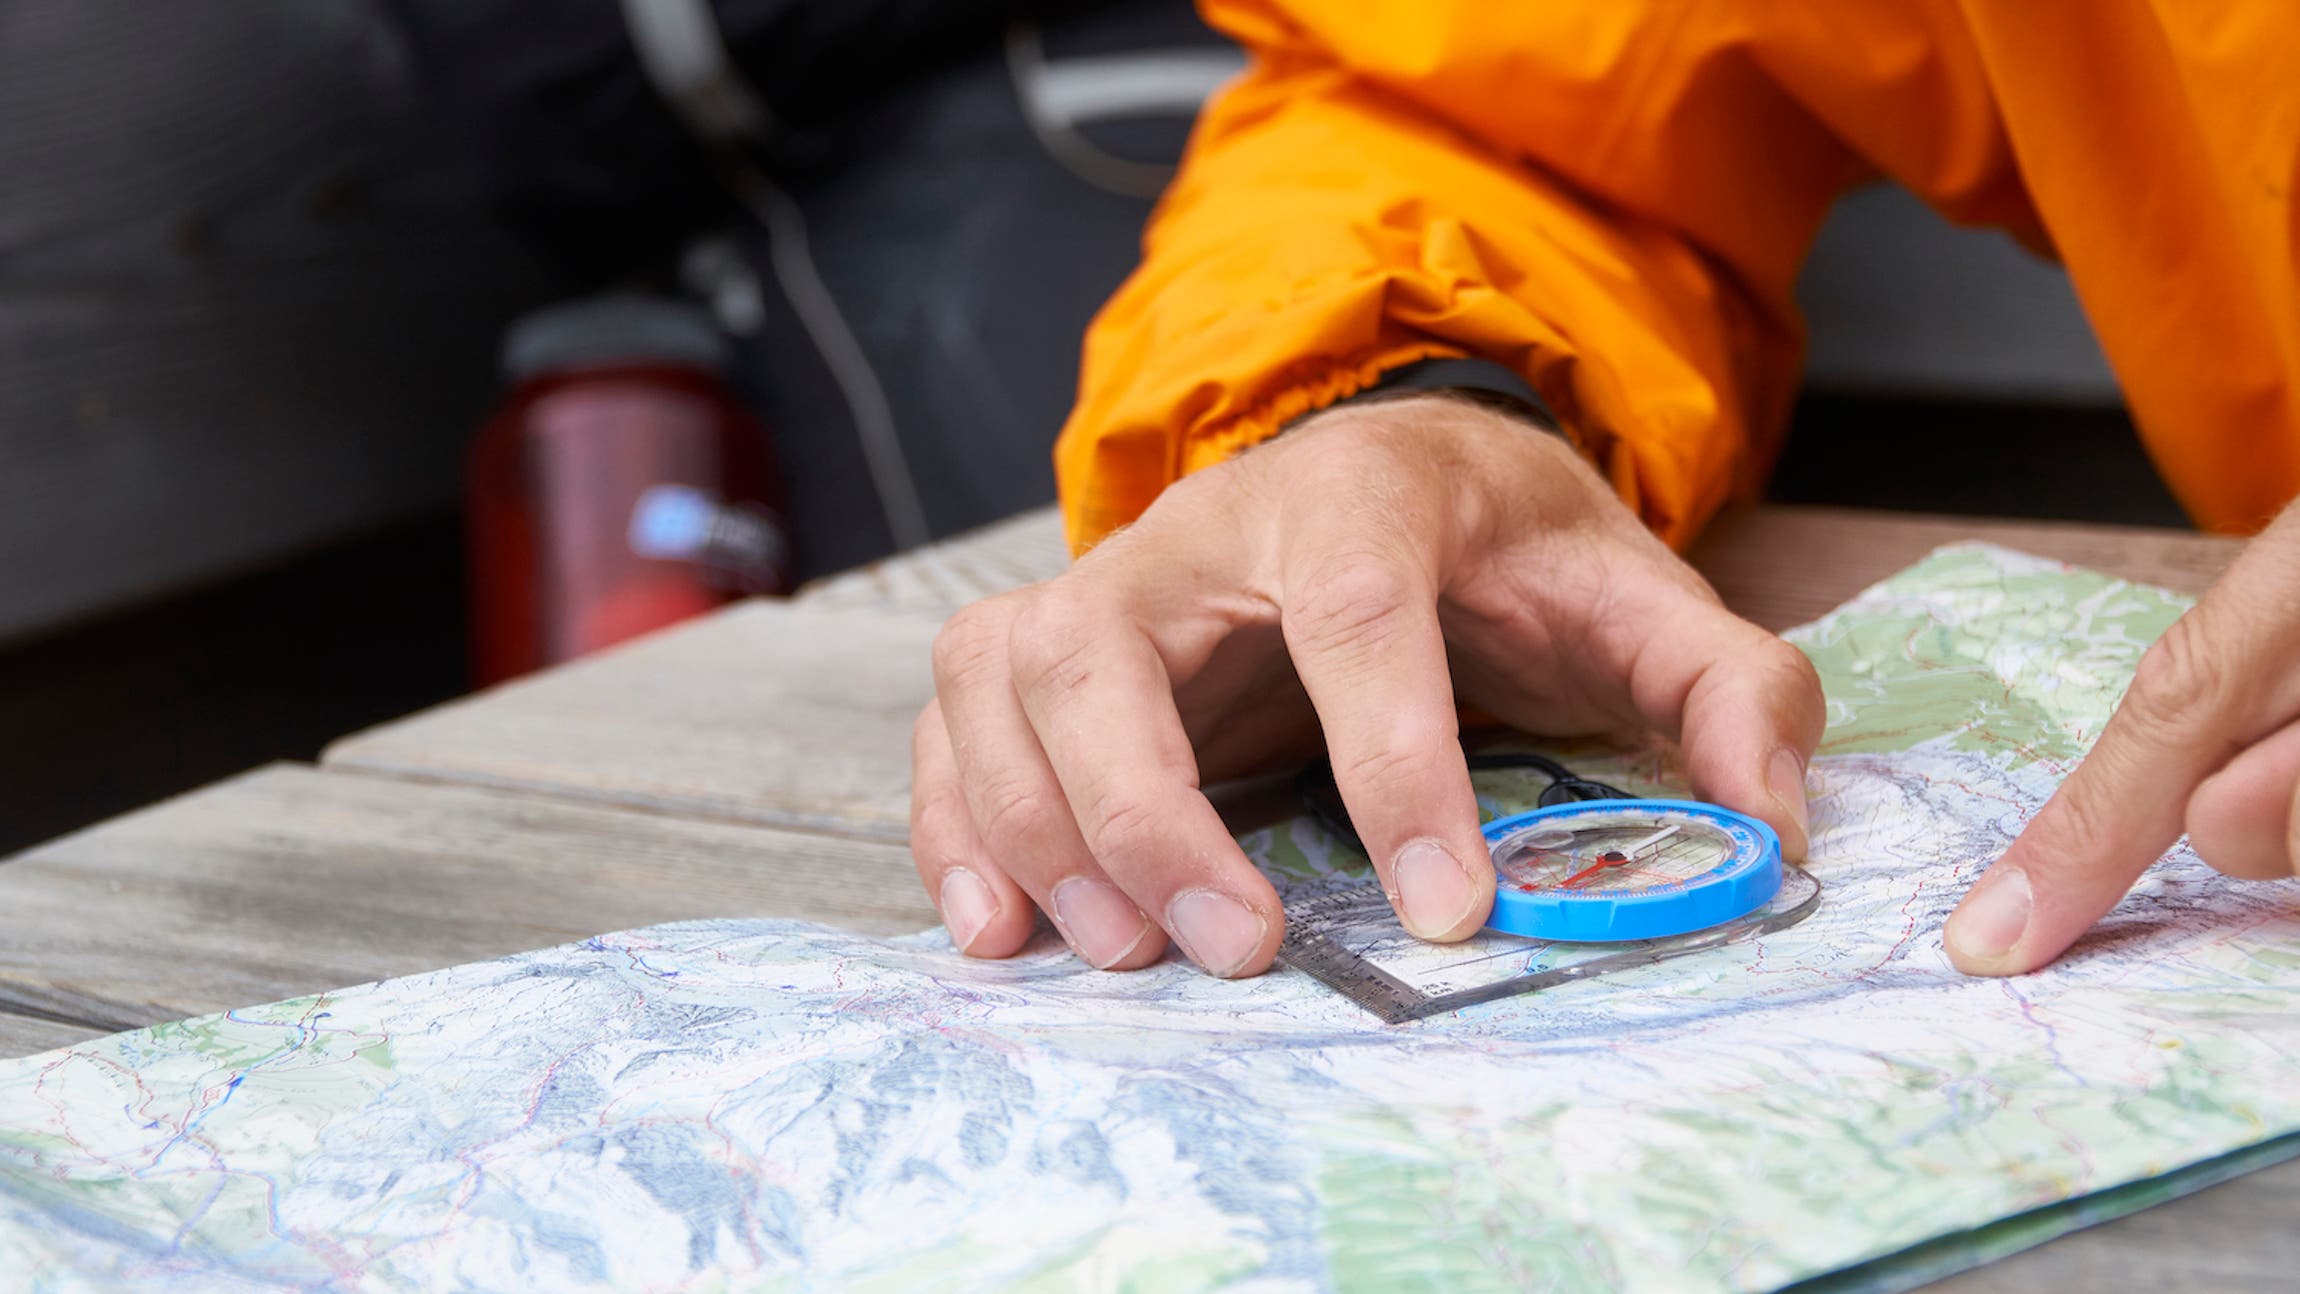
While there are many different kinds of compasses on the market, the most common for backpackers is the baseplate compass, which consists of a liquid-filled compass face attached to a flat, clear piece of plastic. Besides being cheap and simple, baseplate compasses’ see-through design makes them easy to use with a map.
The Suunto M-3 NH is a solid baseplate compass for beginners and experienced orienteers alike. Buy Now
Also popular are lensatic compasses, which flip open like a locket and use a sighting wire in the cover and a rear lens to take harder learning curve.
Our executive editor, a die-hard fan of lensatic compasses, recommends the Brunton Model 9077, a classic, durable military-style compass that will last for years. Buy Now
Because baseplate compasses are the most widely used, our instructions here will focus on them. If you have a lensatic compass, your steps may vary slightly. Metal interferes with compasses’ magnetic needles, so avoid spreading your map out on a car hood.
Hiking somewhere with well-marked trails where you won’t have to navigate overland? A cheap button compass doesn’t have the features to take or triangulate a bearing, but it can be a handy tool for a lost hiker trying to figure out which way they have to walk to pick up the path again or find a major landmark like a river. Our editor keeps one clipped to his pack.

ADVERTISEMENT
How to Find Your Location with a Compass
Figuring out your location with a map and compass is easy, but it comes with some caveats. First, you’ll need to be able to find at least two known landmarks. (Mountains and lakes are both good choices.) If you can find a third, even better. As always, remember to adjust for declination
- Using your compass, orient your map so that north is pointing to true north. (Pro tip: make sure the fixed grid lines on your compass line up with the north-south grid lines on your map.)
- Take a bearing on your first landmark: Line up your direction of travel arrow with your landmark, then rotate the bezel until the needle lines up with the markings for north. (The number next to the index line is your bearing.)
- On the map, place one corner of your compass’s straightedge on the landmark, the rotate the entire compass until the needle lines up with north on the bezel. Using a pencil, draw a line across the edge.
- Repeat steps 2 and 3 for your other landmarks. The point where all the lines intersect is your approximate location.
How to Find Your Bearings With a Compass
If you already know your location, you can use your compass to figure out how to get to any point on your map. After adjusting your compass for declination, start by orienting your map to true north, as in the previous example.
- Place the corner of your compass’s baseplate on your location, then rotate your entire compass until the straightedge forms a line between your location and your destination.
- Rotate the bezel until the grid lines on the base plate match the grid lines on the map.
- Read the number next to the index line—this is your bearing.
- Holding the compass level in front of you, turn your body until the north arrow on the bezel matches up with the compass’s needle. Your direction of travel arrow should now be pointing toward your destination.
Using Your Smartphone as a Compass
Your smartphone can do everything else, so it shouldn’t come as a surprise that it has a compass built into it. With the right app (try Digital Field Compass for Android), you can practice your compass skills with just the device in your pocket. The apps use your phone’s magnetometer. After a simple calibration process, it can not only do whatever a compass can do but can even lock onto a bearing well enough to tell you when you’ve gone astray.
ADVERTISEMENT
Of course, phone-based compasses come with a few big cautionary notes. The biggest? Just like the GPS on your phone, all of these apps require a charged battery to work. That’s why we recommend that everyone learn how to use a normal, analog compass: You can count on it continuing to work no matter what you put it through. Once you’ve fully developed those skills, you can use your phone’s GPS without fear of running out of juice.
Looking for a high-tech app as a companion to your newfound compass skills? Outside+ members get a premium membership to Gaia GPS.