Published August 12, 2010 03:29PM
Knot Tying: Learn the Tautline Hitch
The normal hitch for tightening tent guylines without using hardware.
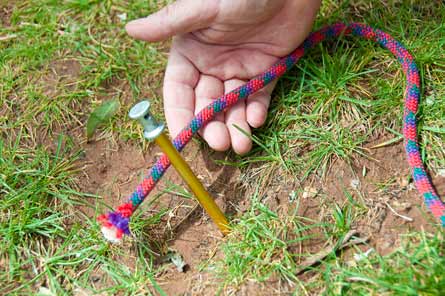
'Take the free end of the guyline and run it around a tree, tent stake or other anchor.'

Take the free end of the guyline and run it around a tree, tent stake or other anchor.

Run the free end through the loop.

Hold the knot you’re creating in the place as you continue to wrap the free end through the loop multiple times.

Continue running the free end through the loop a second time, in a corkscrew pattern.

For more tension resistance, you can run the spiral up to four times through the loop.

On the last spiral, run it around the standing end of the rope and insert the free end through the resulting loop.

This is another angle of putting the free end through the loop.

Tighten and neaten the knot. Without this step it’ll slip.

A standard three-spiral tautline hitch should look like this.

To add tension, grab the knot itself and slide it toward the standing end.
ADVERTISEMENT
Text and photos by Steve Howe
Need a primer on knot tying terminology? Click here.