Updated July 7, 2025 09:48PM
If you buy through our links, we may earn an affiliate commission. This supports our mission to get more people active and outside.Learn about Outside Online's affiliate link policy
How to Start Trail Running
Looking for the fastest route to deep backcountry? Lace up your sneakers, ditch the heavy pack, and run your favorite trails with advice from Gina Lucrezi, two-time winner of the Leadville Silver Rush 50 and holder of the women’s fastest known time on Mt. Whitney’s Standard Route (5 hours, 29 minutes, 22 seconds car to car).
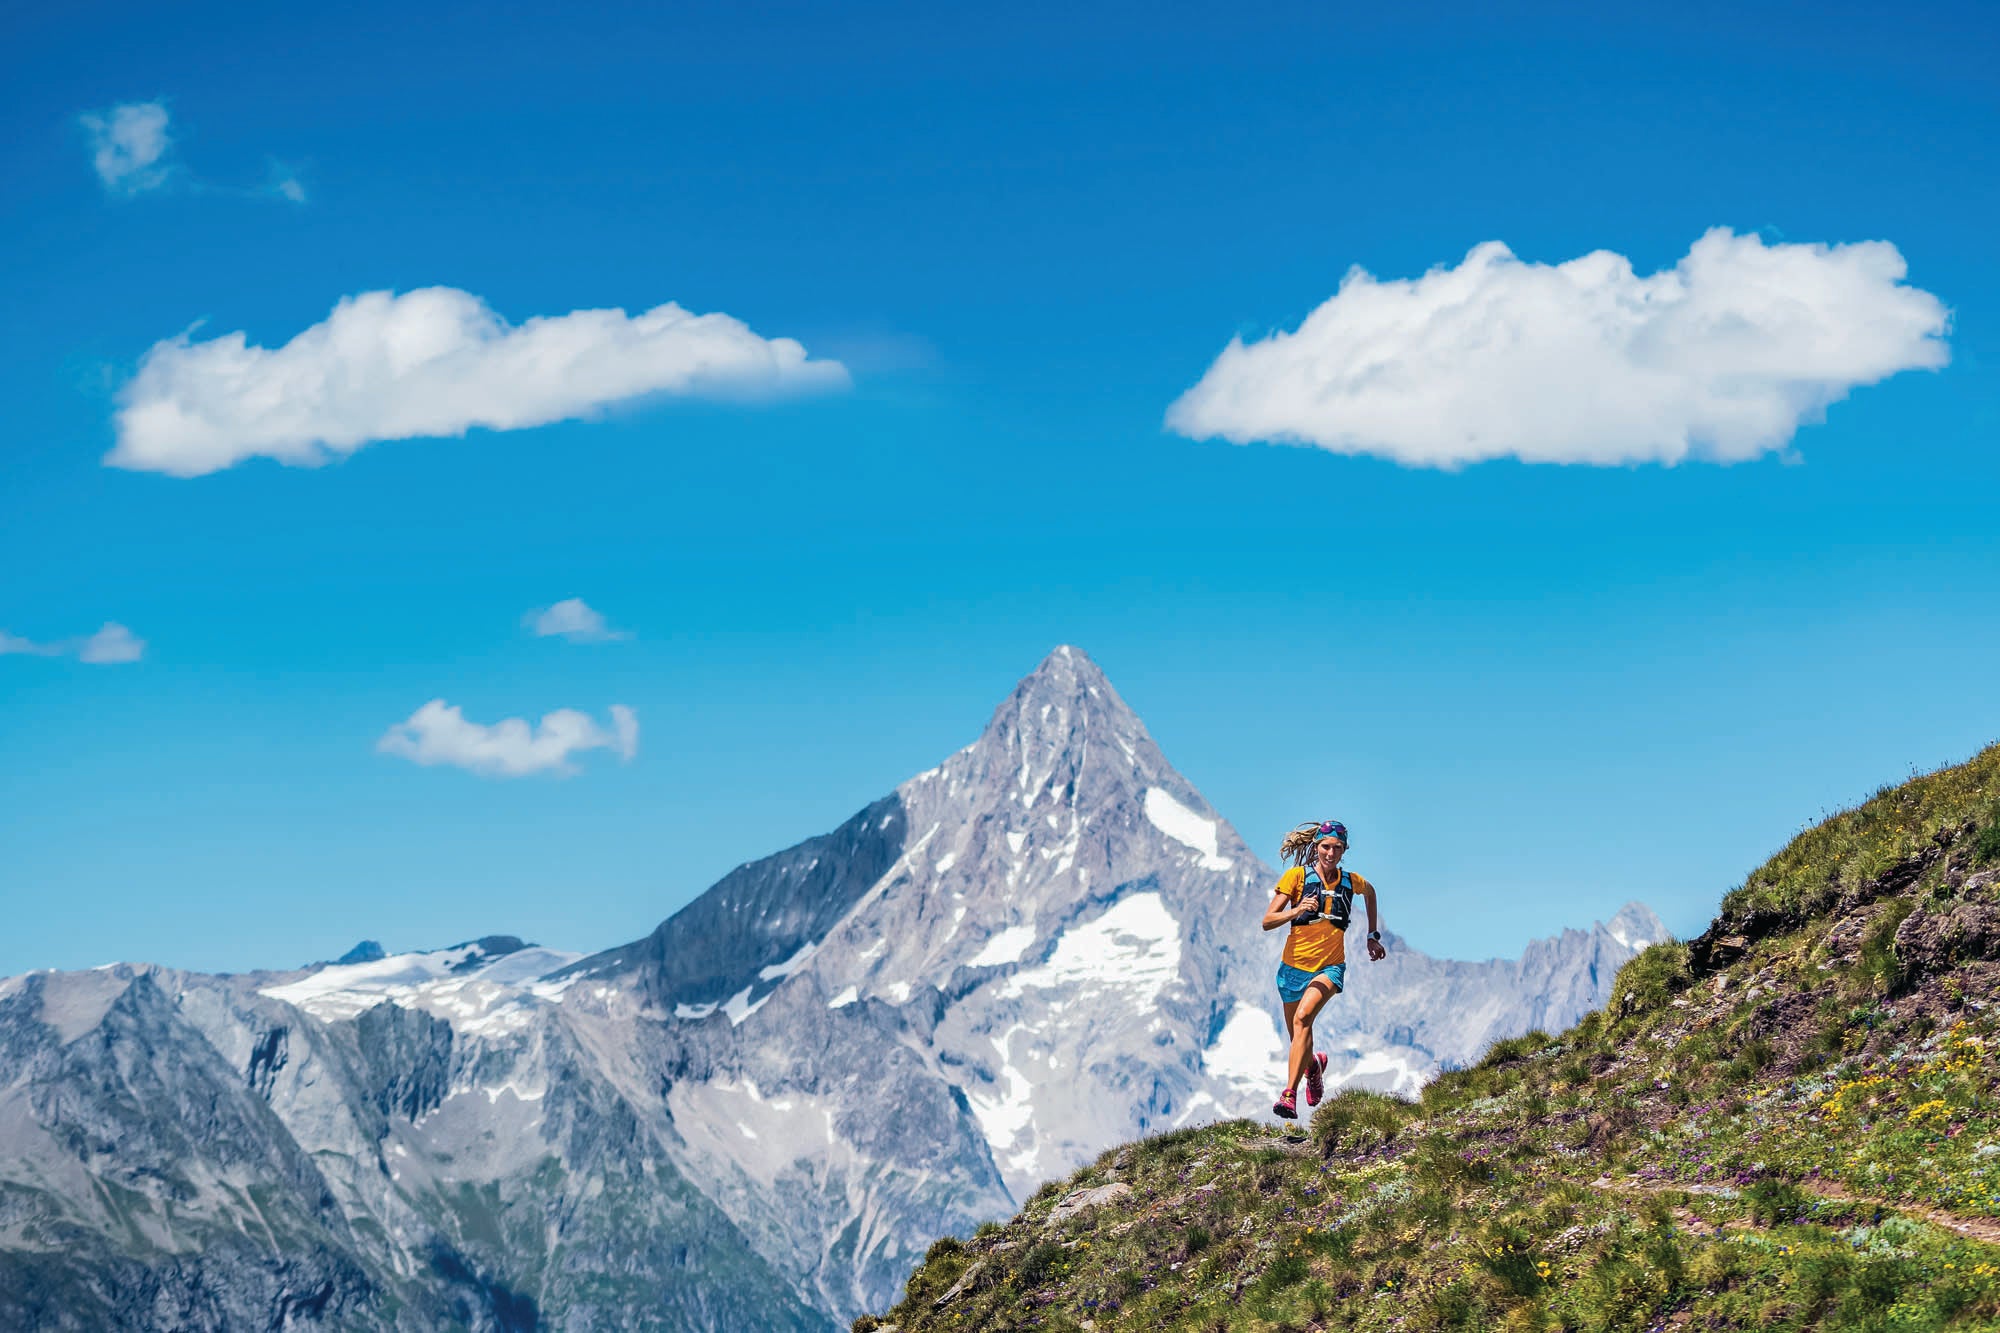
'PatitucciPhoto'
The Basics
1) Choose the right track.
Pick an easy trail when you’re starting out—under 5 miles long with no more than a few hundred feet of elevation gain. “The goal is to get back out and continue to love the sport, not crush yourself,” Lucrezi says. After a few weeks of practice, start adding in hills or miles to boost the difficulty.
2) Dig the downhill.
Practice descents on a grassy, mellow hillside where the consequences of a fall are minor. Allow your body to pull you down and lean forward to lessen the impact on your feet. For steeper hills, it’s OK to lean back. Focus on solid foot placement and control your speed by shortening your stride. Relax your shoulders and stick your elbows out for balance.
3) Don’t let uphills scare you.
Here’s a secret: Most trail runners know they’ll burn too much energy if they actually run the uphills. Instead, tackle steeps by power hiking at a steady pace. Avoid bursts of speed and abrupt stopping—a slow pace is more sustainable than a sprint.
ADVERTISEMENT
4) Refine your footwork.
Hikers tend to be proficient at navigating roots, rocks, and other obstacles—but taking them on at speed requires practice. Look 6 to 10 feet in front of you instead of straight down; your brain will plan where to put your feet. Instead of focusing on obstacles, look for open spots. This trains you to look for a safe space to plant your feet, keeping your running proactive instead of reactive to hazards. For mud, snow, and scree, wear footwear with an aggressive tread (think deep lugs to dig into the slippery terrain).
5) Be safe.
Trail running involves big-mile days with next-to-no gear. As you progress to longer trails, you may be unable to walk out in the event of injury, severe weather, etc. Plan a safe route by selecting a high-trafficked area with multiple access points where you can bail. Always tell someone where you are going to run, and remember that it’s OK to turn around at any time. For longer, more involved trails, consider running with a buddy or bringing an emergency beacon device to call for help in case something goes haywire.
ADVERTISEMENT
Trail Running Tips
- Practice good posture by keeping your spine straight and shoulders back.
- Choose lightweight running shoes with deep lugs and a grippy outsole to take on mud, roots, and rocks.
- Use short strides, focusing on landing gently to increase efficiency and agility.
- Bumpy singletrack is more challenging than wide, smooth trails. Work your way up to demanding terrain.
Essential Trail Running Gear
Refine your kit for fleetness of foot.
Hydration

Packing a few small, silicone water bottles offers better balance than a large one. Choose bottles you can access and open quickly for on-the-go hydration. If you’re going far, take a light-weight filter or purification drops.
Vest

Consider using a vest for runs over 5 miles. Unlike a traditional hiking backpack, vests keep gear handy and close to your body so it doesn’t bounce around as you run.
ADVERTISEMENT
Sun protection

Moving between shade and sun puts a tremendous strain on your eyes, making it difficult to spot obstacles on the trail. Always wear sunglasses and a hat.
Socks

Knee-high socks or ankle gaiters protect your shins from scratchy plants and keep pebbles and dirt at bay. Stick with wool and synthetic materials to avoid blisters.
Buff

A Buff serves many purposes: It keeps sweat at bay, you can dunk it in water for an instant cool-off, and it can even help stabilize a rolled ankle. You can also keep it wrapped around your wrist and use it to wipe sweat from your eyes.
ADVERTISEMENT
What to Eat on a Trail Run
If you’re going to stay moving for several hours, you need to keep eating. Aim to consume 100 to 200 calories per hour—and yes, it matters when you eat certain types of foods. Carry high calorie-per-ounce snacks that are easy to digest, like your favorite backpacking grub.
Beginning: Beef Jerky
1 ounce, 90 calories
Digestion takes energy and diverts blood flow to your tummy. Eat solid foods early on while your body is capable of breaking them down.
ADVERTISEMENT
Middle: Dried Mango
1.5 ounces, 120 calories
Exercise may curb your appetite, but sufficient fueling helps prevent bonking. Choose foods you like the taste of, even when working hard.
Late Middle: Gu Pouch
1.1 ounces, 100 calories
Liquid gels are easy to digest—consume them when you are more tired, like during strenuous climbs, to keep the blood flowing to your legs.
ADVERTISEMENT
End: Honey Stinger Waffle
1 ounce, 150 calories
At the end, ingest whatever you can stomach.