Gear School: Patch a Ripped Jacket

'Disaster strikes...a gash in your $250 shell. Deep breath, you can fix it....'

Disaster strikes…a gash in your $250 shell. Deep breath, you can fix it….

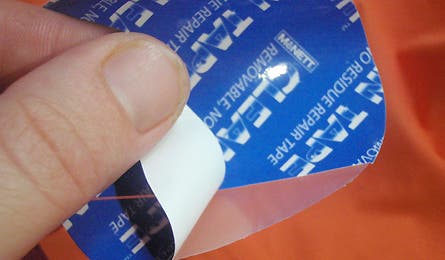
STEP 1: Trim away loose threads near the rip. Cut a round patch of Tenacious Tape. It’s clear– and sticks like crazy– yet it can be removed later on with no messy residue, like duct tape. Or, you can leave it permanently.

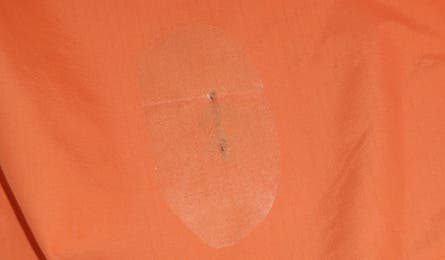
STEP 2: Join the edges of the tear together and place the tape on the outside surface of the jacket. Tip: When you’re working with any patches, always cut rounded corners; they’re less likely to peel.

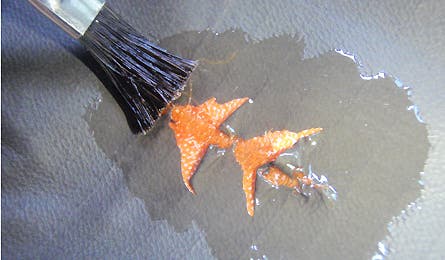
STEP 3: Flip the jacket inside out and paint the wound evenly, spreading the Seam Grip about 1/2 an inch around it in all directions. Let it dry overnight. Then, remove the tape. Or leave it on, badge of honor style.
You’ll need:
1. Scissors 2. Tenacious Tape by McNett ($5) 3. Seam Grip by McNett ($6 )