Injured? Stay Fit for the Trail With These Exercises.

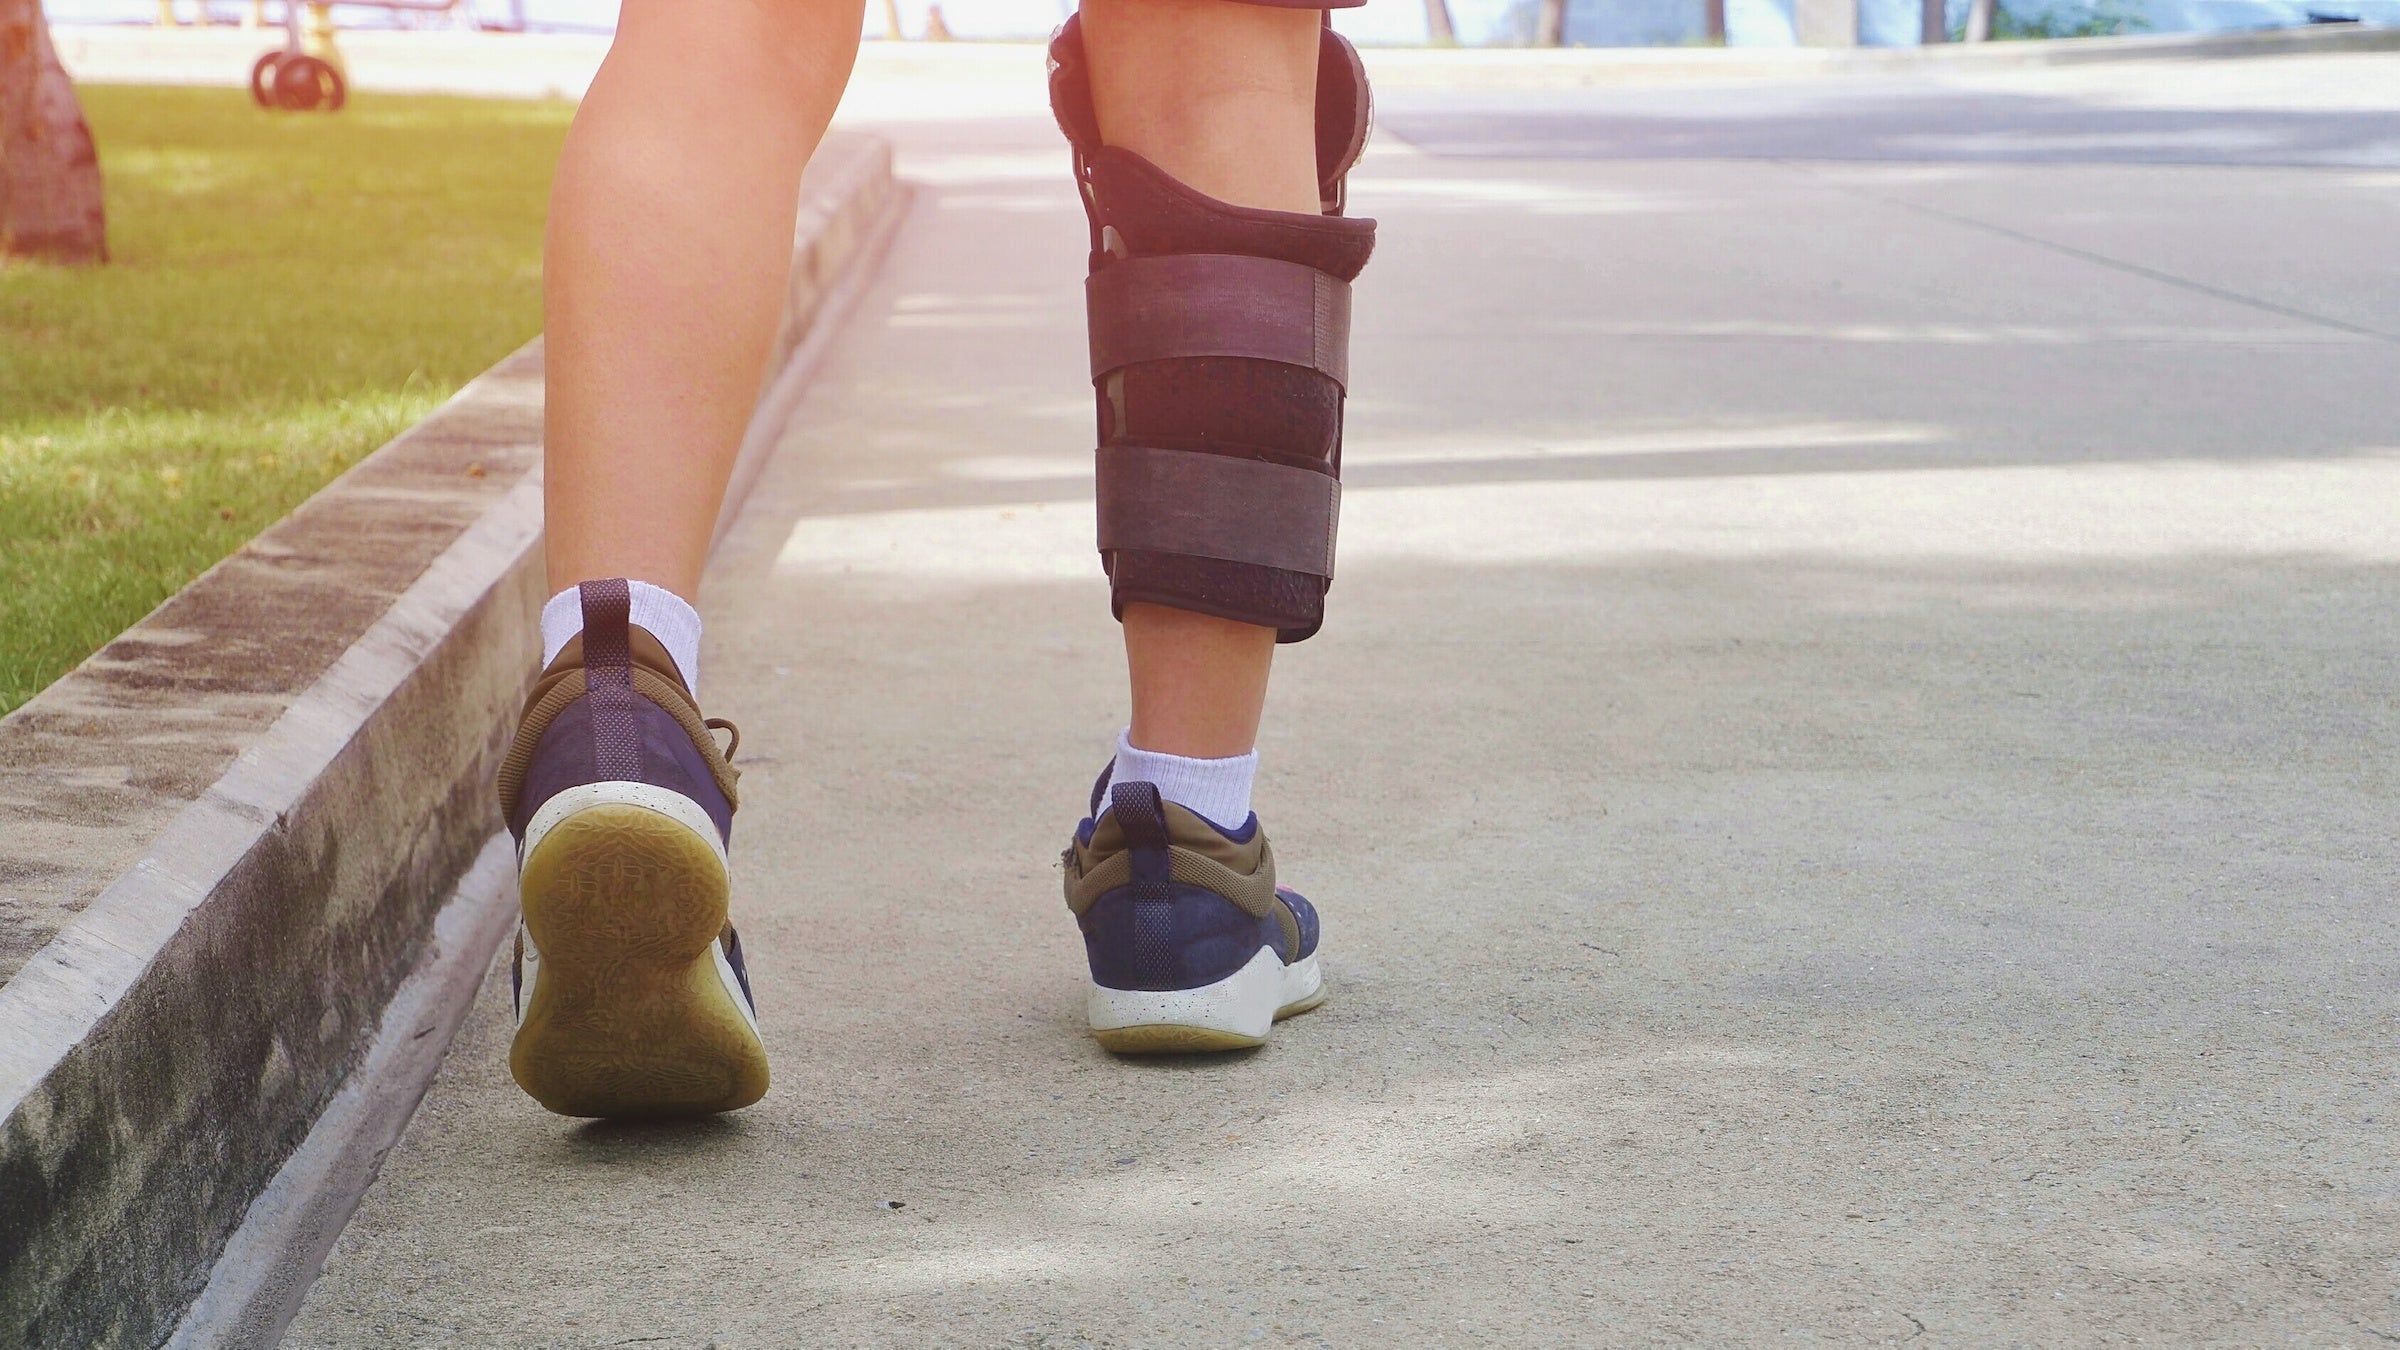
Low section and rear view of young man's legs in supportive knee brace is jogging on concrete floor at public park in morning time (Photo: Prapat Aowsakorn / Getty Images)
Good trail fitness keeps you hiking injury-free and makes your trips more fun, easier, and less, well, achy. That’s why we’re sharing this hiker-specific workout for free. Want more tips on keeping your body in shape for the trail? Get access to our full fitness archive by signing up for Outside+. Members can also read the rest of our stories, skills, trips, and gear reviews and get access to all of our other titles, like Ski, Climbing, Yoga Journal, Triathlete, and more. Sign up for Outside+ today!
Most of us have dealt with some type of injury that derailed our training and adventure plans. But being hurt doesn’t have to mean staying on the couch. Instead of taking time off from workouts while recovering from an injury, try modifying your exercises to keep training around it. The best thing you can do for your fitness is to keep moving as much as your body will allow.
Minor injuries common with hikers like ankle sprains, knee pain, and shin splints are easy to work around—but be sure to consult your doctor before exercising with a more serious injury. There’s no one-size-fits-all approach to injuries: tap into your pain and what feels good. Your body will tell you what it can and can’t do.
Multiple studies have shown that exercising the non-injured parts of your body has impressive benefits for the injured area. First, this allows you to maintain muscle mass, which means you’ll have less ground to make up strength-wise when returning to your adventures. By keeping your workout routine, you’ll also boost your mood and productivity, and keep stress at bay.
Let’s say you’ve injured your knee. To modify your workout, perform single-leg strength exercises on the non-injured leg. Some examples of single-leg exercises include single-leg deadlifts, step-ups, step-downs, lunges, single-leg calf raises, or assisted single-leg squats. For these exercises you’ll perform your normal sets and reps, but only on one side. Don’t worry about developing muscle imbalances—the benefits far outweigh any downsides.
While a good workout routine will depending largely on what body part you’ve injured, these four strategies are a good place to start.
Take a Ride on a Stationary Bike
Keeping with our injured knee example, a stationary bike isa great option to keep your general fitness level high. Cycling is low impact, targets the leg muscles that support the knee, and can be used for your cardio workouts, too. As with any injury, listen to your body. If certain exercises cause pain, stop.
Aside from regular stationary bikes, air bikes, which have a large fan on the front and two moving handlebars, work well too. Using the pedals and handlebars together, these bikes offer a great full body workout. What also makes air bikes unique is you can rest your injured knee on one of the foot pegs and still use your other leg and arms to get a great workout in.
Head to the Pool
If you have access to a pool, aquatic exercises can be beneficial when working around injuries. The water helps reduce body weight force through the joints, allowing you to move with less pain and discomfort. This is really great news if you deal with osteoarthritis: Being waist-deep in water reduces the body weight force in the lower body by 50 percent, and going chest-deep, you’ll reduce your bodyweight force by 70 percent. Using the water as your resistance, try treading water, squats, and simply walking.
Ease Back into Adventures
Once you’re feeling better and ready to get back to the trail, it’s important to ease back in. Doing too much activity too soon leads to overuse injuries. Try a simple mileage and elevation progression to help your body to adapt like the one below. This chart is based on an average muscle strain, and may vary based on your specific injury. Again, listen to your body, and consult a physical therapist or doctor before jumping back into hiking after a serious injury.
| MONTH | MILES | ELEVATION |
| 1 | 4-8 | 0-1000’ |
| 2 | 8-10 | 1500’-2000’ |
| 3 | 10-12 | 2000’-3000’ |
| 4 | 12-14 | 3000+ |
Give Yourself Some Grace
Let’s face it: No one enjoys being injured, and it’s easy to be critical of yourself. But cut yourself some slack: active bodies get injured from time to time. It just happens. What’s important to remember is that healing isn’t a linear process, and there will be ups and downs with any recovery. Be patient, and remember to be kind to your mind and body along the way.
Lee Welton is a physical therapist assistant and personal trainer in Southeast Idaho. He thru-hiked the Pacific Crest Trail in 2018 and has trekked through the Dolomites in Italy. He can typically be found hiking and exploring the trails in Idaho and Wyoming. For more information, videos, and resources from Welton, visit trailsidefitness.com.