Published August 21, 2015 05:40PM
8 Tips for Better Campfire Cooking
Primal meets gourmet with campfire cooking. Learn the key techniques for success with this Trail Chef primer on campfire cooking basics.
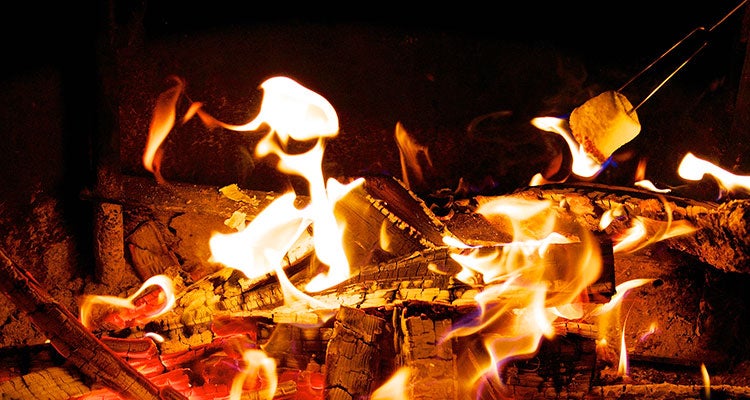
'With these campfire cooking basics, you'll soon master more than just s'mores. Photo: Jamie McCaffrey / Flickr'
Learn the basics of campfire cooking to help build your confidence in the craft and open the doors to many amazing dishes. Remember: Always confirm that fires are allowed in the area (be aware of fire bans), and never have one if conditions are too windy or dry to be safe.
- Start with a fire ring about 18 to 24 inches across.
- Find the driest wood you can. If possible, use wood without any bark (many trees have bark that naturally inhibits fire). Break the wood into 12-inch-long pieces to more easily concentrate and control the bed of coals. Make sure you get about 10 to 15 fuel-size logs (about as thick as your wrist).
- Use the log cabin lay for even cooking and better placement control. You want a small, compact, hot fire, about 15 inches across at most.
- Start with about a quarter of your wood, adding 2 to 3 pieces as the fire begins to wane. Don’t put all of the wood in the fire! You may need to carefully add more to keep the flames going as cook.
- For grilling and roasting (burritos and banana boats), your coals are ready when the wood is about 65 percent finished burning. There should be a small continuous flame; too much flame and your food will burn, too little flame, and there won’t be enough heat. For cooking in a pot or pan, you will need lots of flames and a lid to avoid getting ashes in your food.
- If you’re basecamping, not walking far, or fully committed, bring along the grate from a classic kettle-style barbecue (like a Weber) or a stainless-steel cake-cooling rack. A non-coated cake cooling rack weighs very little and helps avoid the potential for food tumbling into the pit. Another benefit is that you won’t need to search for additional perfect rocks (also avoid scarring more rocks).
- If using wooden skewers, soak them in water first (at least 20 minutes) so they don’t catch on fire.
- Find two long, sturdy sticks to use a food grabbers and movers. It will take practice using your giant wilderness chopsticks, but it’s fun and worth it: they’re the best tool available, and you don’t have to carry them. Just be really careful not to puncture foil when scooting wrapped things around.