Updated July 7, 2025 09:44PM
If you buy through our links, we may earn an affiliate commission. This supports our mission to get more people active and outside.Learn about Outside Online's affiliate link policy
How to Power Your Electronic Devices in the Backcountry
From cell phones to GPS devices to headlamps, rechargeable electronics are becoming increasingly common on the trail. Stay powered with this strategy guide.
'vetal1983 / stock.adobe.com'
For better or worse, hikers are relying more and more on electricity when they head outside, especially on long treks. Cell phones are replacing dedicated cameras and GPS units. USB-rechargeable headlamps are becoming the norm. Keeping satellite communicators functional can be a matter of life and death. Inevitably, though, batteries need recharging, and determining the most efficient way to do so can be a headache. Follow the guide below to easily determine how best to juice your devices in the wilderness.
1. Determine your power needs.
Make a list of all the electronics you plan to carry—phones, fitness watches, cameras, GPS units, satellite communicators, headlamps, and the like. Consider how often your devices run out of juice with normal use. For example, note whether or not you generally drain your phone every day and need to recharge its full capacity, or if you only use about half the battery every day.
Once you have your list, do some research to find out how much power each battery holds, in Watt-hours (Wh). For devices that let you pull the battery out, like a headlamp, this number is often printed right on the battery itself. You can also peruse user manuals or online specifications.
ADVERTISEMENT
If you can’t remove the battery of your device and can’t find the battery capacity in Watt-hours, you might find a number listed as the mAh, or milliamp-hours instead. Divide this number by 1000 to get the amp-hours, then multiply by the voltage of the device (for smaller electronics, this is generally 3.7 or 3.8, but for larger ones, you might need to research that number as well). That final total is your Watt-hours.

2. Find the right power pack.
The Watt-hours number for each battery—which indicates how much power a battery holds—tells you how much electricity it will take to go from a completely dead battery to a full one. From here, estimate how many times you expect to recharge each item during your trip, and the percentage of that battery you’ll need to juice up.
For example, if you expect to use 75 percent of your phone’s battery each day on a three-day trek, you’ll start with a full charge and need to recharge it twice before the end of the trip. Multiply the product’s Watt-hour capacity by the number of times you plan to recharge it and you’ll end up with a Watt-hour number that is the total amount of power you’ll need to recharge that device during your trip. In this case, the battery is 11.91 Wh and you’ll use up 8.9 Wh (75 percent) each day. If you’re hoping to recharge it back to 100 percent each night, you’ll need to carry a battery bank with no less than 17.8 Wh to keep your phone fully juiced at the start of each day on the trail.
ADVERTISEMENT
Your phone it likely not the only thing you need to recharge, though. Follow the steps above for each device and add all the required charging powers to come up with a total amount of power you’ll need to carry with you. Then, pick a power source that has enough Watt-hour capacity to cover your needs.

For shorter trips, on which a phone is really all you need, the myCharge Adventure H20 3350 ($30; 3.2 oz.) has just enough power (about 16.75 Wh) to top you off, without taking up any more pack space than is necessary.
On longer adventures, the Goal Zero Venture 30 ($100; 8.8 oz.), with its 29 Watt-hour capacity, is enough to keep a handful of devices going for days.
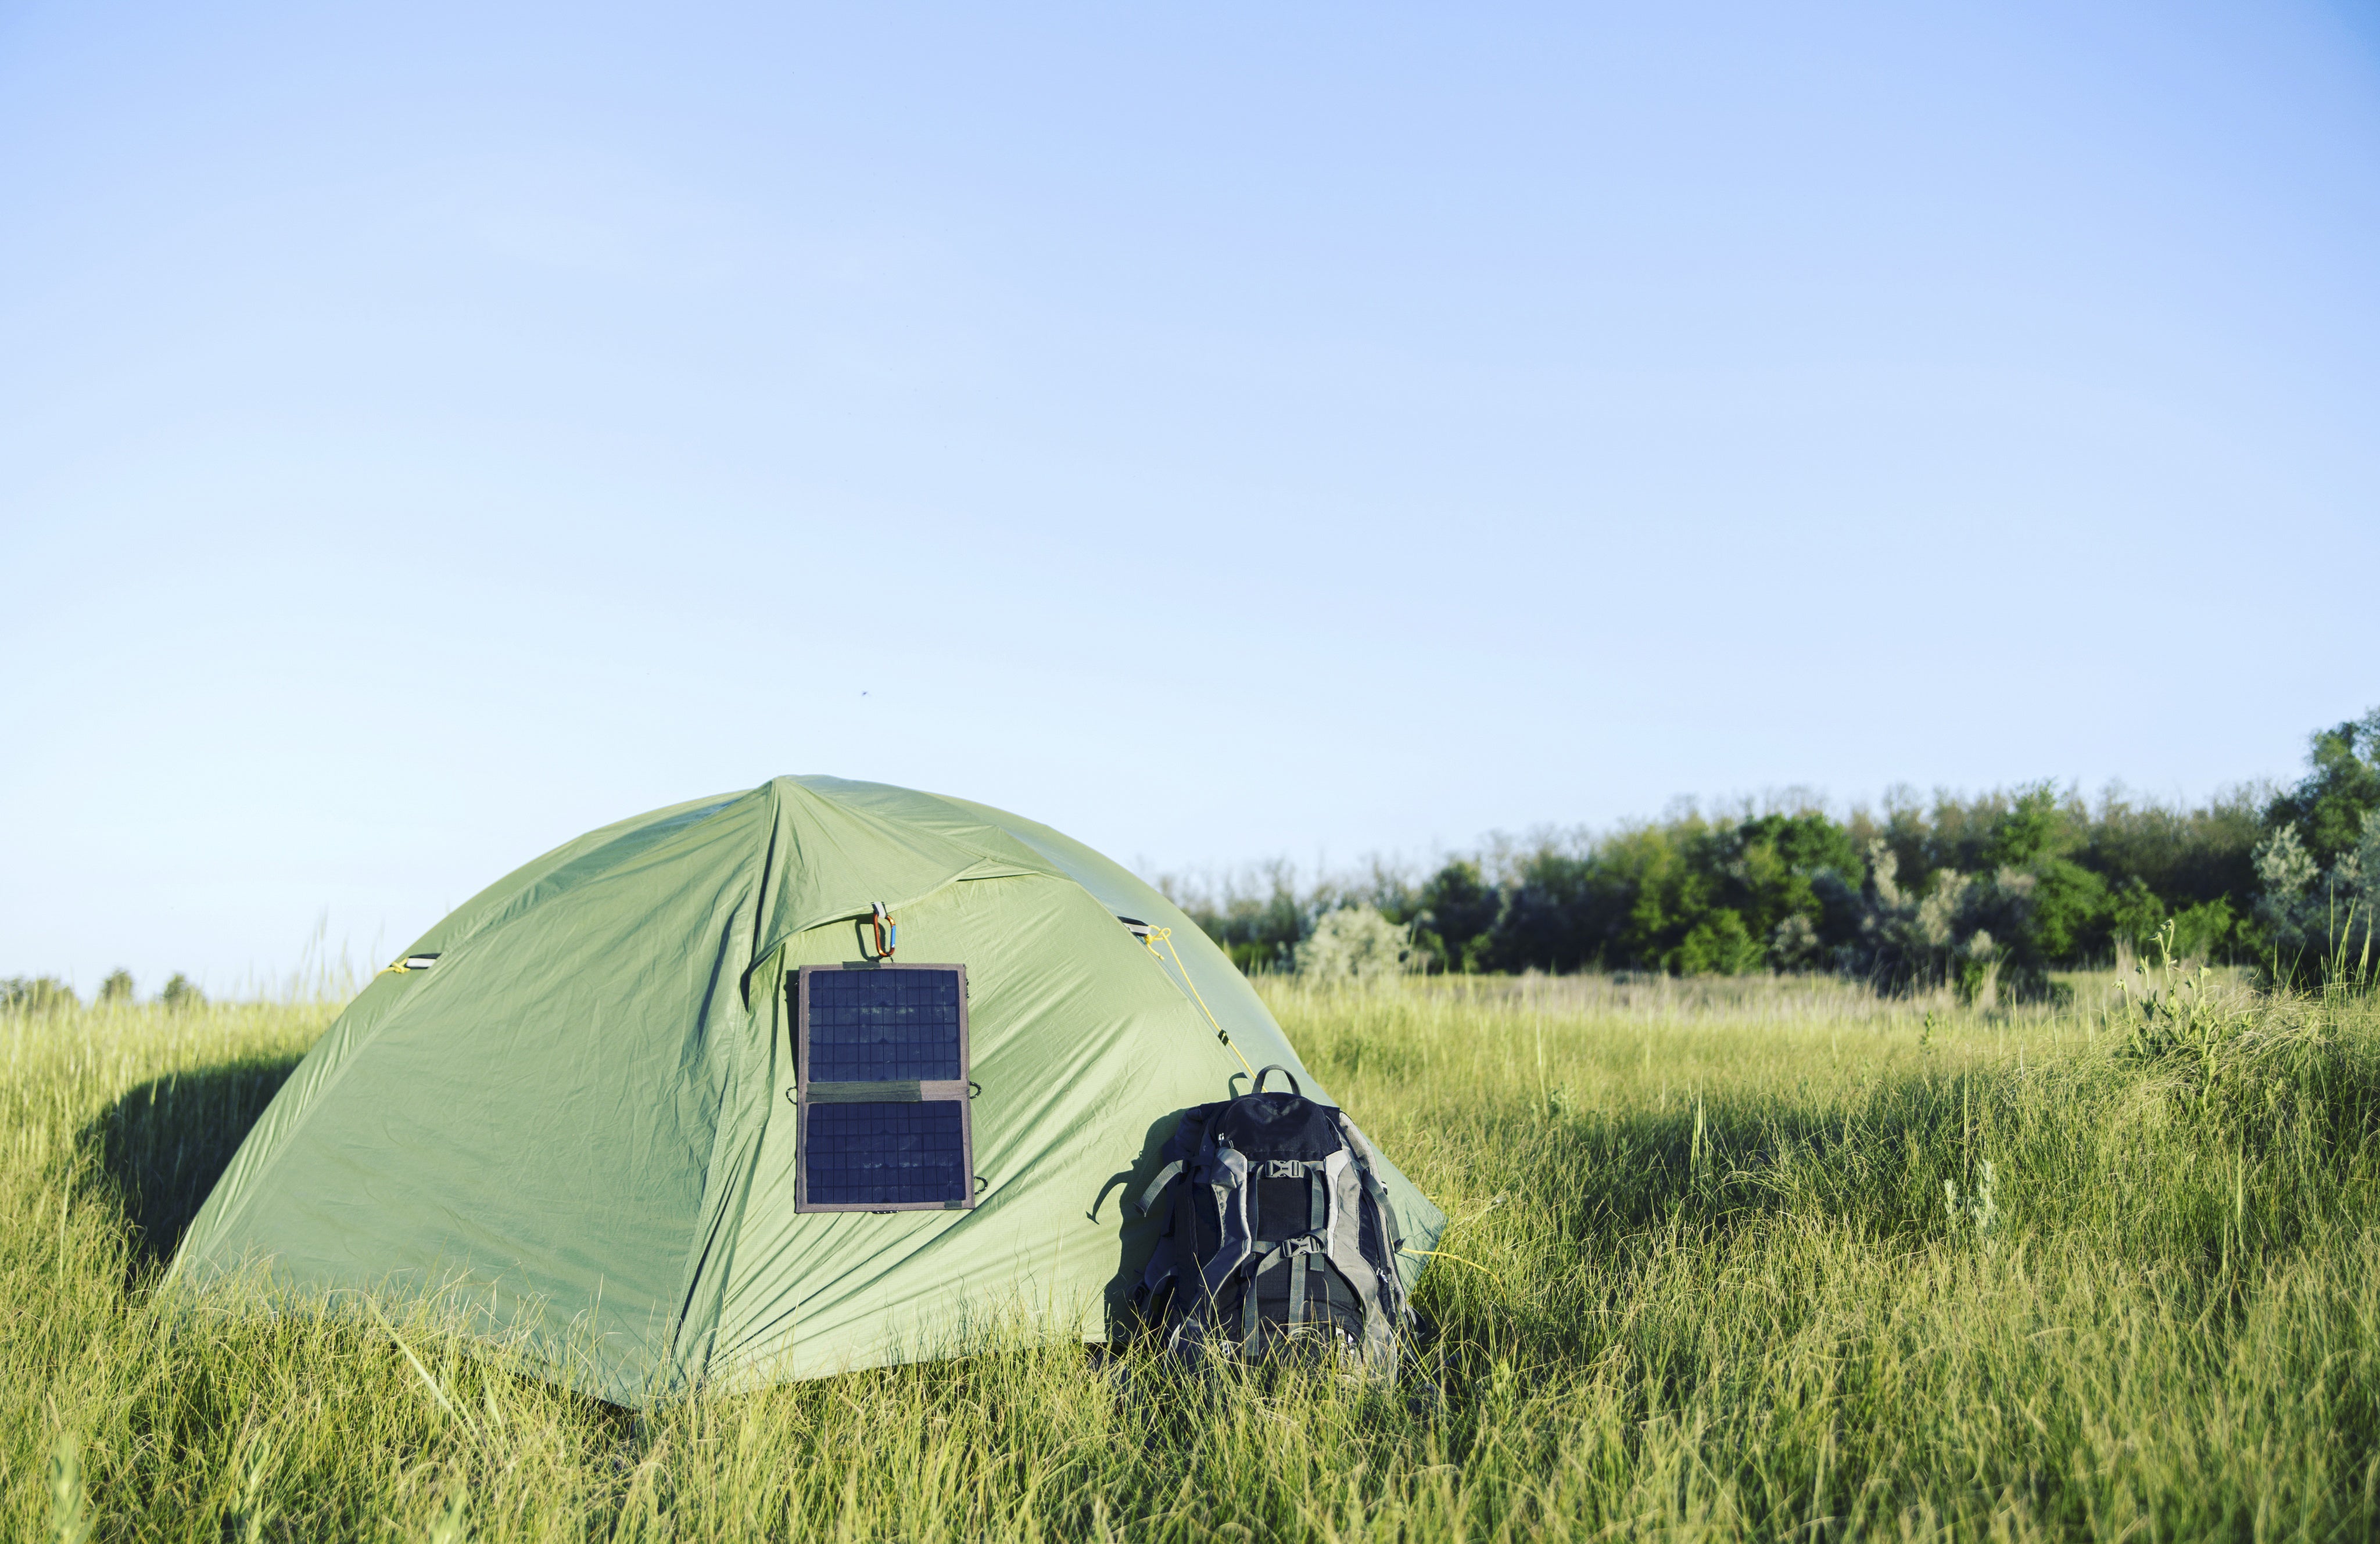
3. For bigger power needs, go solar.
If your power needs are greater than any small, portable power bank can cover, adding a solar panel to your kit is the next step.
Solar panels are rated in Watts produced in perfect conditions, i.e. full and constant sunlight.
ADVERTISEMENT
However, because those conditions are rare, you should assume you’ll only get a portion of that wattage over the course of a day. As a rough guide, setting the panel up in camp without regularly aiming it at the sun will provide two-thirds of the rated wattage. If you’re planning on clipping the panel to your pack and hiking with it, expect to only get 50 percent of its full capacity.
Use those figures as a guide to adjust the wattage of your solar panel, then divide the Watt-hour capacity of your power bank by that adjusted Wattage of the solar panel to figure out how many hours of direct sunlight will charge the power bank. For example, Goal Zero’s Nomad 7 solar panel generates 7 Watts and the brand’s Venture 30 Recharger holds 29Wh. If you plan to hook the panel to your backpack for a day, you may only receive 3.5 watts from that panel, which means it would take a little more than 8 hours on a clear, sunny day to recharge that power bank—and longer on a cloudier day.

Backpackers on the move will appreciate the size, durability, and simplicity of the Goal Zero Nomad 7 ($60; 1 lb.), which clips easily to a backpack and folds up small when it’s not in use.
Basecampers posted up for longer periods of time might want to look at something larger, like the Nomad 28 Plus ($250; 3 lbs. with kickstand), to take full advantage of any available sun and charge power banks even faster.