Make Snow Traction With Bungee Cord

'Get four bungee cords (two per shoe), about six inches in length. Experiment with lengths until you find the right one.'
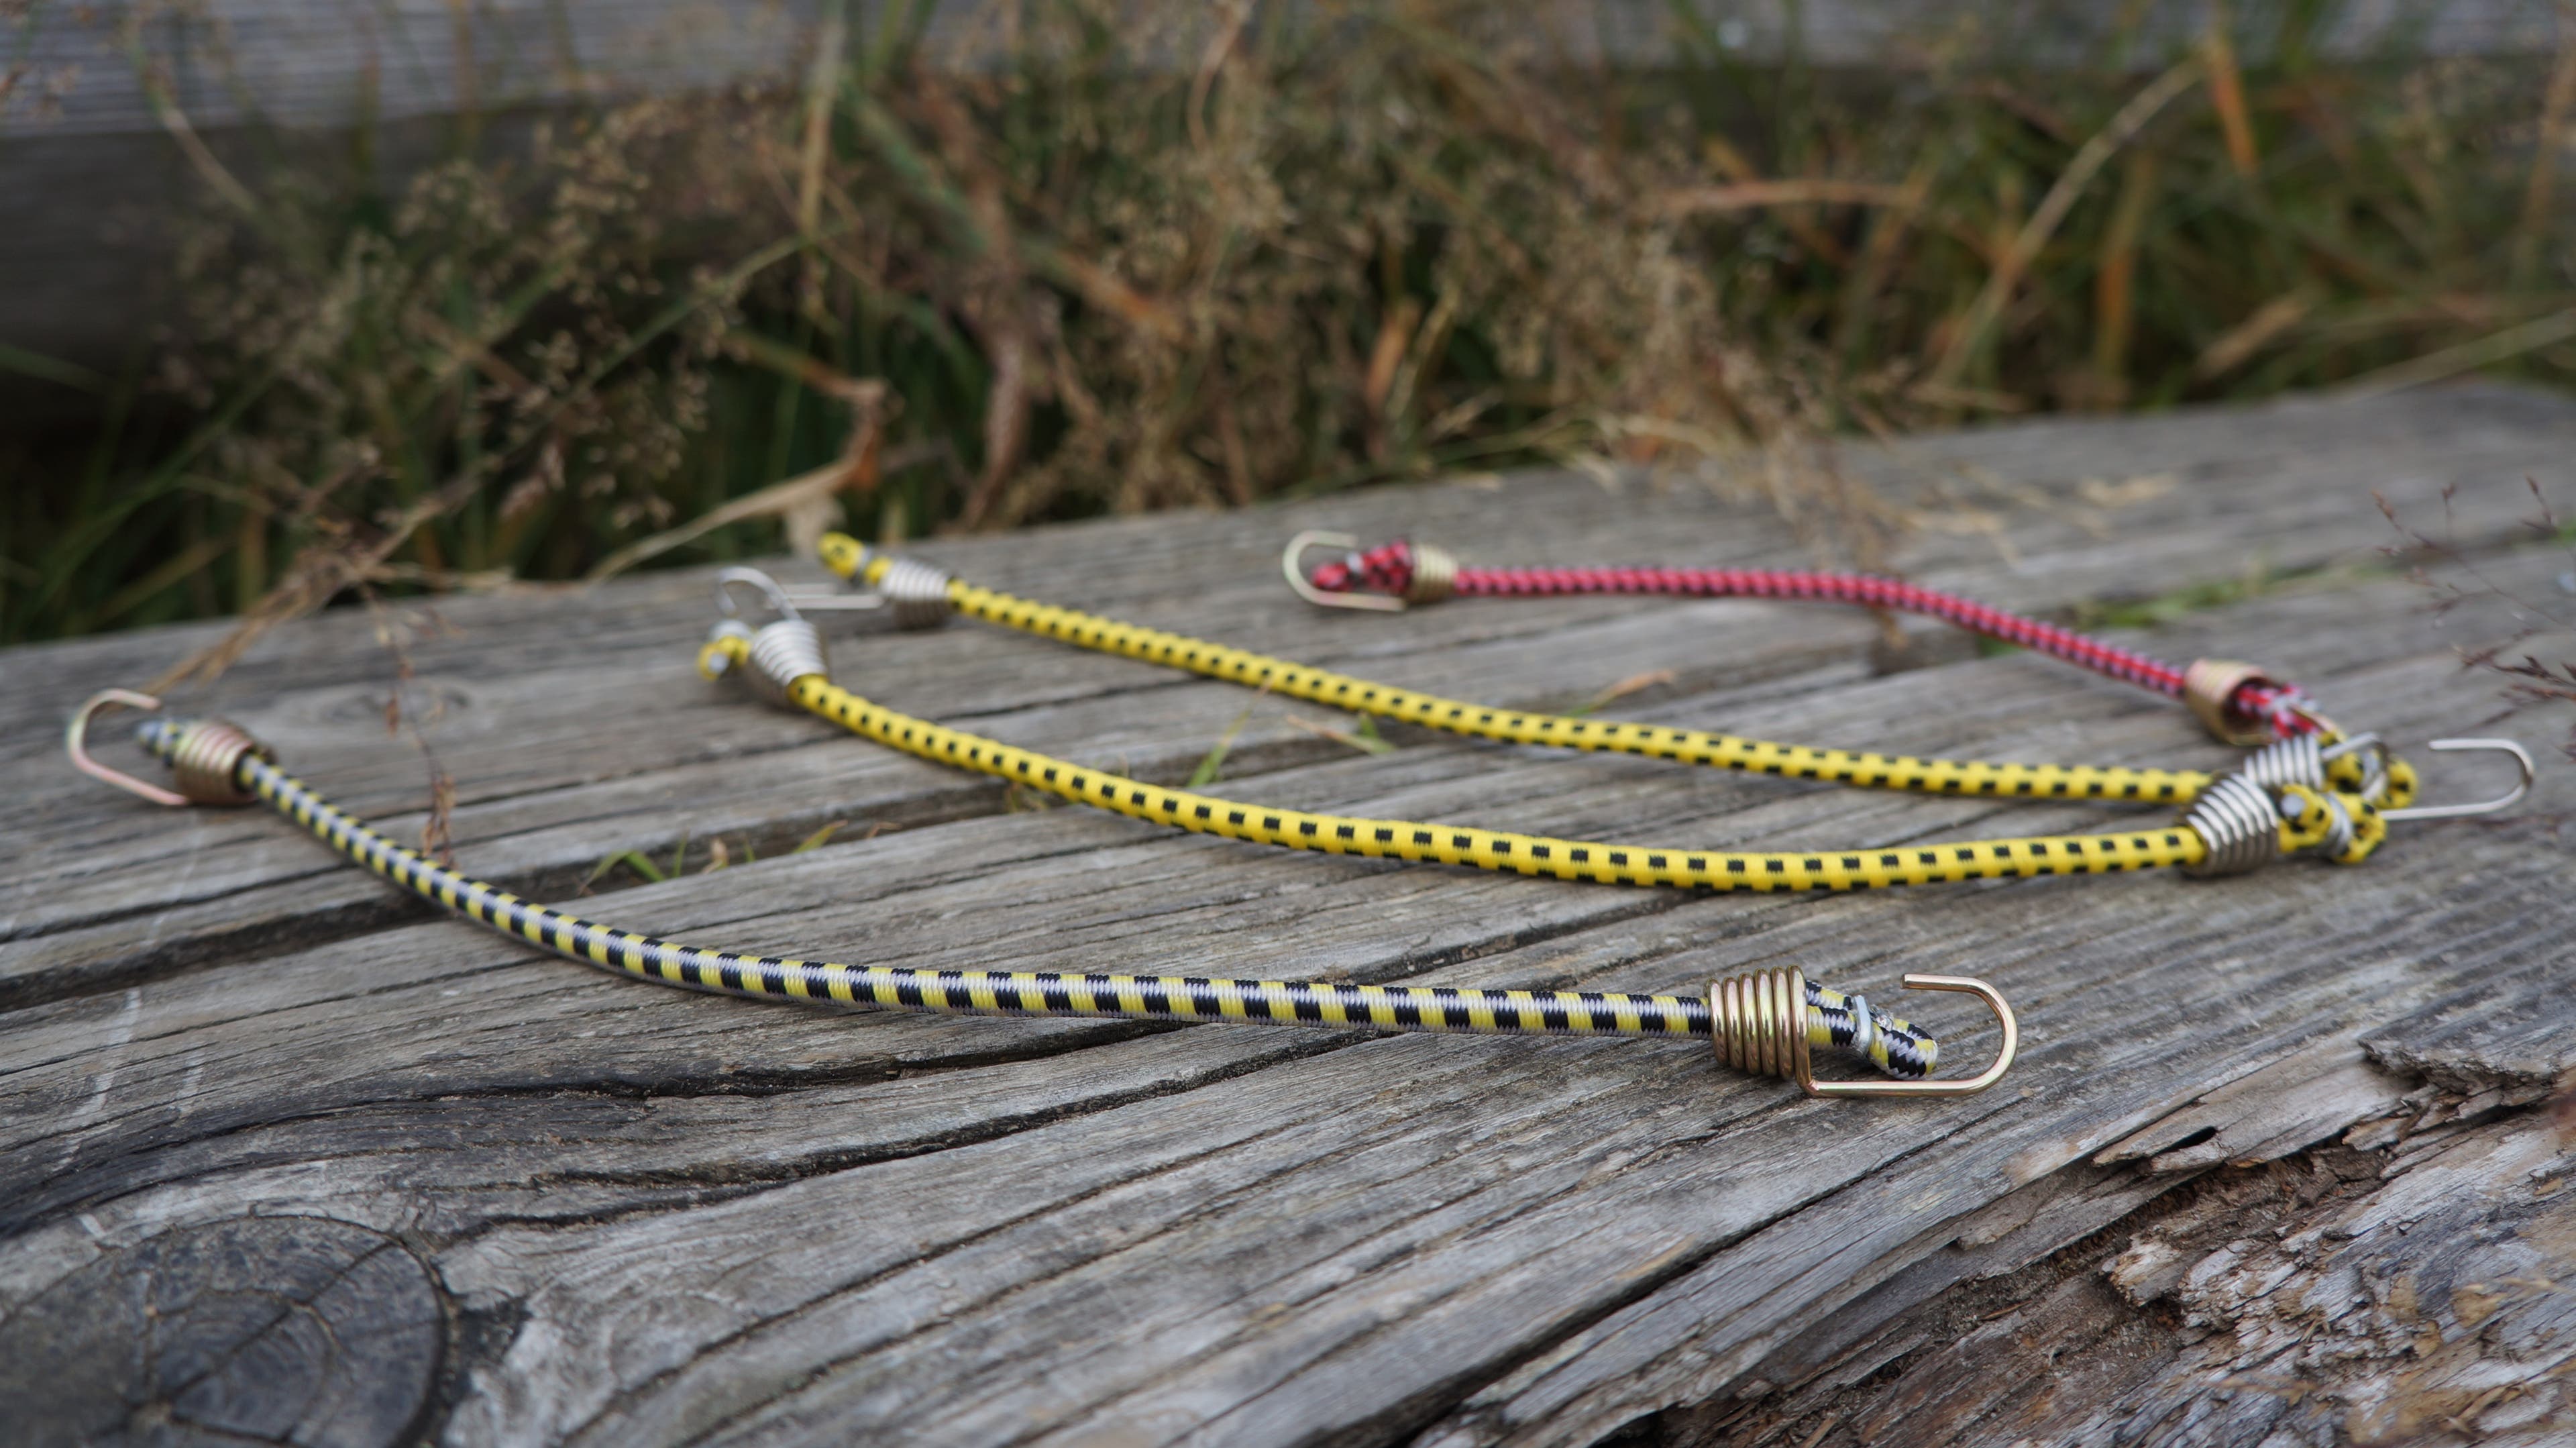
Get four bungee cords (two per shoe), about six inches in length. Experiment with lengths until you find the right one.
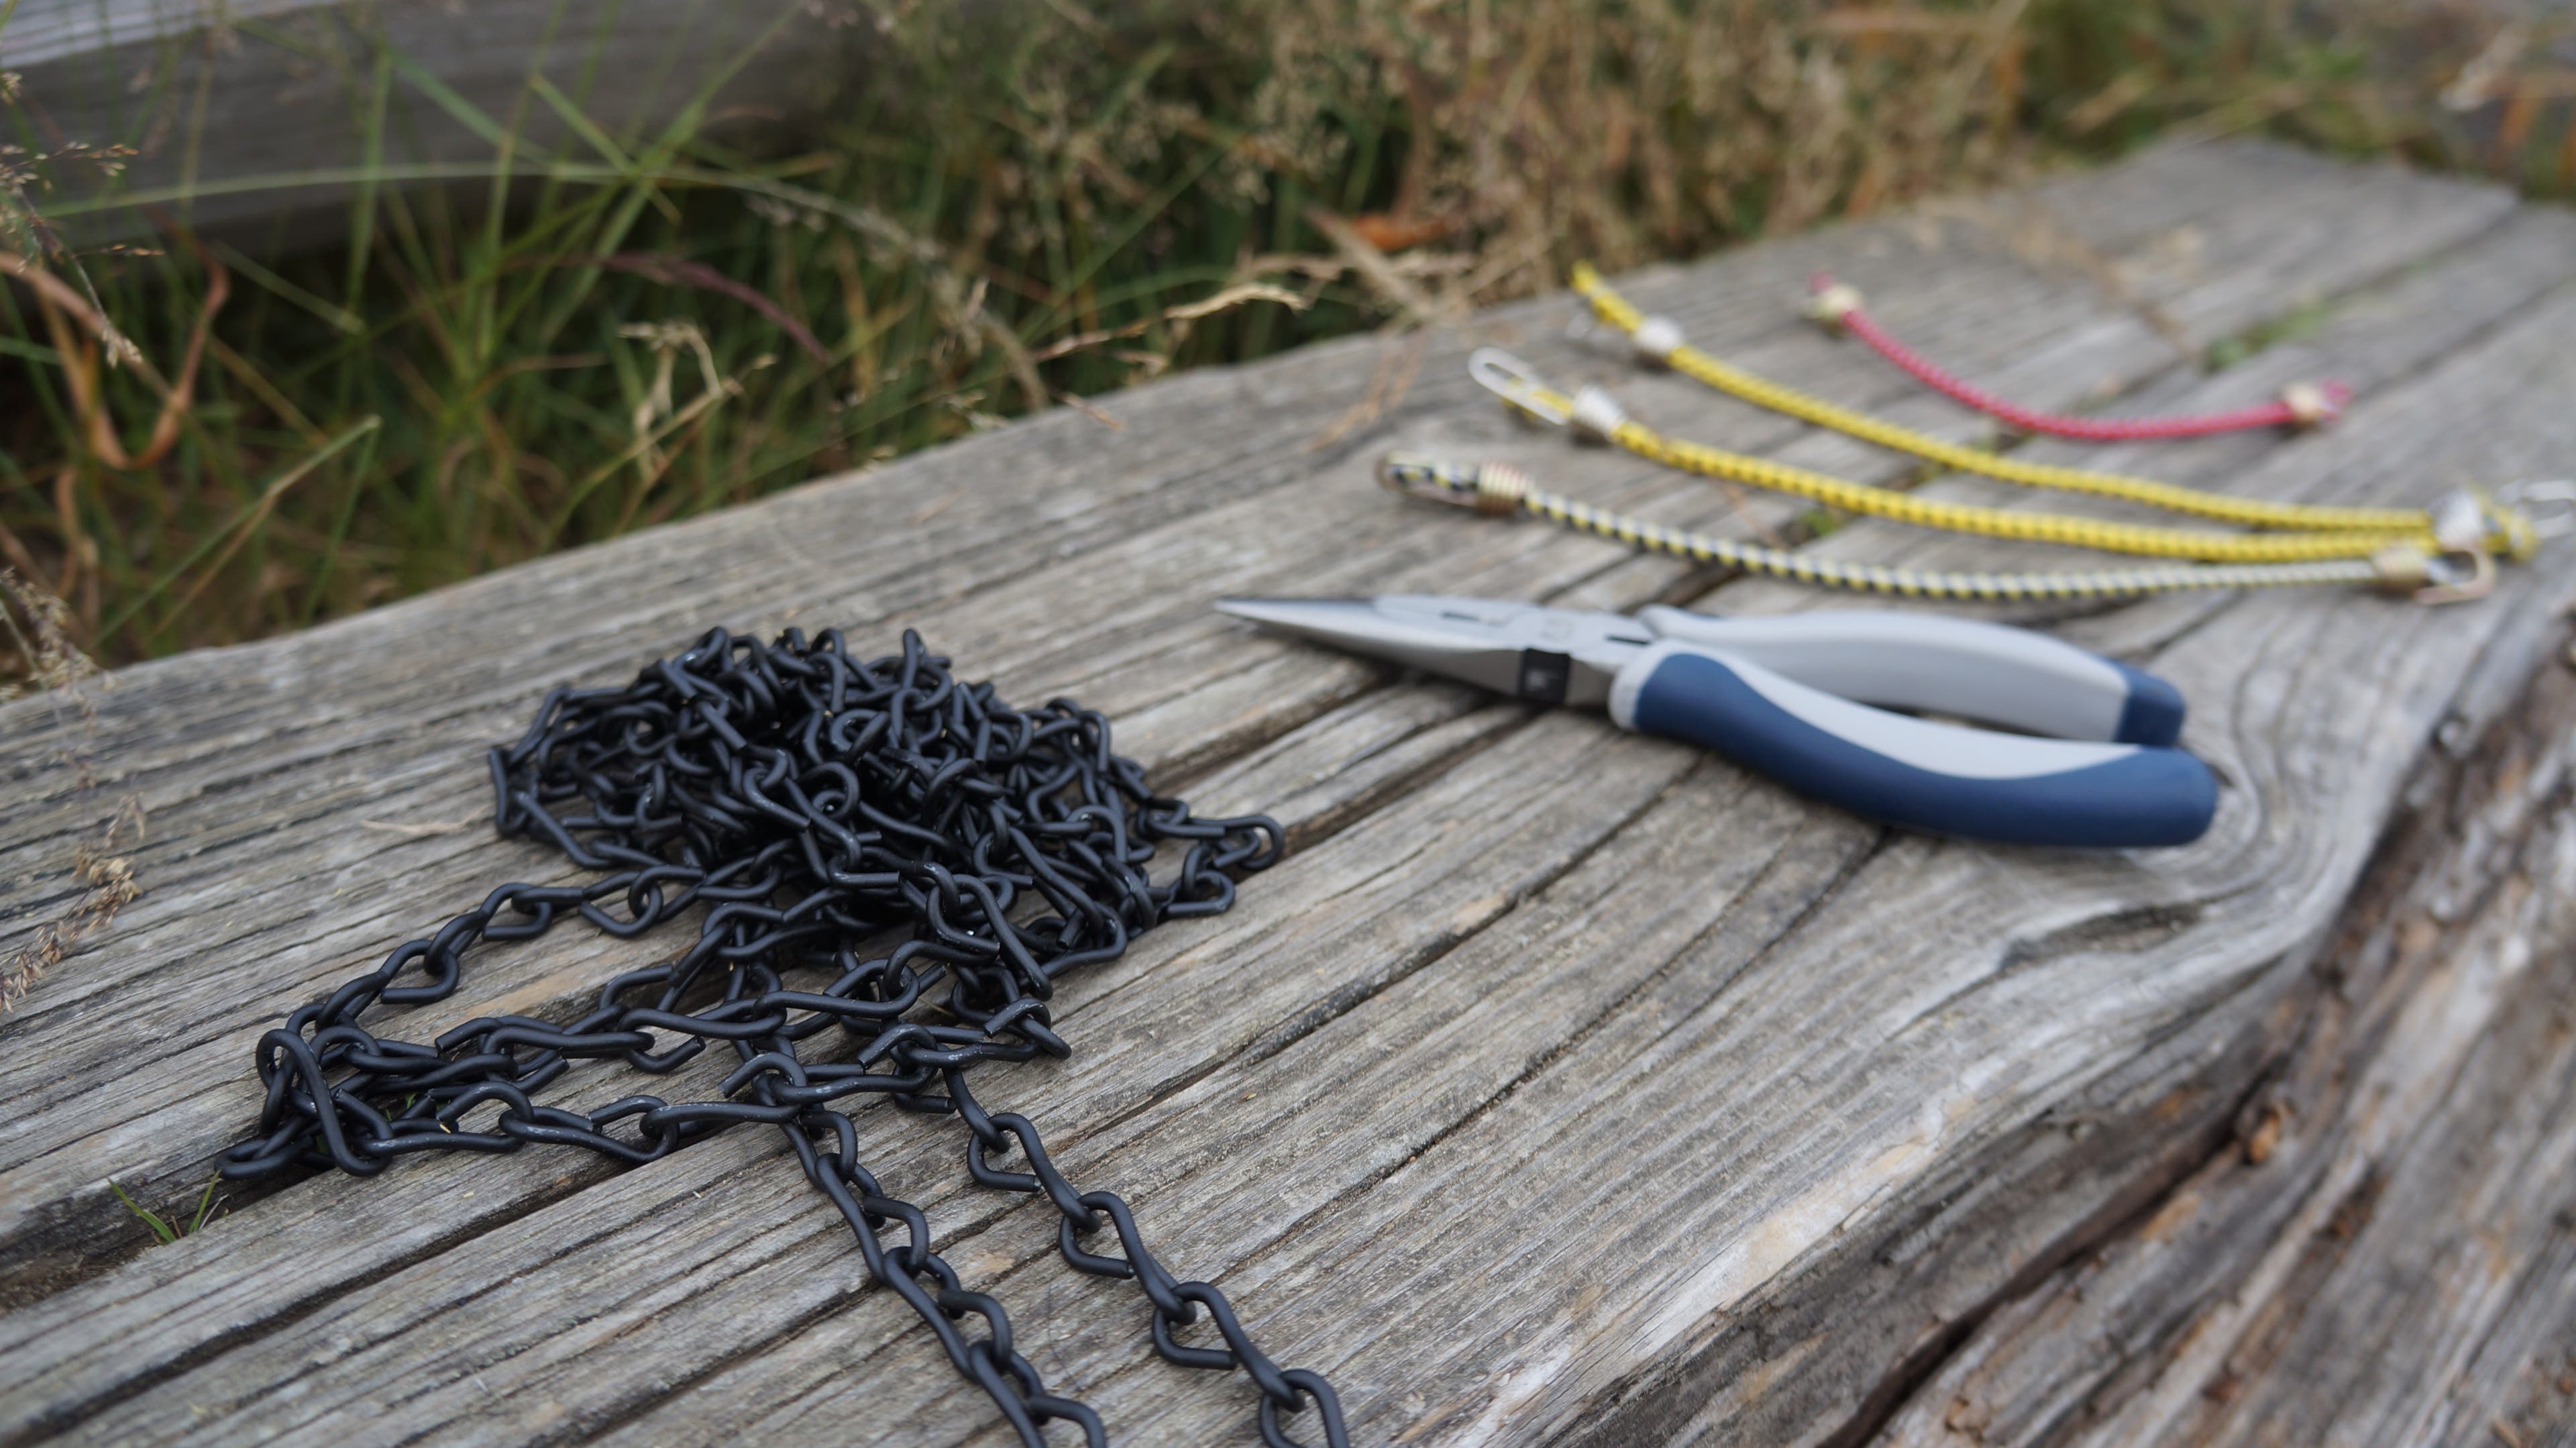
You’ll also need a pair of needlenose pliers and about 10-20 feet of small steel chain.
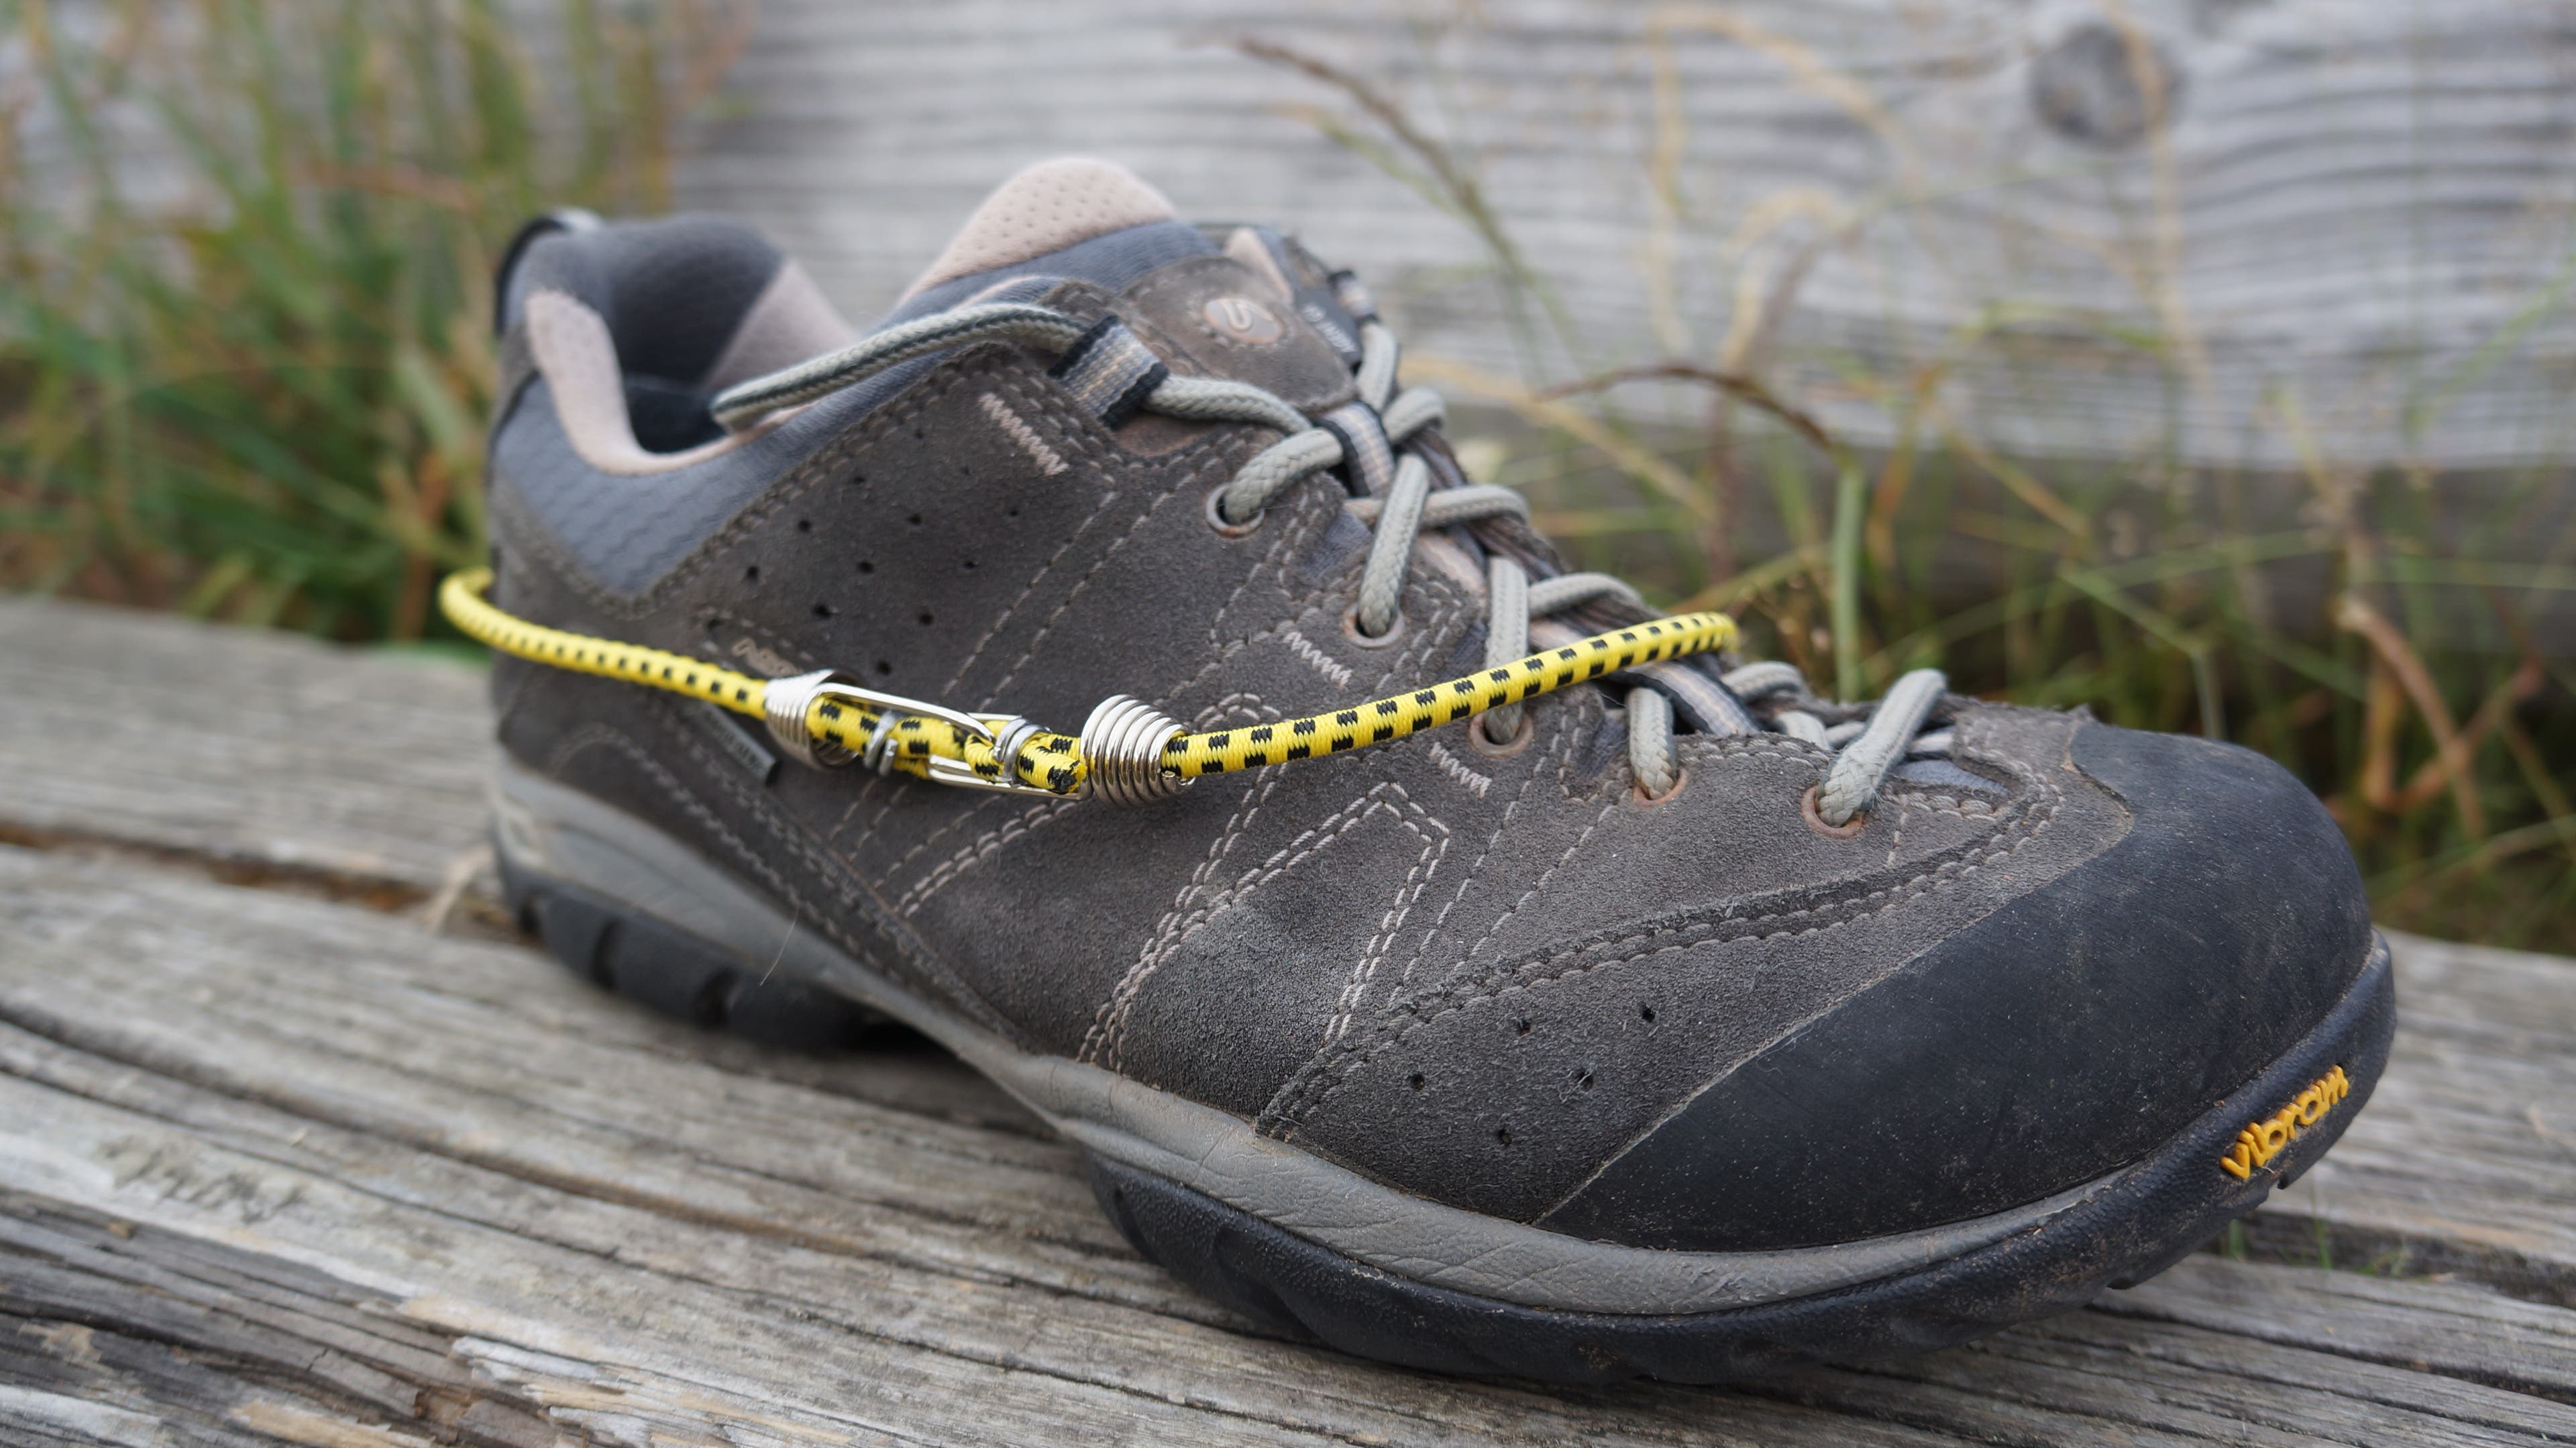
Make a loop from two bungees and place atop your shoe. Check for size: This will serve as the upper frame the traction chains will eventually attach to.
Bending chains to open links just takes a little elbow grease and leverage.
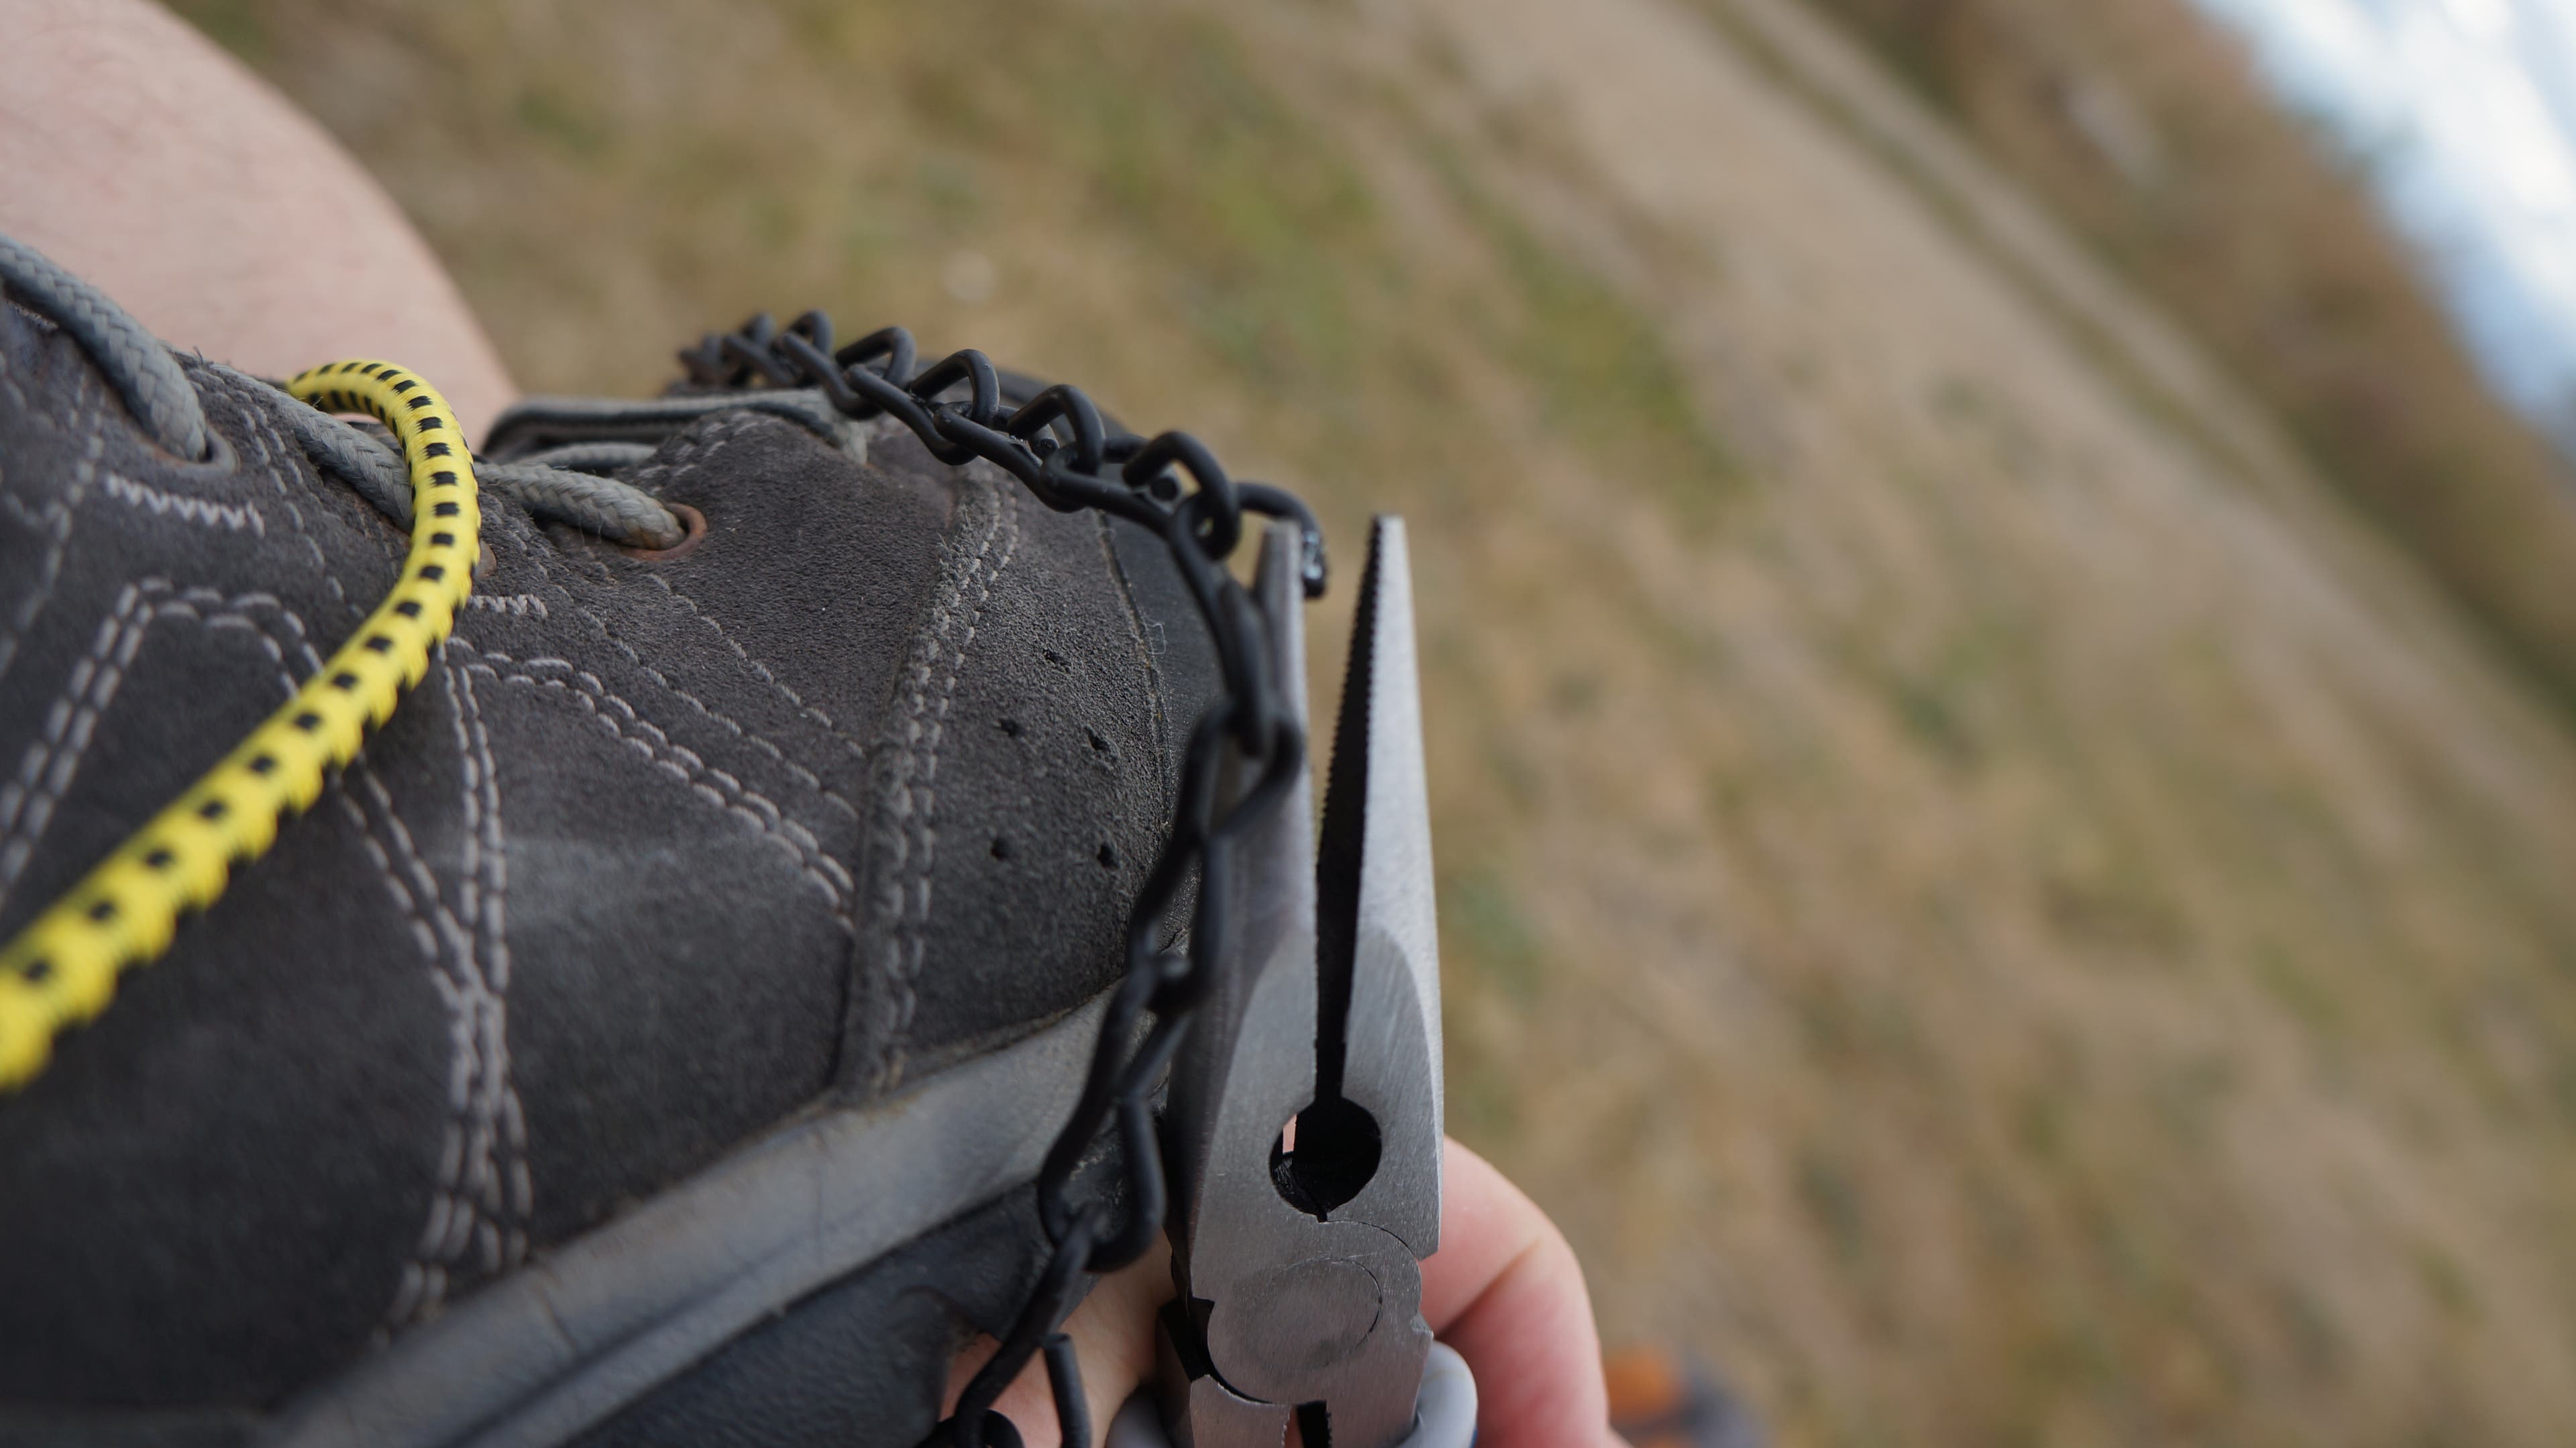
Measure out a chain to cross below your forefoot. The length should be snug, not loose, but not too tight. It should tug the bungee down just a hair.

Tip: refrain from pinching the chain tight on the bungee until you’re finished. That way you can add or remove lengths of chain as you adjust the fit.
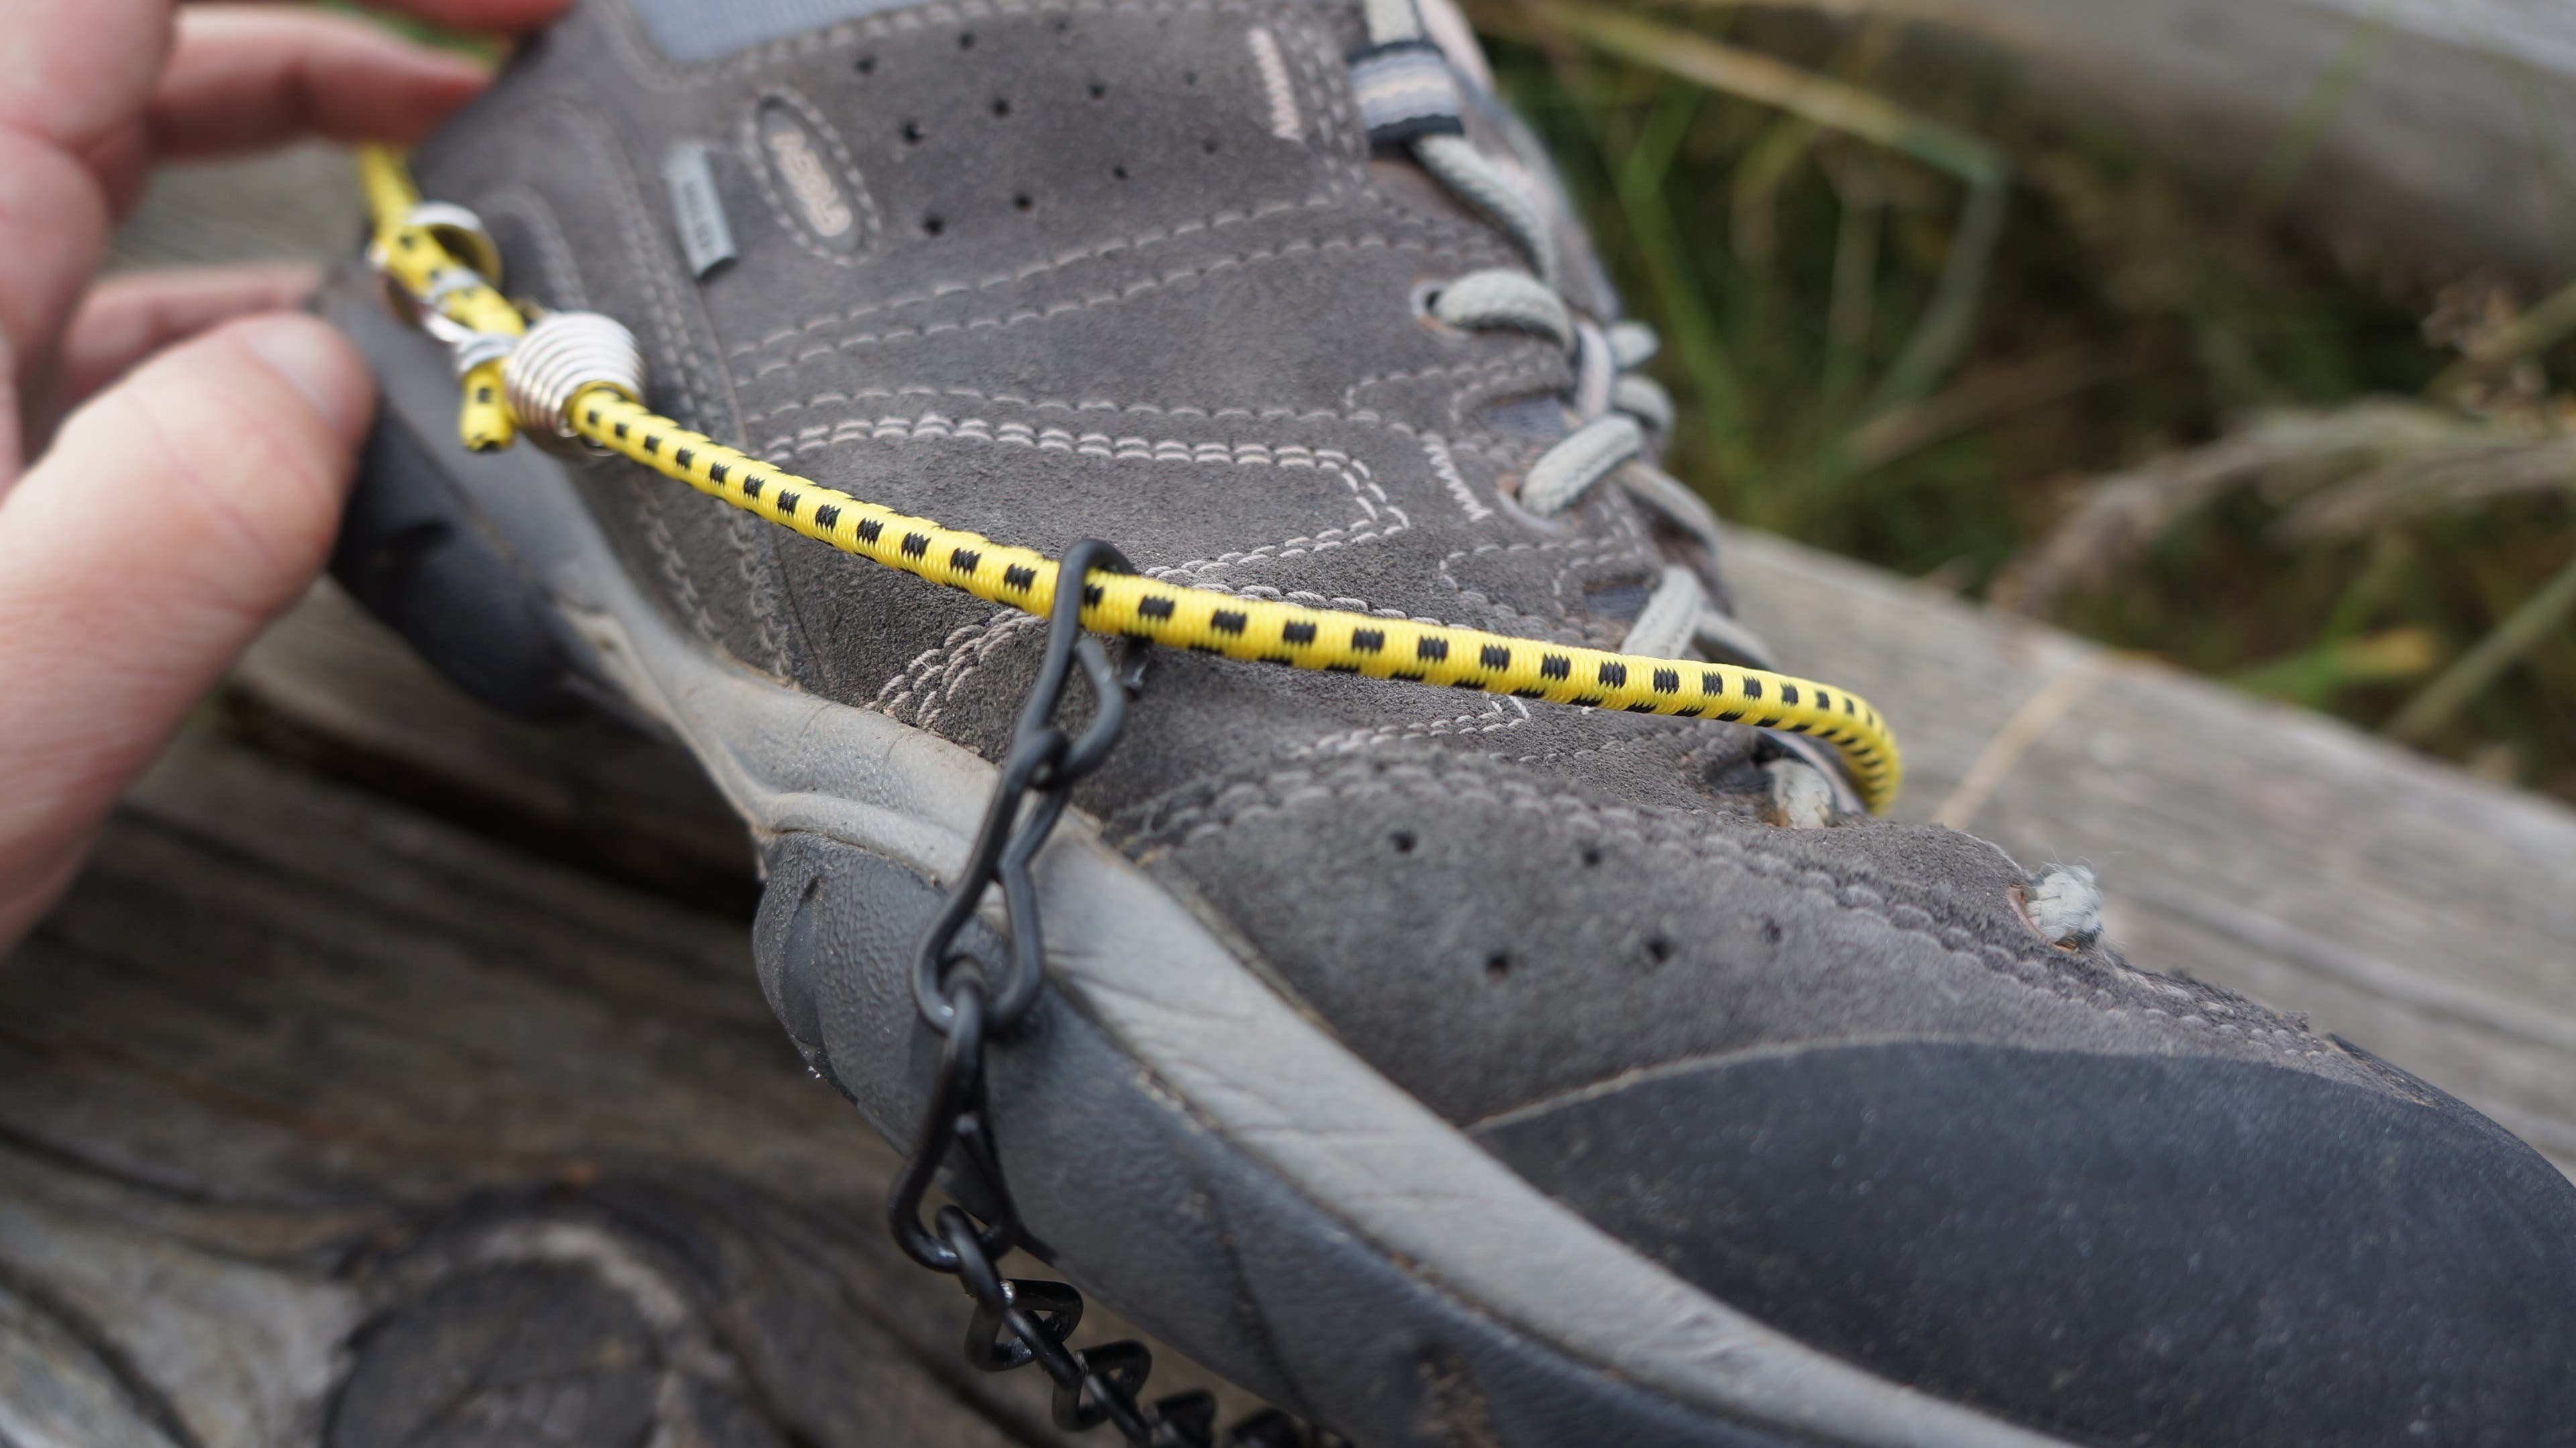
Eventually, you should have three chassis chains running across the forefoot, heel, and arch.

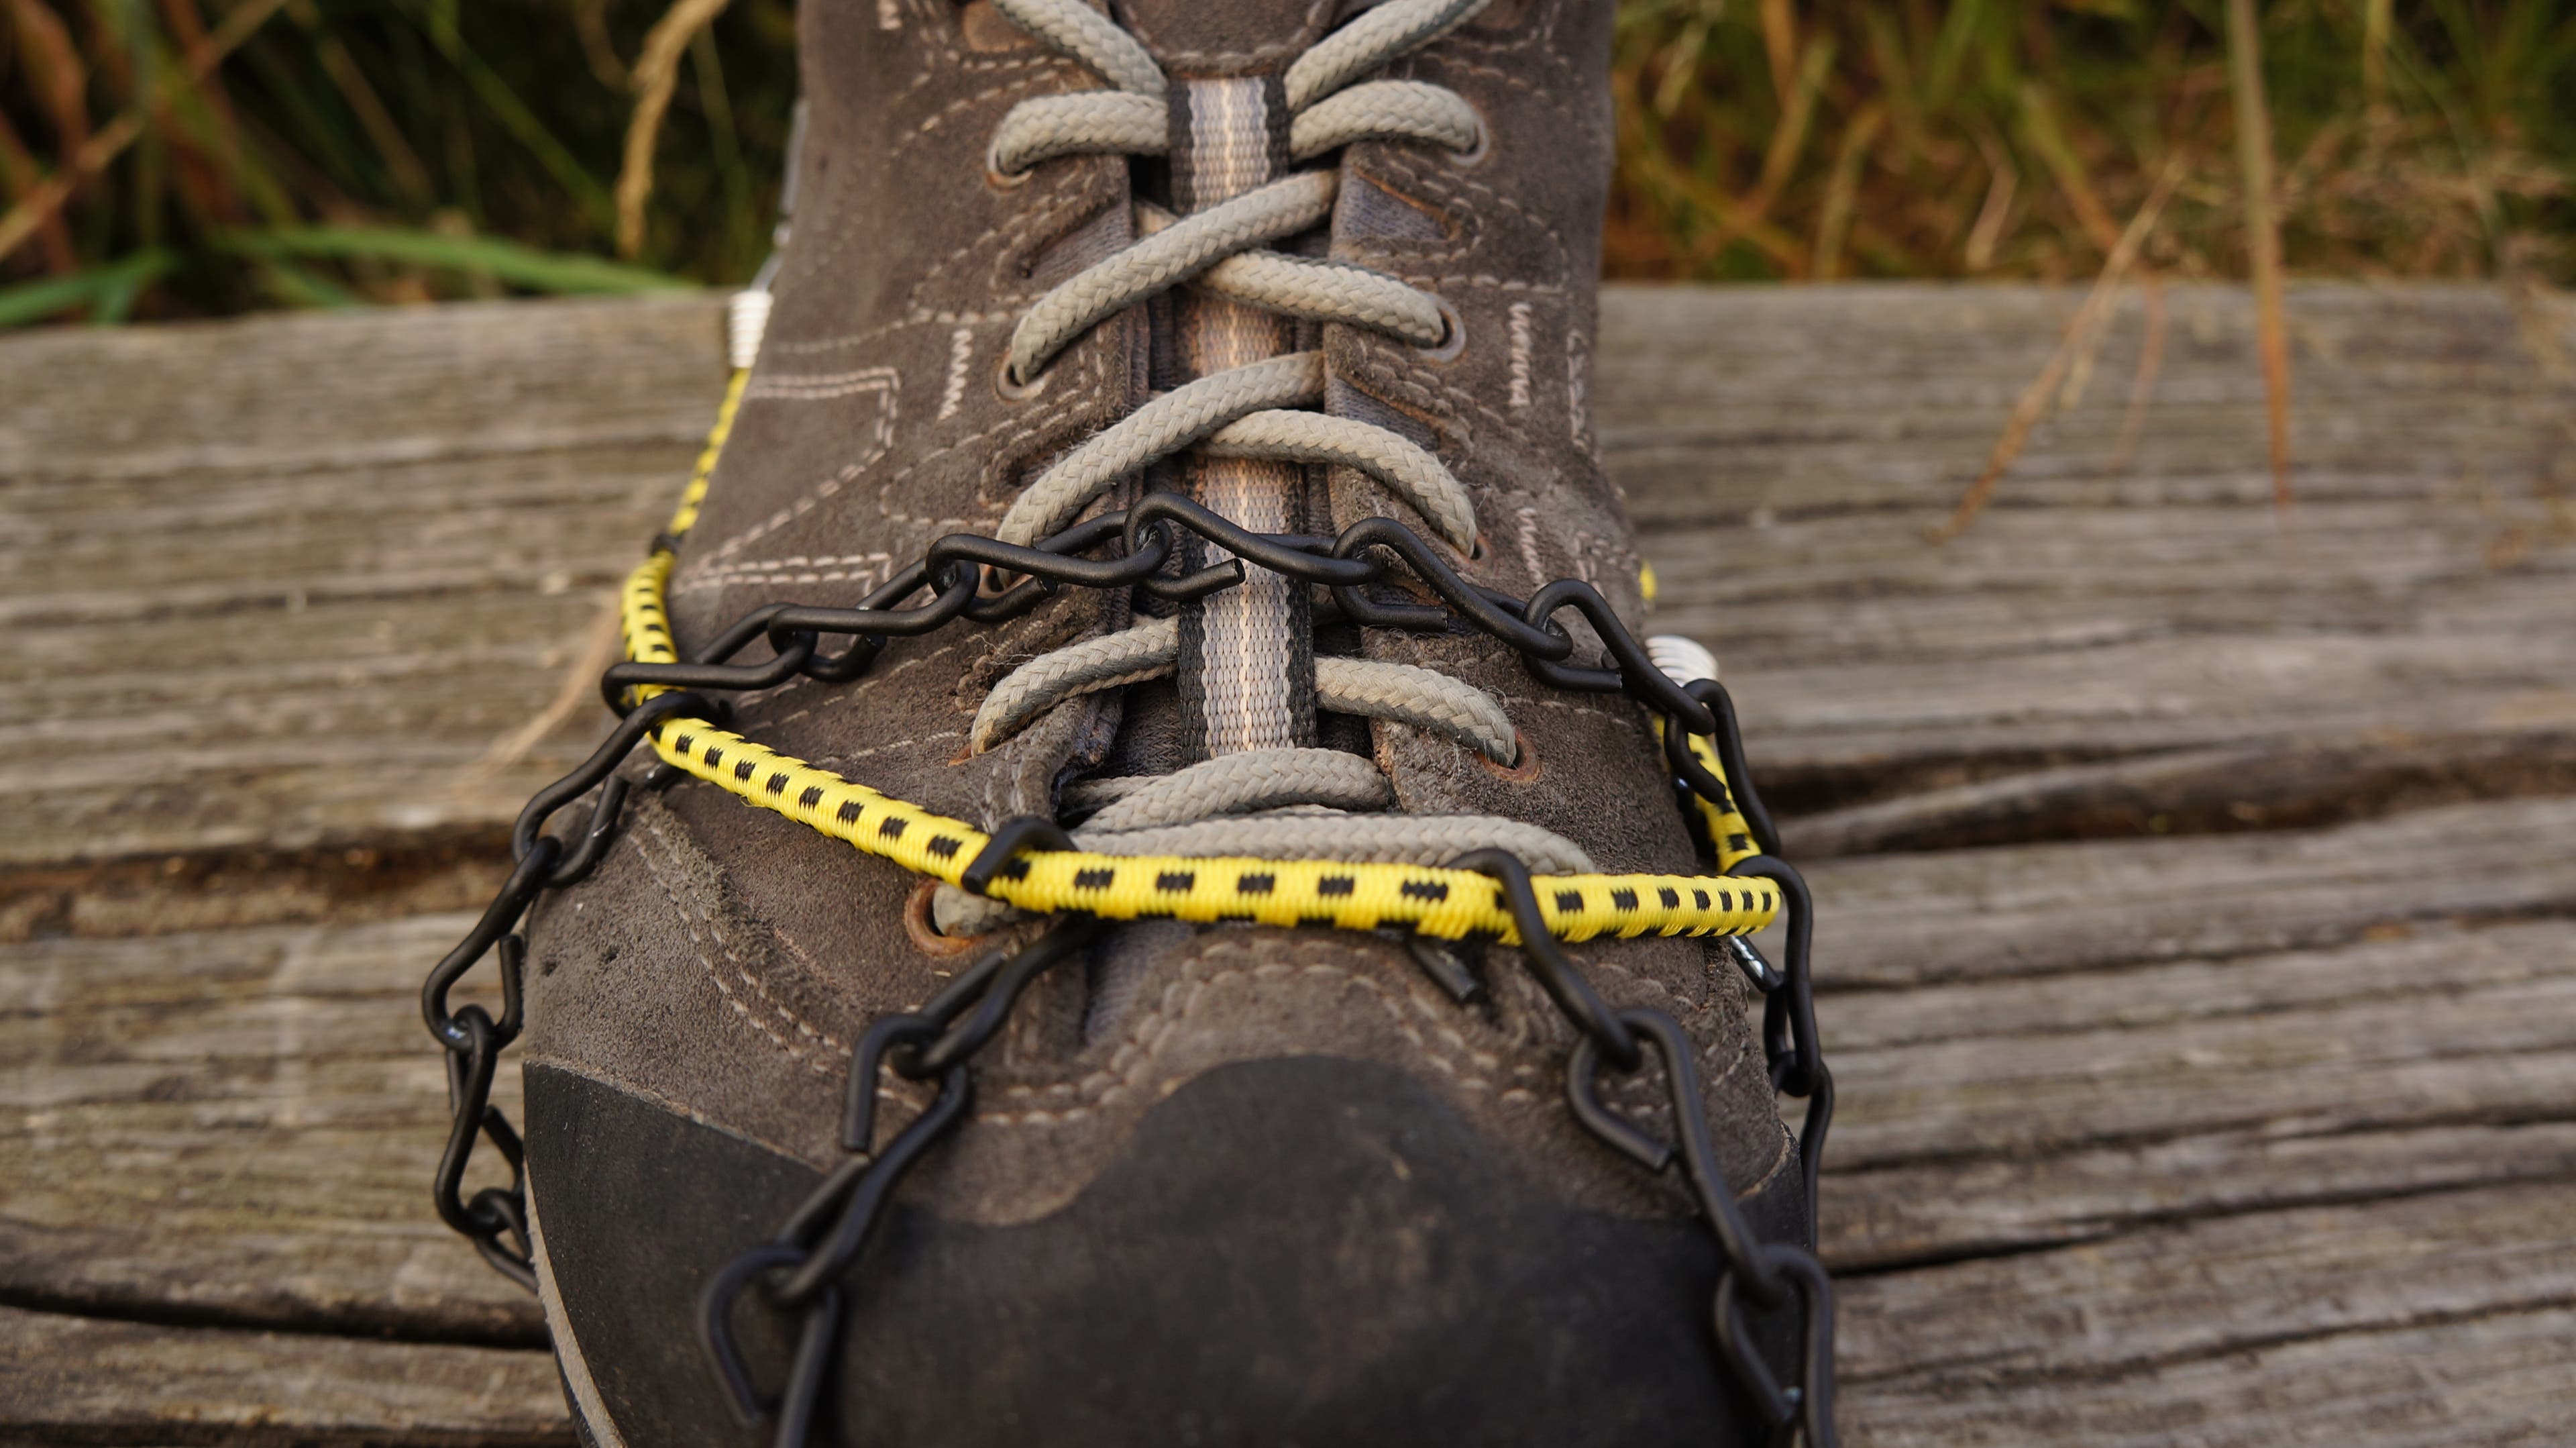
Now run a chain from the front of the bungee over the toe.
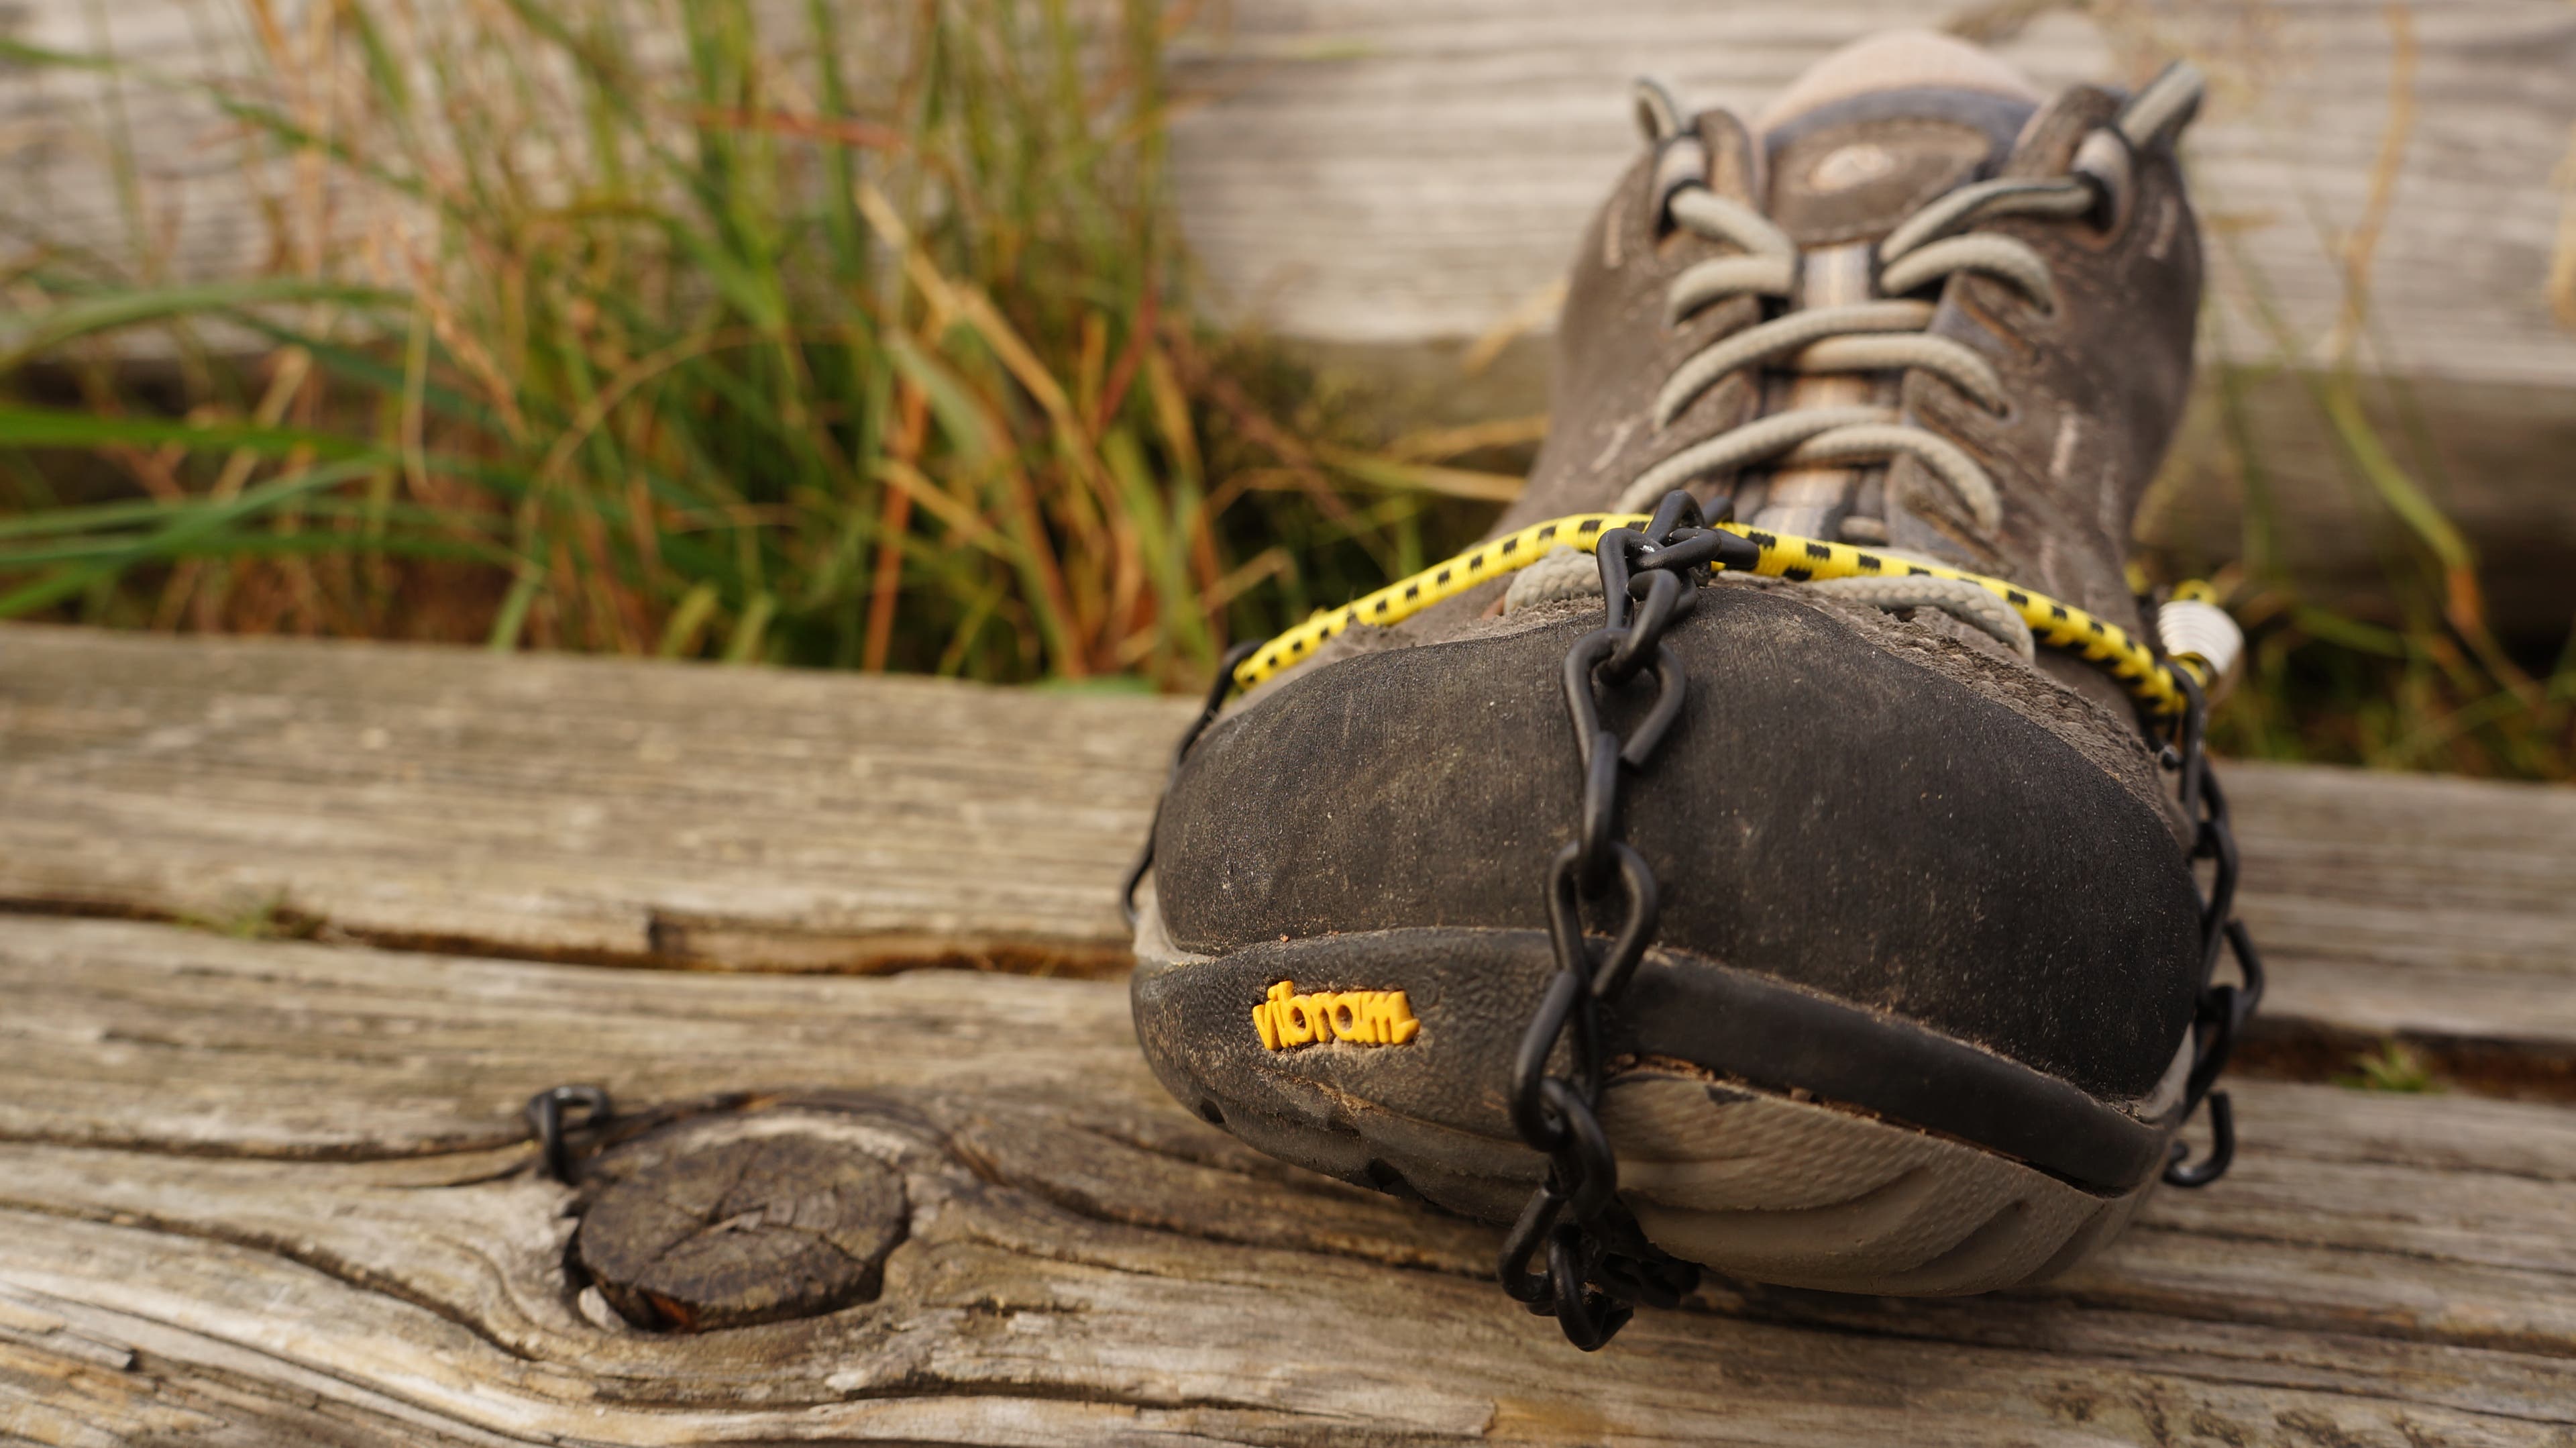
It connects underneath like so.
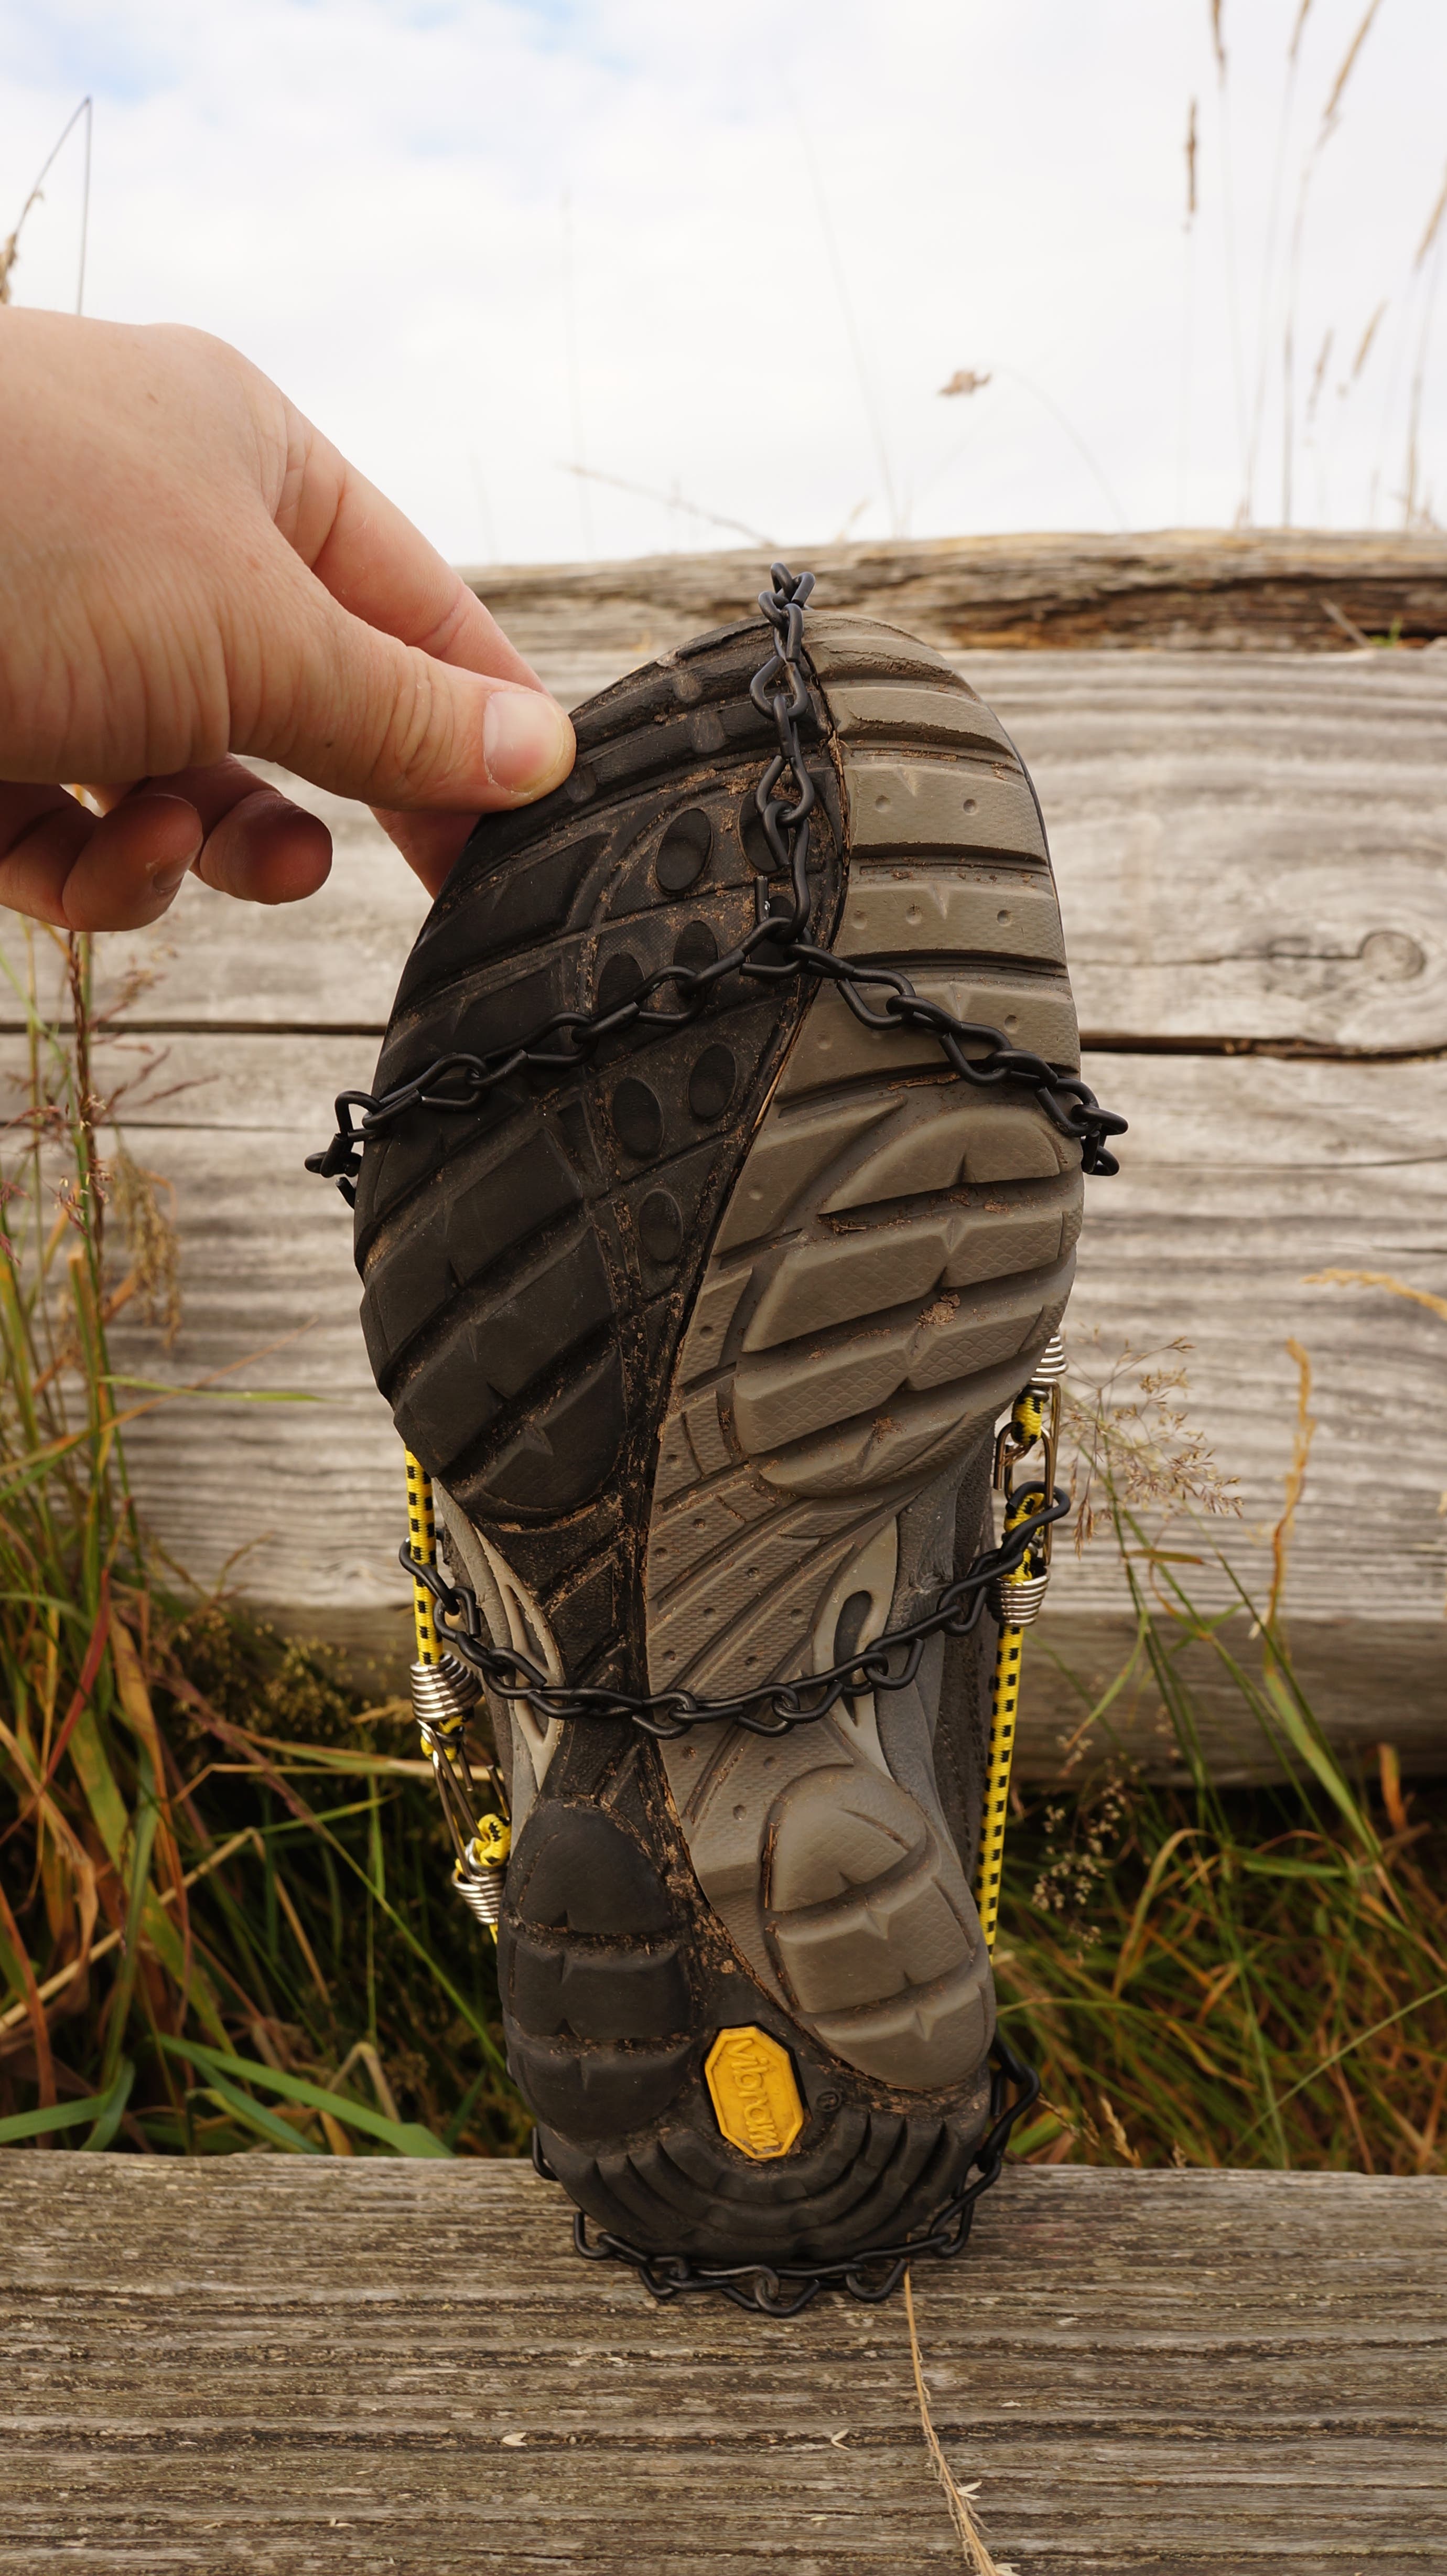
Continue adding links to create and ideal traction pattern for a chassis. Concentrate links in the forefoot, heel, and other contact points. Too much chain adds weight and can get tangled.
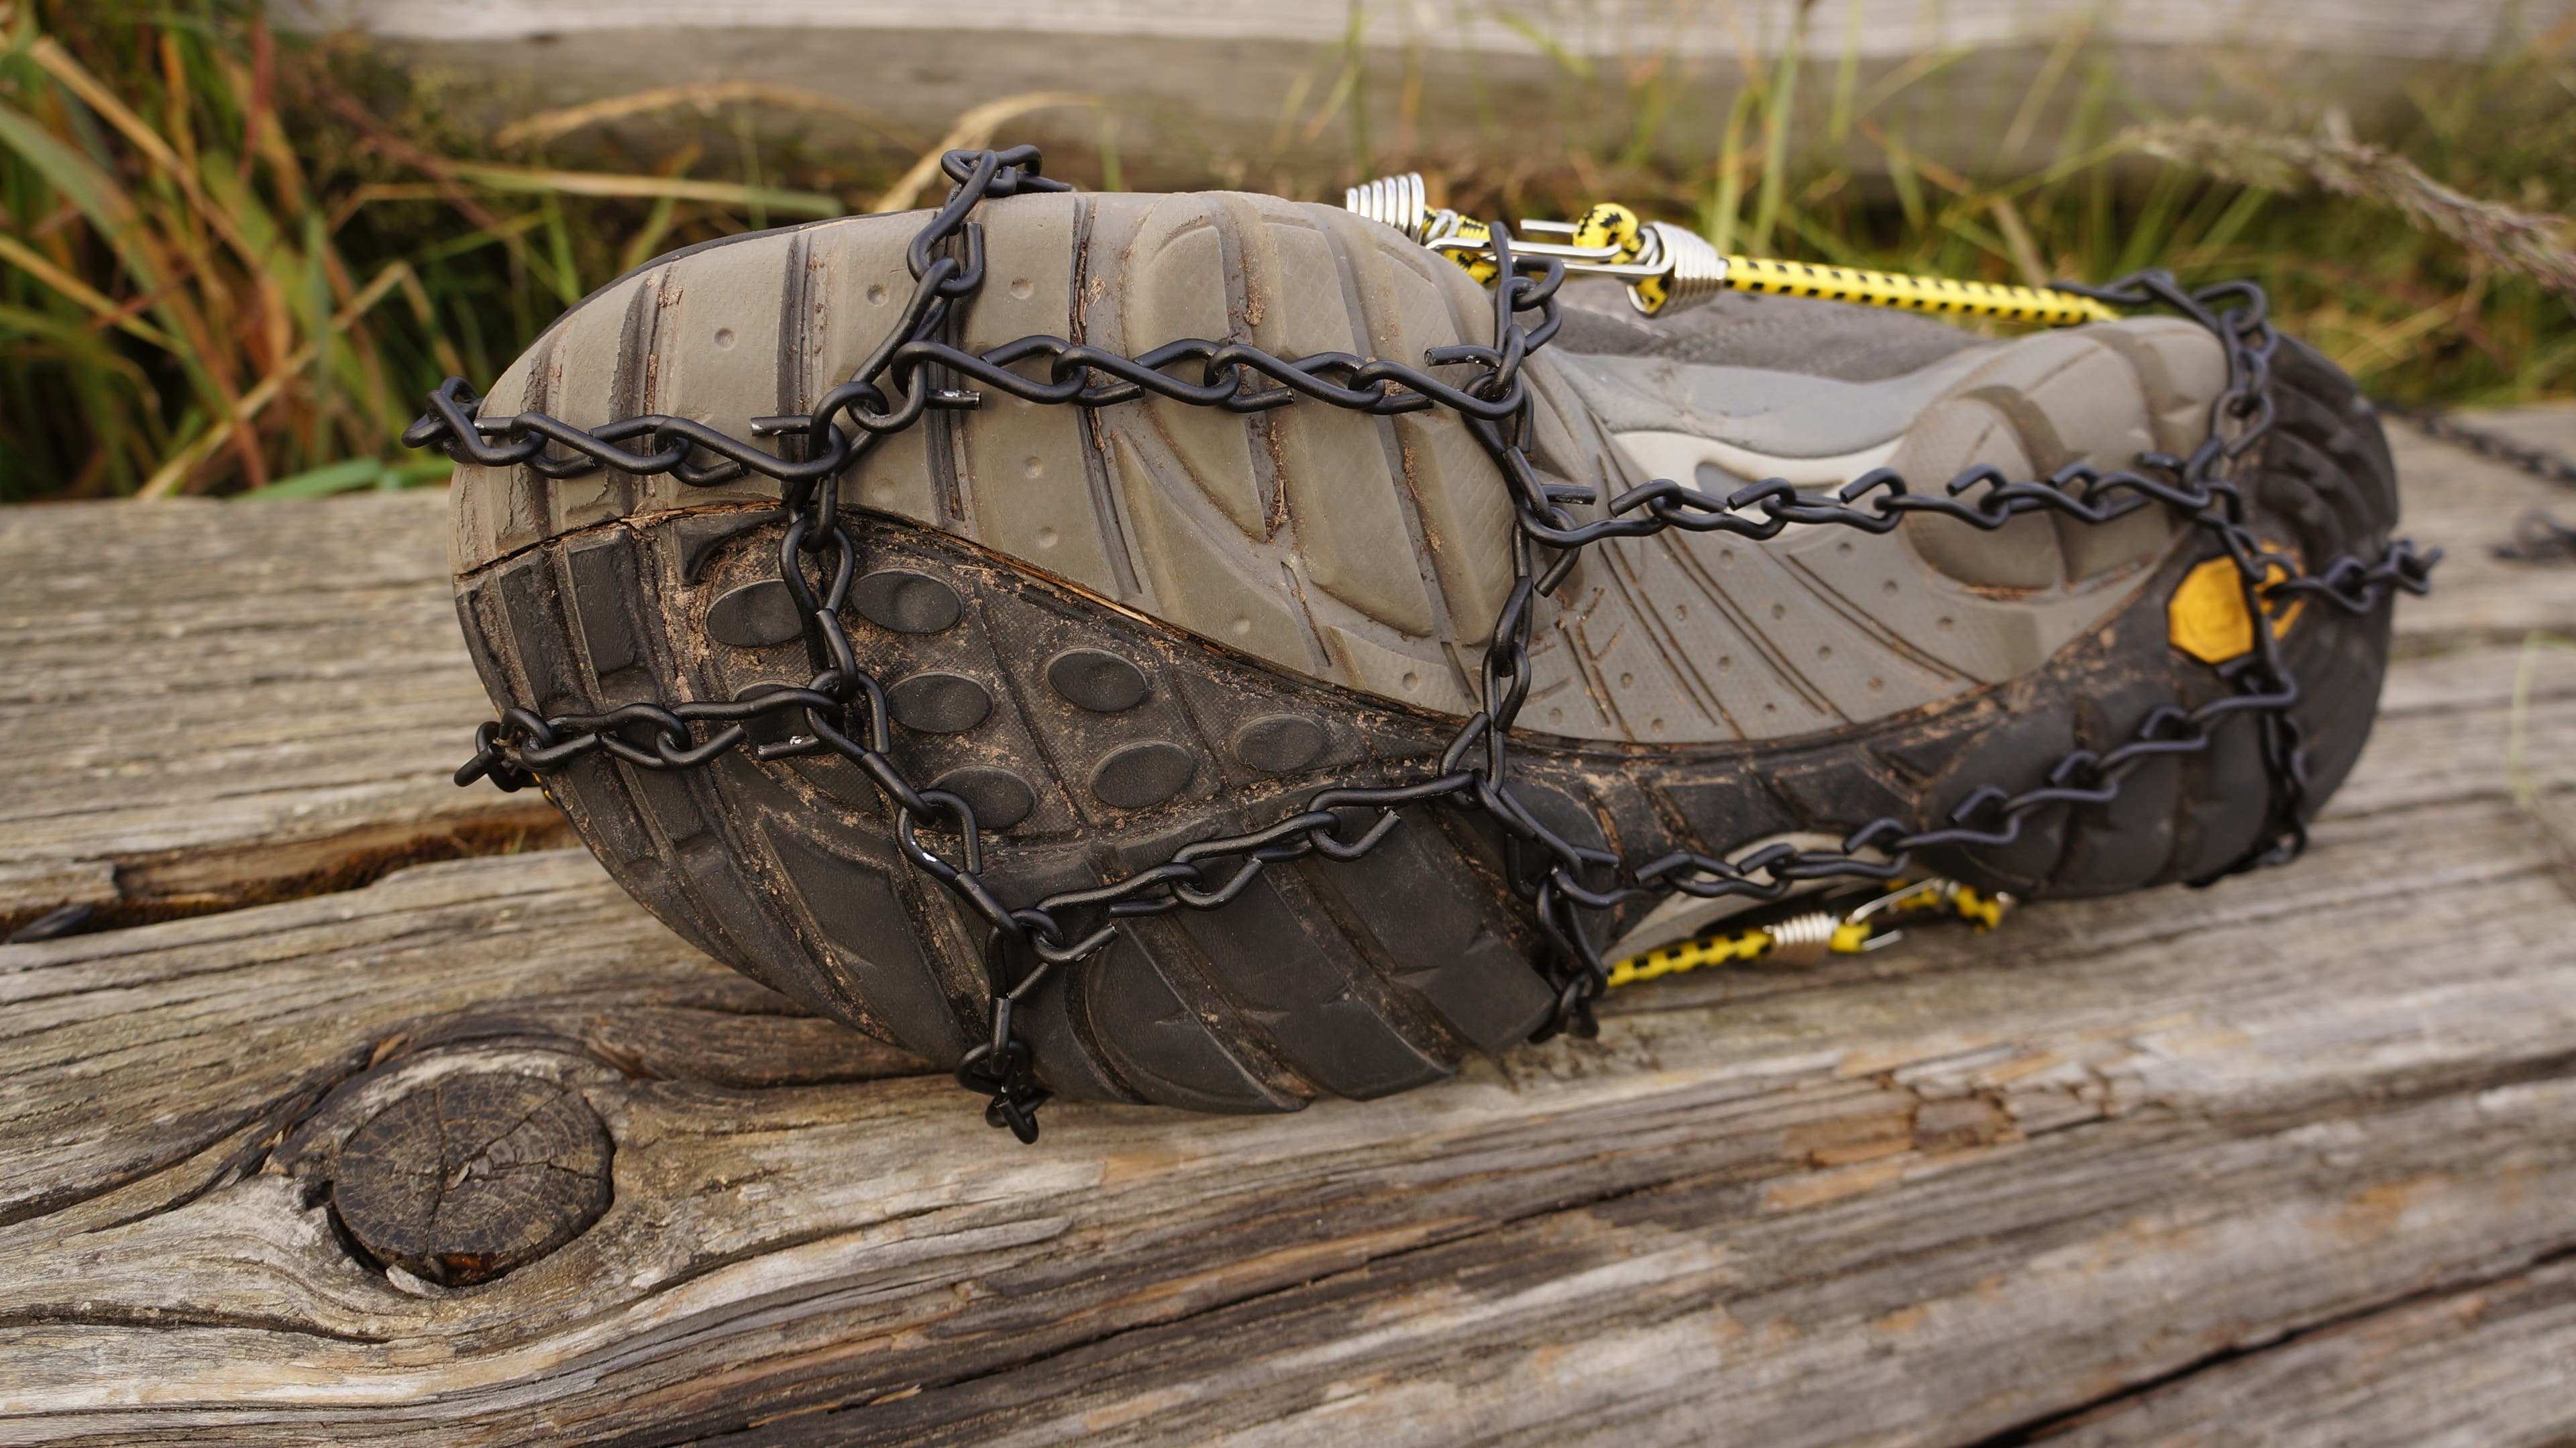
A chain section over the top of the foot can add extra stability and a more secure fit.
Once satisfied with fit, cinch the chain links shut.

Do the same with the bungee cord hooks.
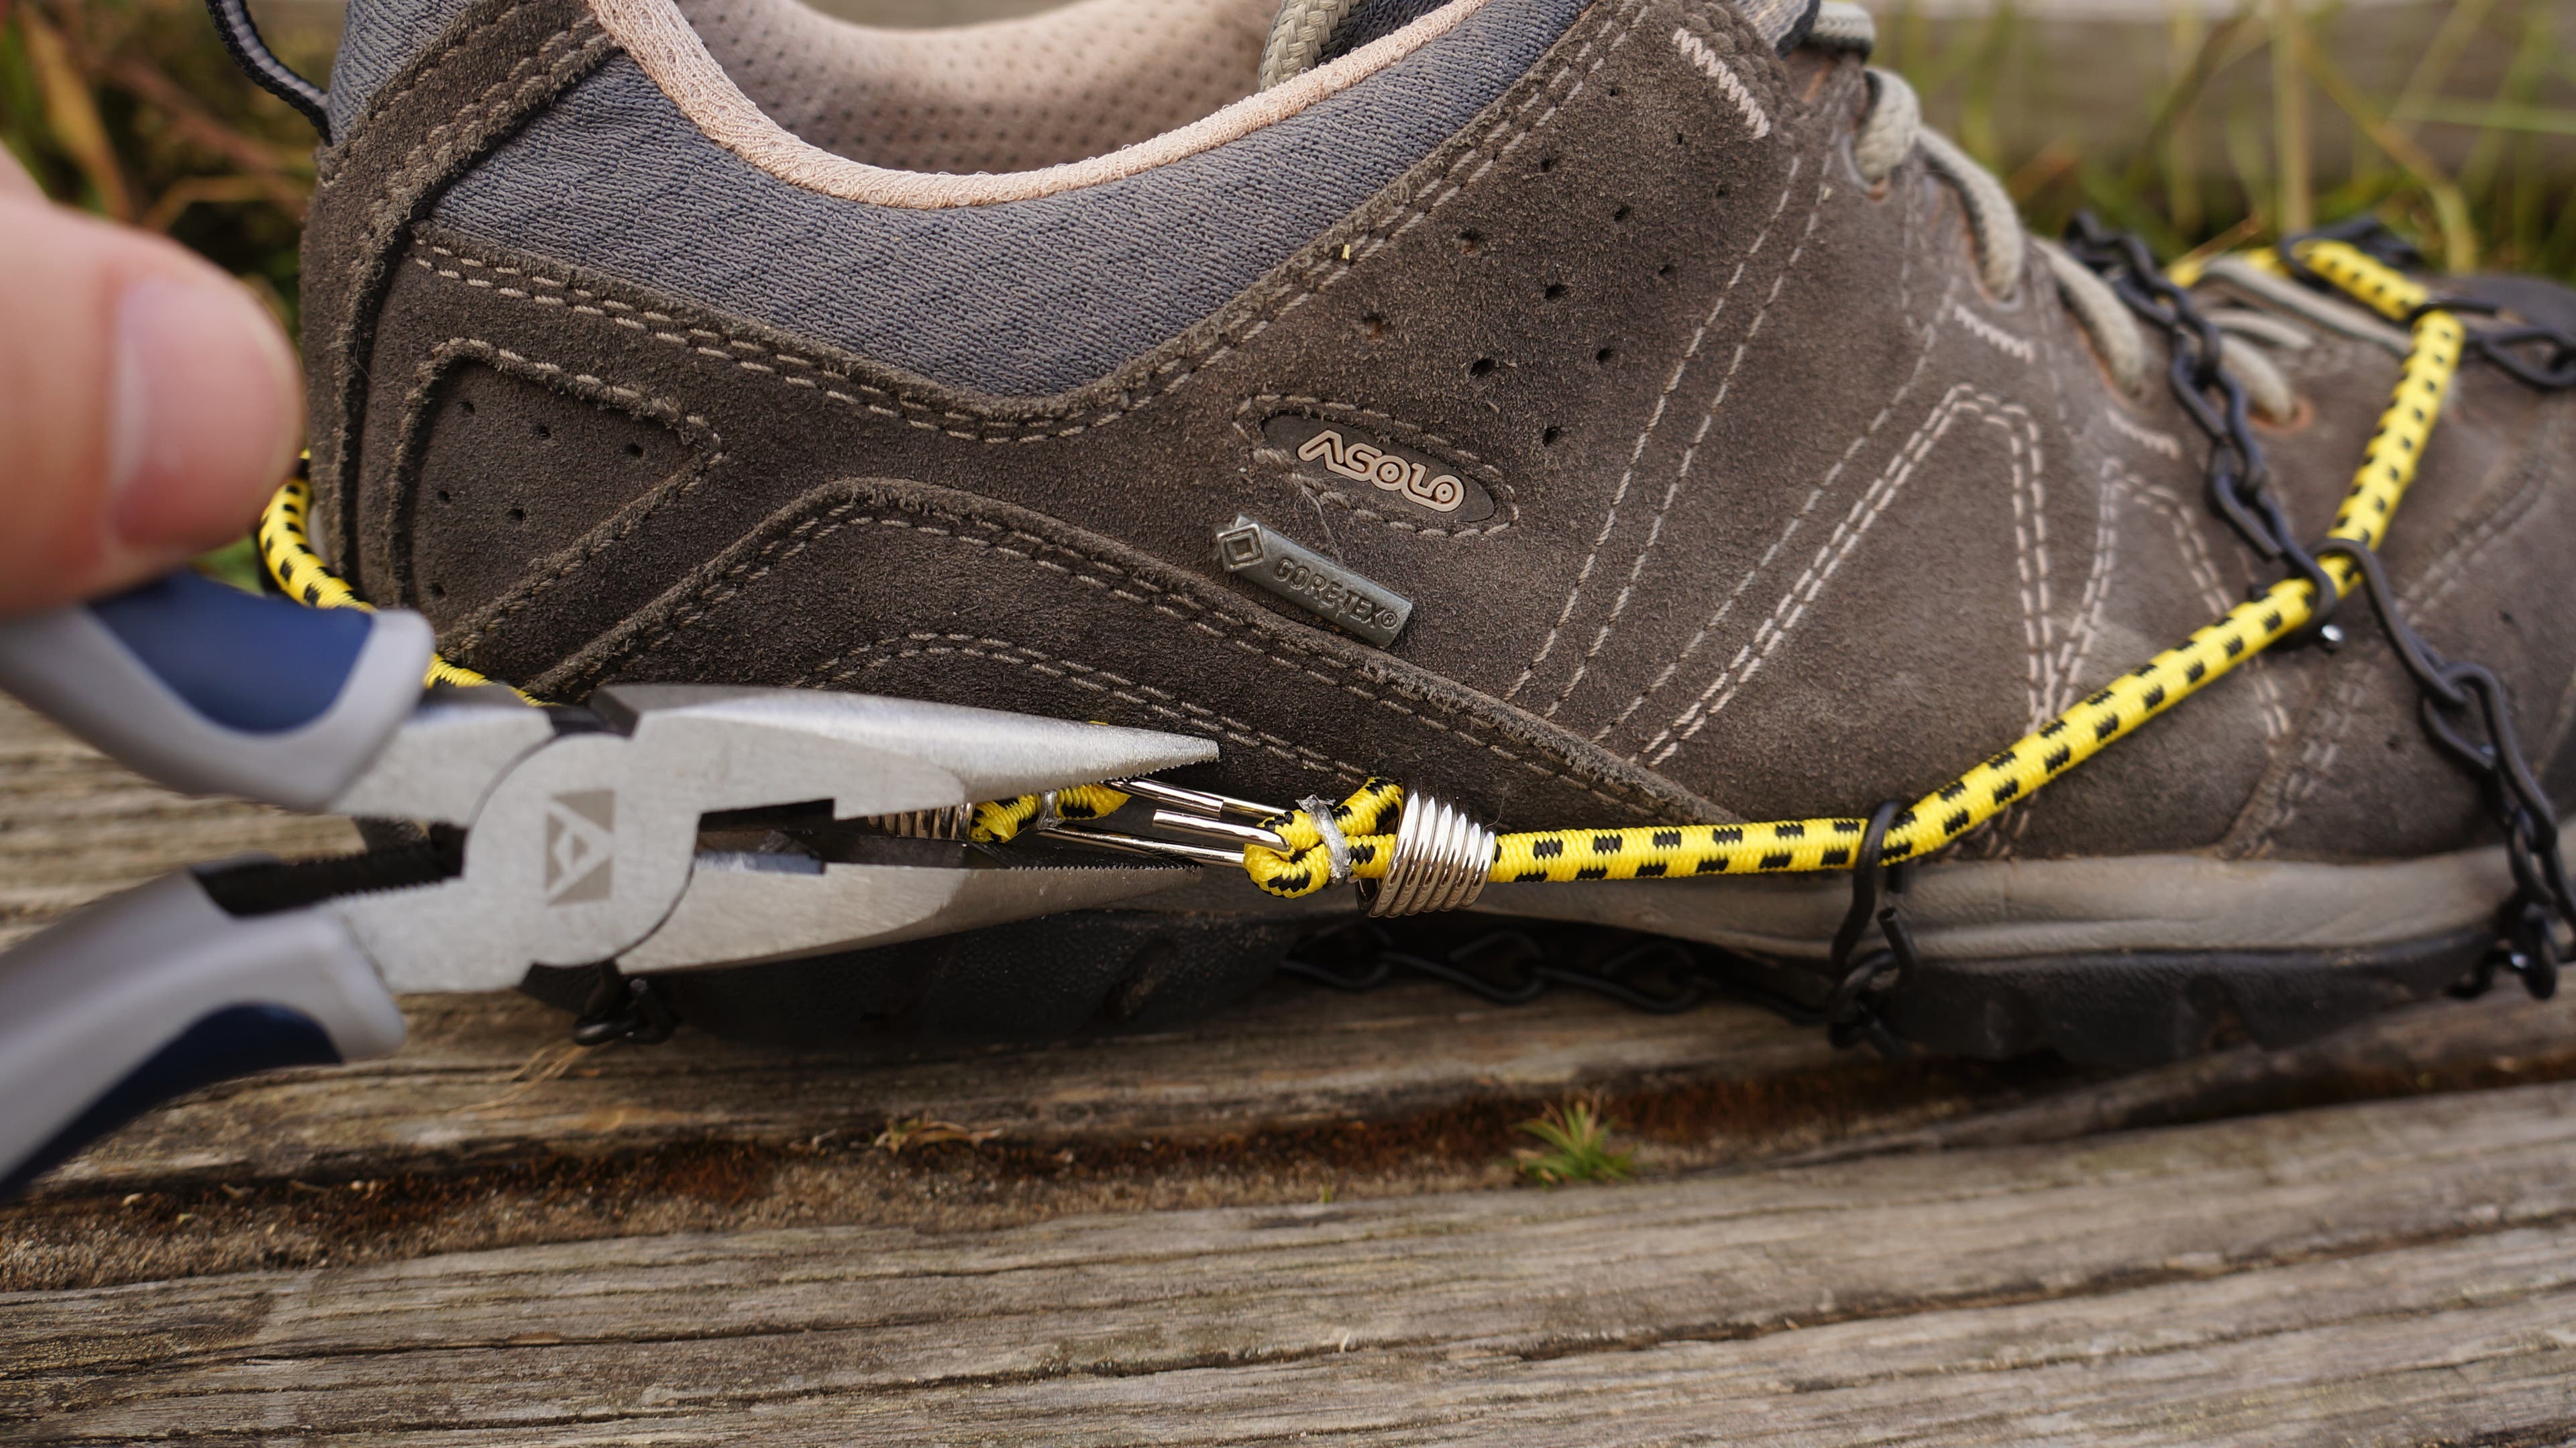
Voila! This DIY setup should work for multiple types of shoes of the same size, but your mileage may vary.
Upgrade your skills with our online Wilderness First Aid Basics class! Learn to conquer common problems and handle emergencies with grace. Start it instantly, complete it at your own pace, access it forever. Sign up now!

With just some bungee cord, about 10-20 feet of small steel chain, and a pair of needlenose pliers, you can build your own custom-fit traction devices for under $10.
Idea credit: rmlibby / Instructables