Signaling for Help Is the Most Important Survival Skill

(Photo: Cavan Images/Cavan via Getty Images)
In her monthly column, The Survivalist, Jessie Krebs writes about staying alive in dangerous backcountry scenarios. Krebs is a former Air Force S.E.R.E (survival, evasion, resistance, and escape) instructor and owner of O.W.L.S. Skills.
There is one basic survival skill that we rarely hear about on reality TV shows and survival movies. This particular skill isn’t thrilling or flashy—but it is the most likely to save your life. It’s signaling
If you signal for help early and do it well, you may not need to find water, make a shelter, figure out how to keep a wound from getting infected, and so on. Instead, you’ll soon be nestled back home, snug in a hotel, or picking through the hospital tray for something resembling food—preferably with all your bodily accouterments intact.
There are three primary methods of getting noticed in the backcountry. Take a moment before reading on to see if you can guess them. Ready? Let’s see how you did.
Most of my students mention a whistle right off the bat. I call this the “half-signal,” though that’s a generous characterization. A whistle will not reach a ridgeline two miles away, or a helicopter, or even a person driving with the windows down on the nearest road. Sound has an extremely limited range and only helps when someone is paying attention and has already gotten pretty darn close to your position. The following methods are much more effective ways of flagging down help.
Electronic Signals
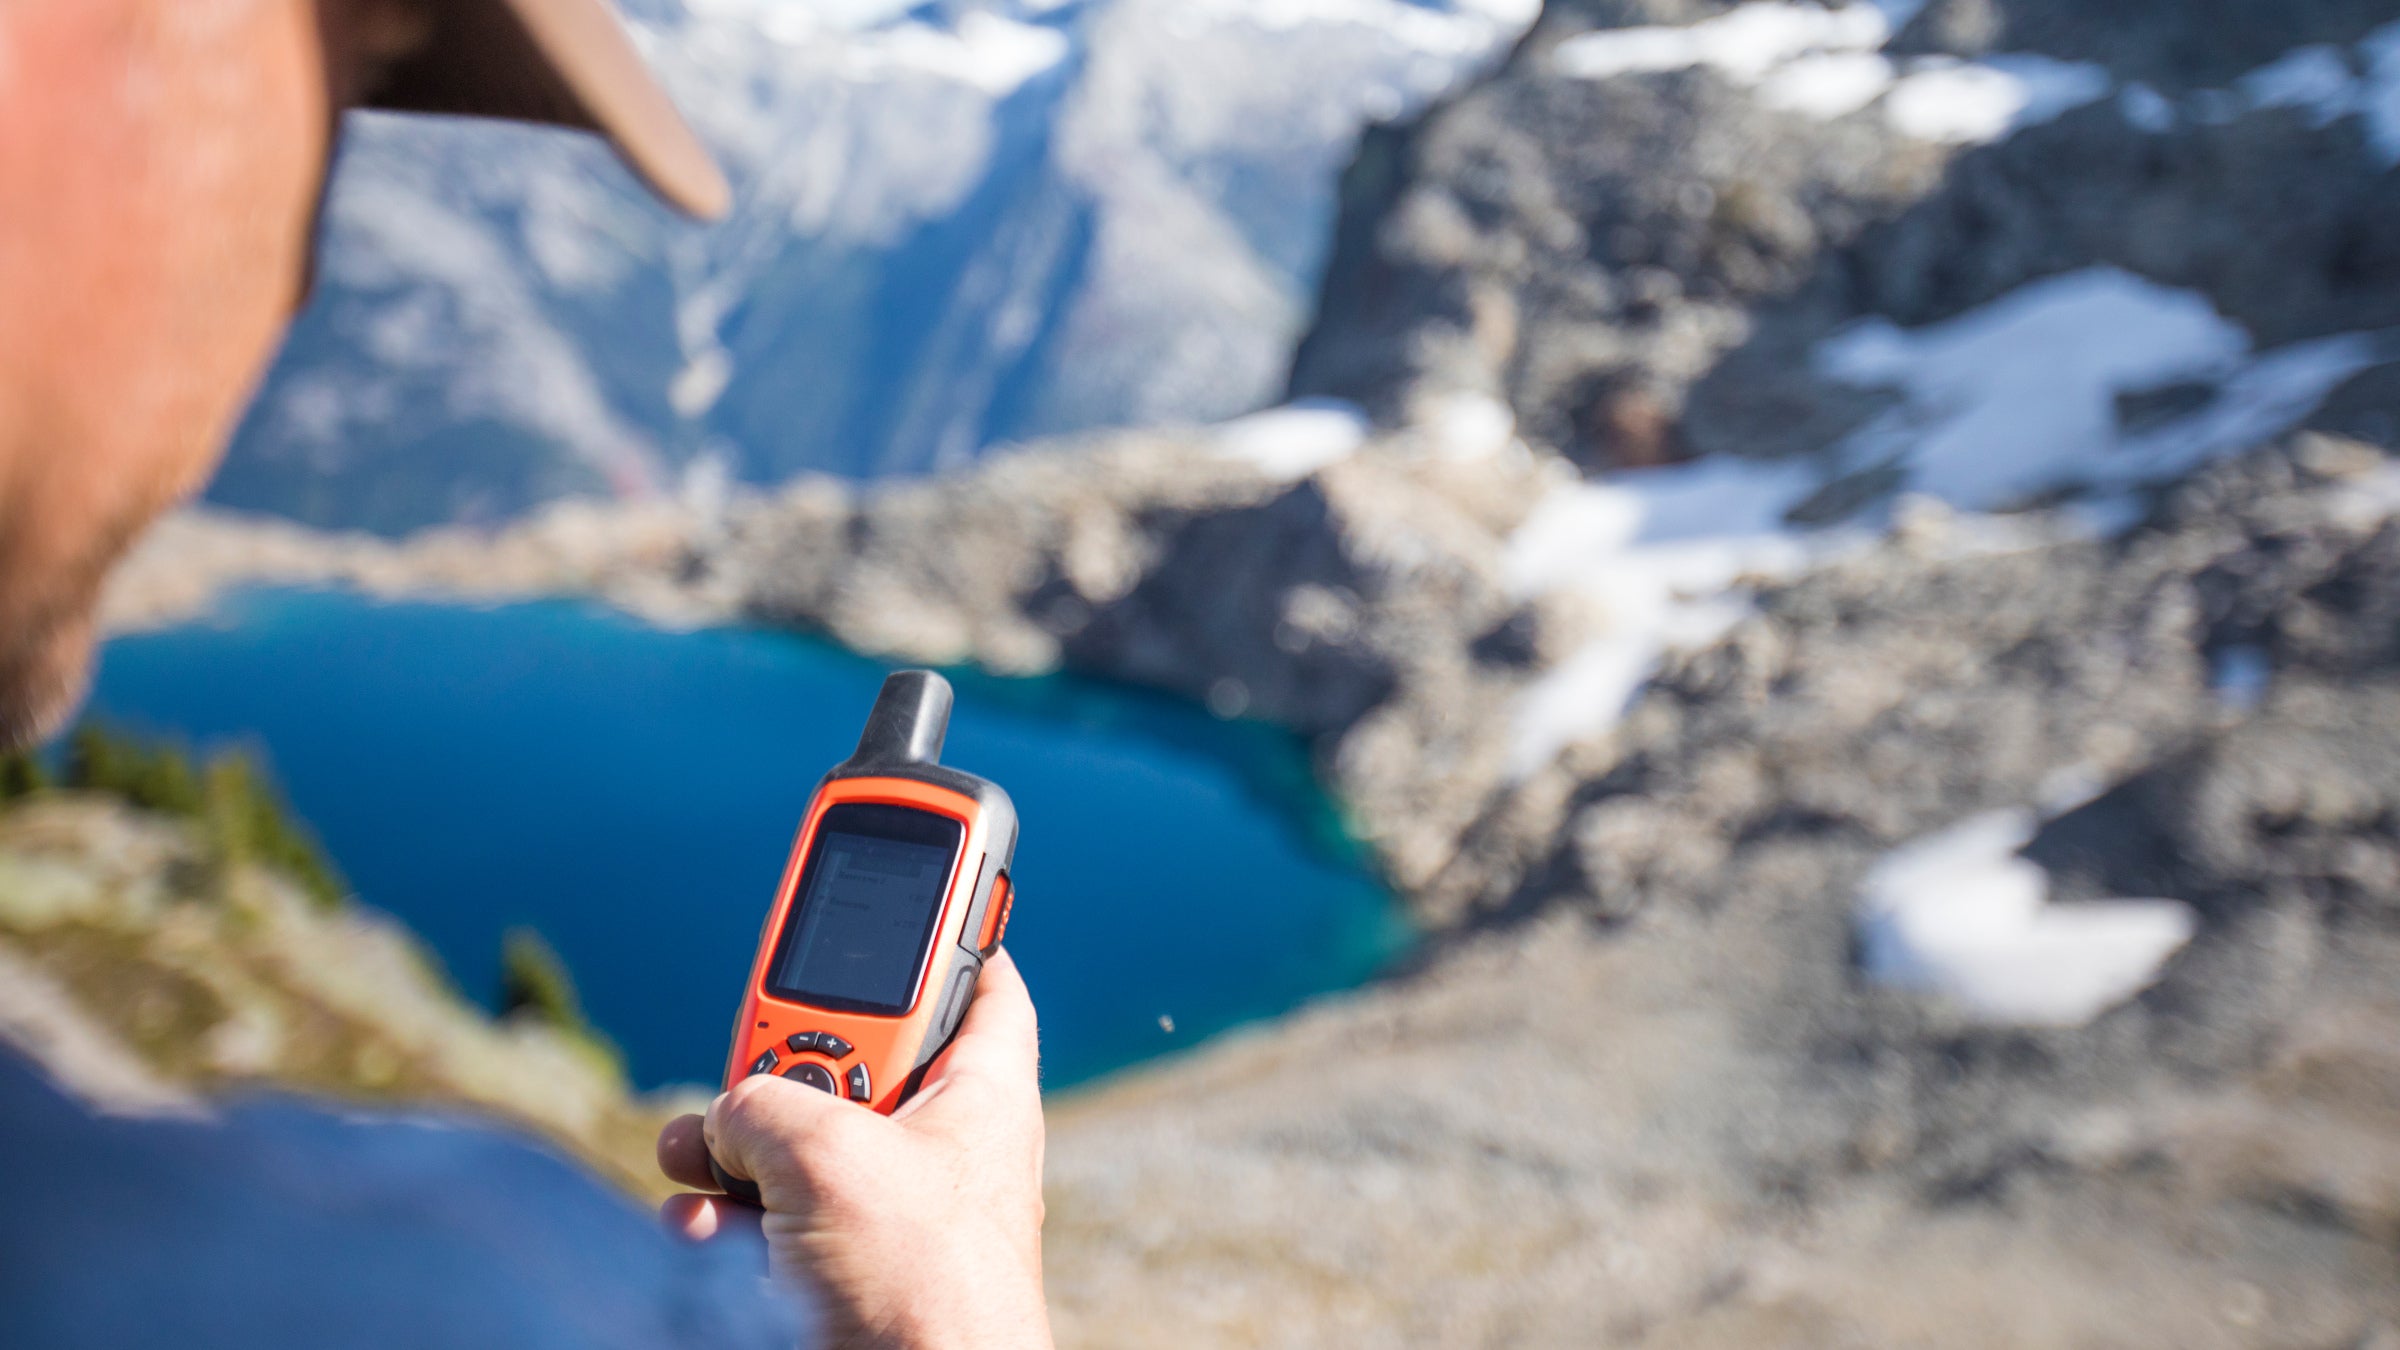
Cell phones, satellite messengers, and SOS beacons all fall under this category. Nothing works as well as electronic communication devices—until they don’t. Batteries die, subscriptions lapse, devices break, and a host of other issues can prevent these from being effective. I recommend that hikers carry some form of electronic signaling, but always have backup, and be prepared to spend at least one night out.
There are many choices on the market: vehicle beacons, personal locator beacons, cell phones (with apps you can download and settings that can help SAR), satellite phones, and other two-way communication devices that fit in the palm of your hand. If you don’t go to truly remote areas, a cell phone may be fine. If you only take remote trips once in a while, you can rent a device. Many need an active subscription. Research what works in your area and bring backup batteries or a way to recharge. Beware of cold-soaking (keep the batteries from getting too cold or hot), and be familiar with the other two primary methods of signaling.
Ground to Air Signals

This category encompasses visual devices and techniques like the following that might catch someone’s attention.
- Signal mirrors. Reflecting bright sun or moonlight toward rescuers requires little energy, is very effective, and can usually be easily improvised. You can make a reflector out of any flat, shiny surface, like a cell phone, regular mirror (magnified mirrors won’t work), watch face, mylar blanket, or even coin. Signaling with reflection requires some technique to be successful, and is a good skill to practice at home.
- Sea Dye Marker. Designed for open ocean, this fluorescent green dye works when you dump it over the side of your raft when search aircraft are drawing near. The wind and current create a bright arrow in the water, much larger than your raft, pointing at you. You can also toss it in a pond, creek, lake, or on a snowy meadow. Lightweight, very concentrated, and easy to deploy, it can be a good option if you’re going into an area with lots of water or snow.
- Strip signals. Using whatever is around you, you can construct a large V (need help!) or X (need medical attention!). If that’s not possible, spread a mylar blanket on the ground or hang it off a cliff. Forget trying to make a large “SOS.” Constructing three letters instead of one takes a lot more energy. Plus, curvy letters tend to blend in with nature, while straight lines scream “manmade,” and are simple to construct by marking two points and either stretching a line between them or just eyeballing it. Stomping down snow in a meadow in the desired shape can be very efficient and effective. Use a 6:1 height to width ratio to make bold block letters with the highest contrast possible—the bigger the better. It’s best to build your strip signal on high, open ground.
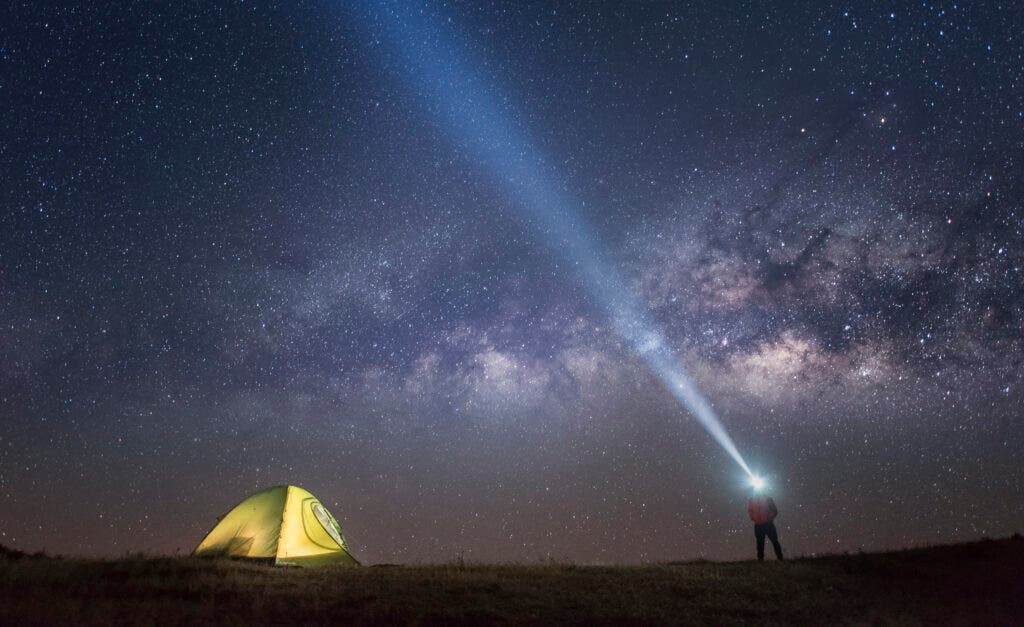
- Lights. Strobe, camera flash, glow stick, headlamp, reflective tape or vest, and lasers can be useful at night, though terrain, air clarity, light strength, vegetative cover, and a variety of other factors will heavily impact their effectiveness. Many of these have the same drawbacks as electronics, but they can still be helpful.
Pyrotechnic Signals

While flares can be useful to keep in your car, they’re a bit much to take on a hike, so “pyrotechnic” signaling in the backcountry usually refers to smoke and fire. You’re trying to be rescued, not start a forest fire, so choose the location of your fire wisely.
Find a large open area and clear a circle at least 10 feet in diameter down to bare mineral soil. Make sure you also have at least 20 feet of clearance overhead. If the fire danger is particularly high, and you’re able, put a spark arrestor above the fire: Stretch out a tarp or any large piece of material horizontally at least 8 feet directly above the fire. Heat and sparks will hit the material and bounce back down into the cleared fire circle instead of spreading.
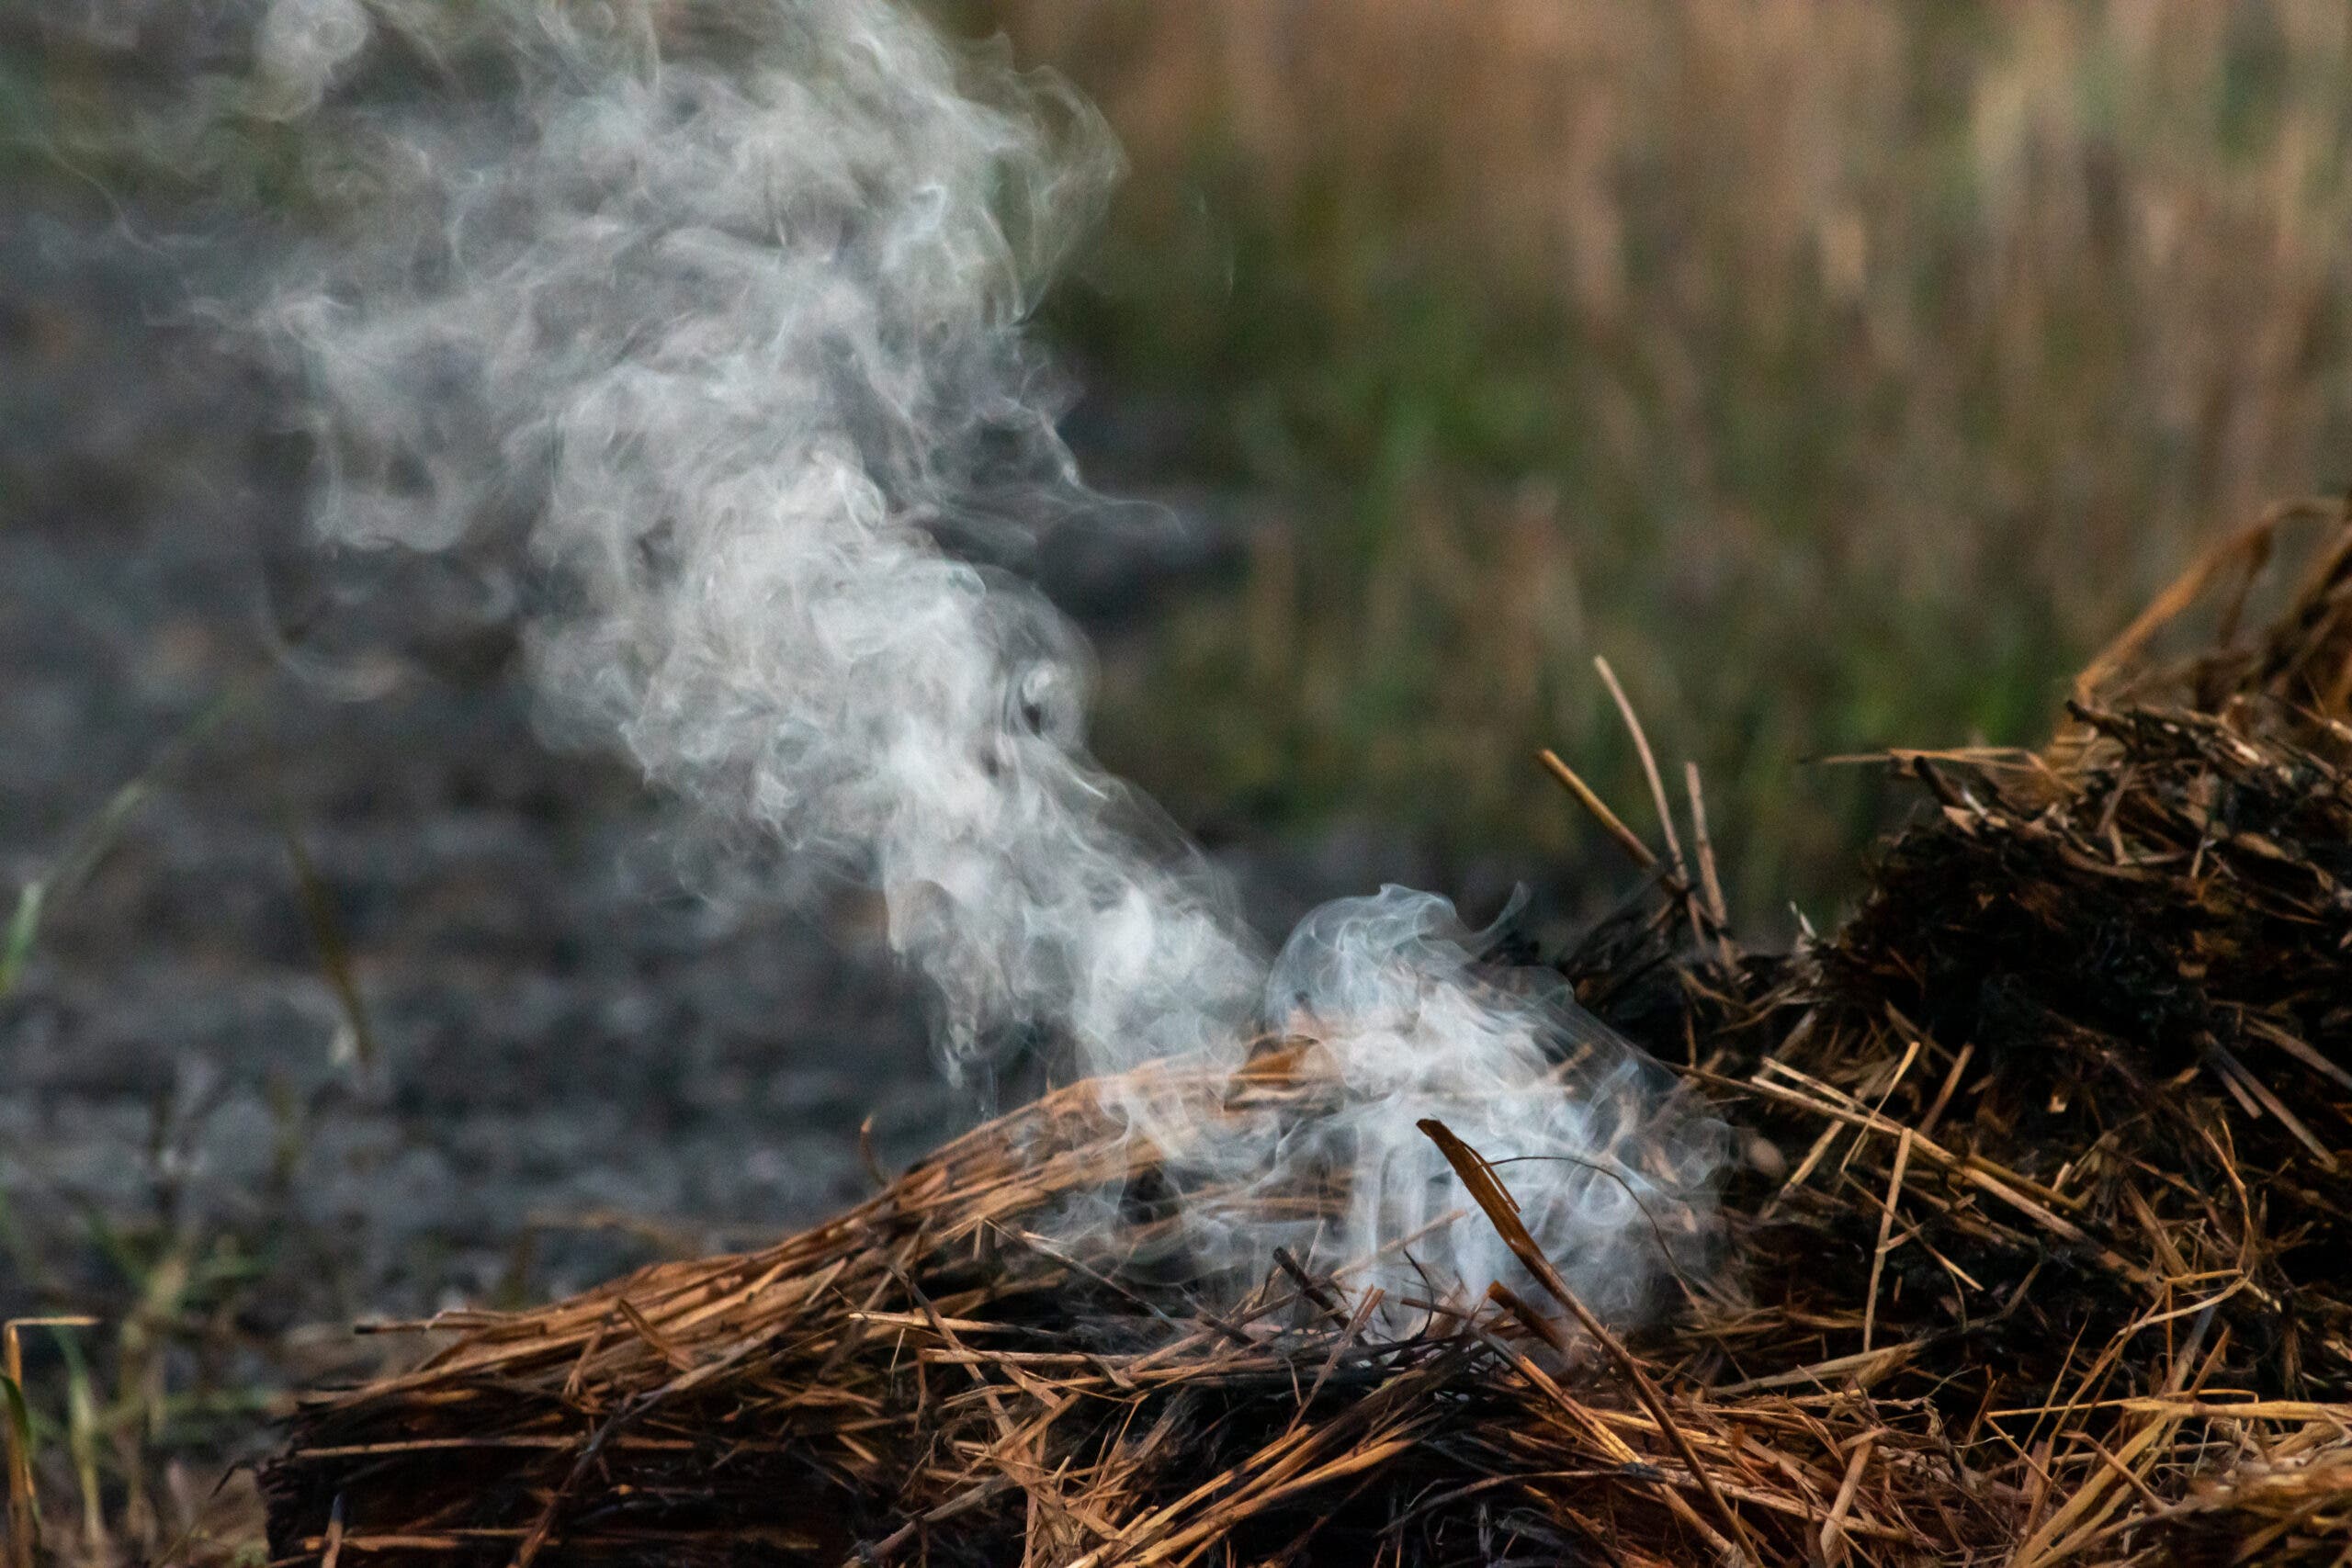
During the day, smoke will attract attention. If your background is dark (deep green foliage or dark rock and sand), make white smoke by putting armloads of green vegetation on your fire. If the background is light (snow, or pale sand) then you’ll want black smoke. Petroleum products (like plastic trash and tires, which I’ve found in strangely remote places) are great, but there are other options. Fatwood (the sap of many conifers, especially pine, is called “the kerosene of the forest”), the bark of some birch trees, and St. John’s Wort, will all help darken your smoke. If none of this is available near you, look for dead plants with an oily residue and test burn them to see if they will produce black smoke. Just use caution: Several toxic plants like poison ivy contain oils that you don’t want to get on your skin and certainly don’t want to breathe the smoke of.
At night, the fire itself may attract attention. If you have some bright cloth, like an orange poncho, tying it up above the fire will make even a very small flame (or a dim flashlight) appear much larger. In heavily treed areas, look for a cliff face you can reflect the light off of.
Don’t use pyrotechnic signaling until you’re confident rescuers or passerby are close. It’s surprisingly common for people to burn all their fuel when no one is around to see it.
When you’re heading out on your next adventure, or just packing the car, reflect back on signaling and remember to ask yourself that oh-so-important little question: “What if…” Wisdom, in part, is knowing that things rarely go according to our plans.