Upgrade Your Gear Closet

'[Photo by Andrew Bydlon]'
[Photo by Andrew Bydlon]
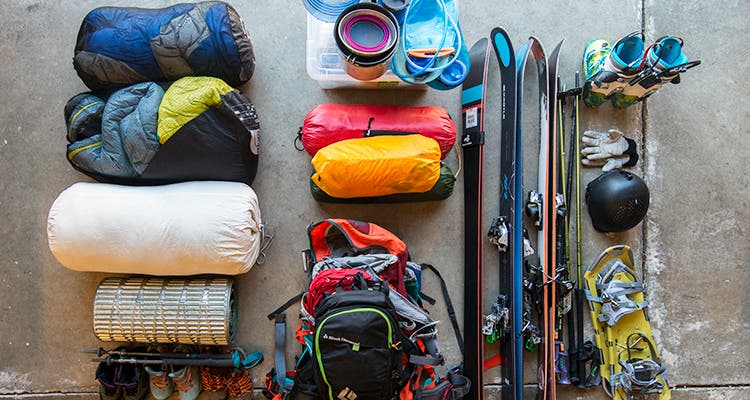
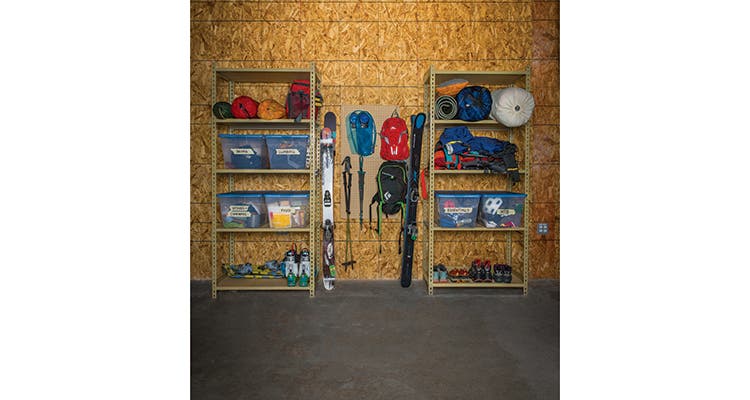
Now whittle the Keep pile into subcategories: packs, tents, bags and pads, footwear, stoves and cookware, and essentials (multitools, lights, batteries, bear canisters, etc.). Divide specialized gear—like climbing and mountain biking equipment—into separate piles, too. Set aside the larger items and stow the remaining piles in see-through, stackable, plastic tubs ($7 at home improvement stores) with labels. [photo: Andrew Bydlon]
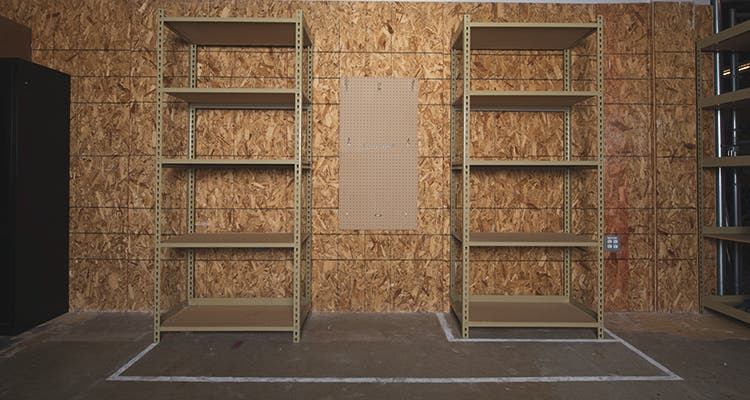
If you don’t have a designated closet for gear, you’ll want to outline the boundaries of your gear space with chalk. Be sure to accommodate doors, access to electrical outlets, and your car (with open doors and hatch). If you don’t already have shelving, measure out the length your space can accommodate. (You can get basic shelving units for less than $100.) Consider installing a pegboard or affixing a ceiling rack to use extra space. [photo: Andrew Bydlon]
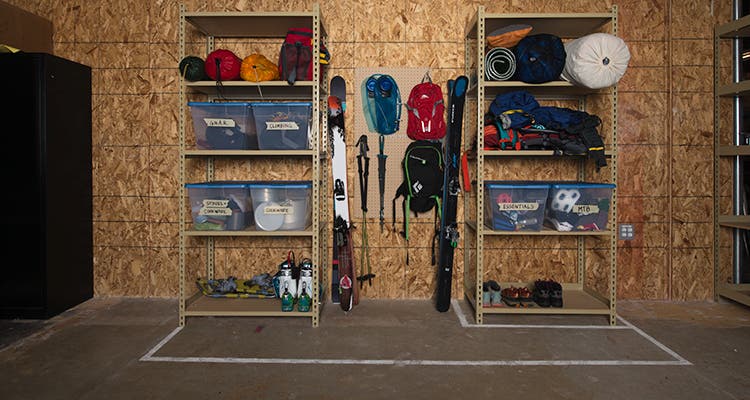
Before putting everything away, refer to the tips below. [Photo by Andrew Bydlon]
Only one thing left to do now: Get after it! [Photo by Andrew Bydlon]
1. Sort
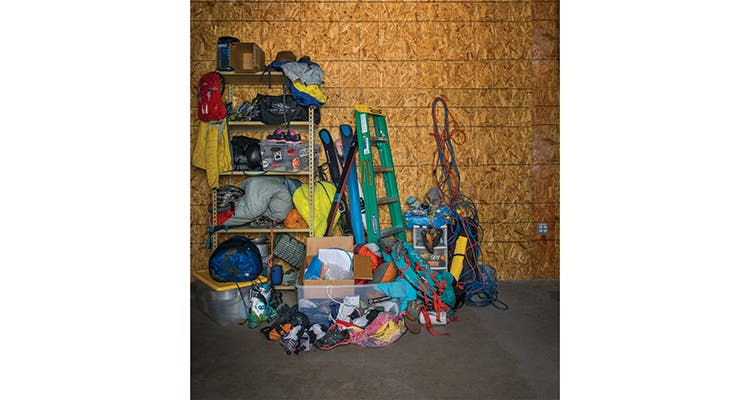
Take everything out. That’s right, everything. You can’t build organization on a mess. Divvy everything into four piles: Keep, Recycle, Donate, and Trash. Doesn’t purging feel good?
2. Sort Again
Now whittle the Keep pile into subcategories: packs, tents, bags and pads, footwear, stoves and cookware, and essentials (multitools, lights, batteries, bear canisters, etc.). Divide specialized gear—like climbing and mountain biking equipment—into separate piles, too. Set aside the larger items and stow the remaining piles in see-through, stackable, plastic tubs ($7 at home improvement stores) with labels.
3. Map the Space
If you don’t have a designated closet for gear, you’ll want to outline the boundaries of your gear space with chalk. Be sure to accommodate doors, access to electrical outlets, and your car (with open doors and hatch). If you don’t already have shelving, measure out the length your space can accommodate. (You can get basic shelving units for less than $100.) Consider installing a pegboard or affixing a ceiling rack to use extra space.
4. Assign
Based on your chalk boundaries, determine where the shelving units, pegboards, and racks will go. Then, install. Respect the lines.
5. Store
Before putting everything away, refer to these tips to make sure your gear closet’s organization is totally idiot-proof:
- Clear all non-gear out of your gear-designated space.
- Man’s best friend invited, too? Create a pup go-bag that you can grab easily. We like the Mountainsmith K9 Cube, which has designated pockets for food, collapsible bowls (included), and bedding ($65).
- Label each storage bin.
- Keep a weekend’s supply of dehydrated food on hand so you can hit the trail without stopping at the market.
- Replace used items, like first-aid supplies, fuel, and batteries, after each trip so you’re ready to go for the next one.
- Hang your most-used items—like daypacks and hydration reservoirs—on a pegboard (also makes a good drying rack).
- Store sleeping bags in large sacks, which preserves loft (always air dry thoroughly before storing); keep their stuffsacks in these bags for easy access.
- Save eye-level shelves for other high-use items, like packs.
- Dedicate the bottom shelf for footwear, so dirt won’t fall on other shelves.