Published May 11, 2015 03:33PM
Pass/Fail: Sew Your Own Ultralight Pack
Can a needle newbie sew a DIY backpack that promises to save weight and money?
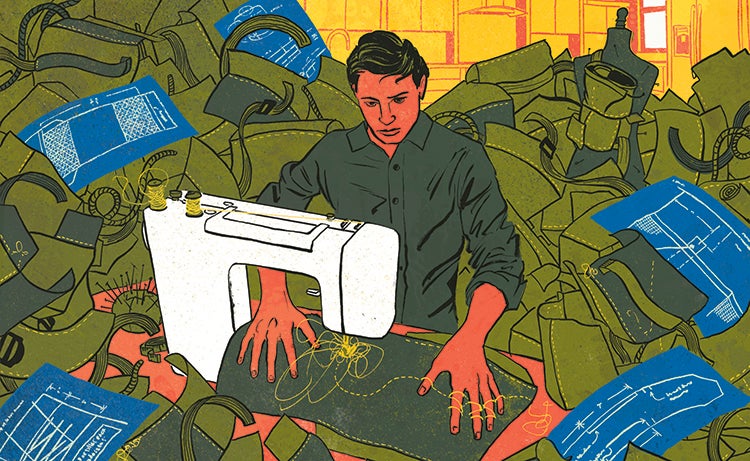
'illustration by Jacob Thomas'
To love the outdoors is to love gear—and to critique it mercilessly. “Who put these too-long straps here?” “I don’t need this pocket.” “It costs how much?” “Ugh, the color.” Equipped with trail-earned insight and ignorant of market forces, it’s easy to start thinking you could do better. But could you really?
It’s not unprecedented: Osprey founder Mike Pfotenhauer sewed his first homemade pack at age 16. He and other legendary garage designers-turned-industry titans, like Dick Kelty and Wayne Gregory, gave me hope. So I resolved to make the Tedware HotPax 3000: a DIY ultralight, artisanal backpack handmade in Seattle by yours truly. I’d start with a custom run of one single pack, maybe expand when Osprey called. And I’d pull it off despite being the kid who ate macaroni necklaces before he could finish them. I’ve never sewn a stitch in my life.
Step one: Rip a design off the internet. Ultralight king Ray Jardine has sold $70 Ray-Way pack kits for years, but that felt like cheating. Plus, I wanted a custom job that could turn heads at an ultralighters’ convention (bonus: stripped-down packs are easier to make). So I waded through a sea of blueprints and settled on a streamlined model with a 3,000-cubic-inch (50-liter) body compartment to swallow up to a week’s worth of gear, two elastic hip pockets, two mesh external pockets, a few gear loops, and no hipbelt (Tedware’s design ethic: less is more). I chose second-in-class silnylon over the suggested mithril-like Cuben Fiber for my body material: I figured if the prototype HotPax 3000 ended up a pile of shredded threads on the floor, it didn’t need to be an unnecessarily expensive pile. Total cost of raw materials: $56.
ADVERTISEMENT
Step two: Learn to sew. I contacted a friend at the famed Rainy Pass Repair to show me the ropes. “You’ll soon learn that the only reason to make your own gear is because you like making your own gear,” she said. For an aspiring gear designer, this was only slightly less encouraging than my first attempt at sewing, which temporarily broke the machine. “Maybe I’ll start,” she said, handing me chalk and scissors to cut out necessary sections of material for later stitching. The outline of my pack straps showed my straight lines had not improved much since kindergarten.
She took the lead on sewing while I handled prep and assembly, then I tried my hand again on the machine. I was nervous: Her stitches were assured and sturdy; mine looked overcaffeinated. Six hours later, I emerged with a flat square of silnylon with pack straps and pockets attached. A decent start, but my sewing sensei had her limits, and I’d have to complete the pack alone. Scariest of all, I’d somehow need to origami a flat piece of fabric into a pack shape.
With a borrowed machine, I painstakingly tried to close the gap between my aspirations and ability. Threads and eyes got crossed; I wore out all the swears. But over the hours, small miracles accumulated. I connected pack straps; I threaded elastic draw loops. When directions got murky, I modeled my moves after store-bought packs around the house. Crafting witches disguised as Midwestern housewives on YouTube solved the particularly vexing mystery of the rectangular pack bottom. Six more hours, and I was looking at a thing of mongrel beauty: the first Tedware HotPax 3000, weighing in at a gossamer 7.5 ounces. And of course it comes in next year’s trending colors, kelly green and black.
But I really became a proud pack papa when the HotPax 3000 bore a 20-pound load in the Cascade foothills. The lack of hipbelt or framesheet worried me, but it contoured to my back like a turtle shell when filled with tent, layers, sleeping bag and pad, food, and water. A rare sunny spring day in the Northwest meant huffing past hordes on the ups and dodging children and dogs on the downs. Throughout, my homemade pack clung to my back—solid, steady, and effective. Perhaps not as sturdy as some off-the-shelf ultralight packs I’ve used but certainly lighter and cheaper. I swelled with pride and confidence at having made this pack with these two clumsy hands. I resisted the urge to point it out to strangers, but I did take it on and off with a flourish hoping someone would ask.
ADVERTISEMENT
Is it perfect? Hell, no. The straps are a notch too wide for my shoulders, and the silnylon is slippery; they require maximum cinching to stay put. Lakes of sweat pool on my back. Haters might call it a glorified stuffsack. I have durability concerns over the long run (only partially because I poked a scissor hole in it during assembly). Features are almost nonexistent; I already want to add a sternum strap and one internal pocket. But these are all issues I hope to resolve in next season’s Tedware HotPax 3001.
Call me, Osprey.
Verdict: Pass
My result is a functional pack, thanks to a little (okay, a lot of) help from my friend. But with practice, good plans, sewing experience, and a passion for DIY projects, I’m confident anyone can build an ultralight pack he can be proud of. Minimal sewing experience is okay if paired with maximum passion.
1. Technical fabrics are available from specialty suppliers. Try inexpensive materials before shelling out for the pricier stuff. Buy 25 percent more yardage than you think you need. You’ll make mistakes.
2. Good blueprints go a long way. Unless you are an exceptional draftsman, designing from scratch is extremely difficult. But the web is littered with great custom designs. Mix and match features to create your custom pack.
(We used a modified version of this).
3. Ask for help. If you know someone with sewing experience, a few beers or a dinner are a small price to pay to avoid hours of frustration.
4. If you suspect you’re making a mistake, you are; stop and correct it immediately. A sewing machine lacks an undo feature, and even minor flaws can ruin the pack’s structural integrity.
5. Use a ruler. Measure everything meticulously, and use chalk to mark fabric for cuts and stitches. Err on extra for seam allowances: Overlapping fabric offers leeway and strength; undercut fabric will require a do-over. Tip: Measure twice, cut once.
6. Go for minimal stitching. More stitches mean more holes and more places to weaken the fabric. Cut and sew 2-square-inch reinforcement patches to stress points where shoulder straps, webbing, hipbelts, and load-bearing loops attach.
7. Practice on excess material to get a feel for how the fabric works with your particular sewing machine.