Published December 3, 2021 12:05PM
How to Master Backpacking in Bad Weather
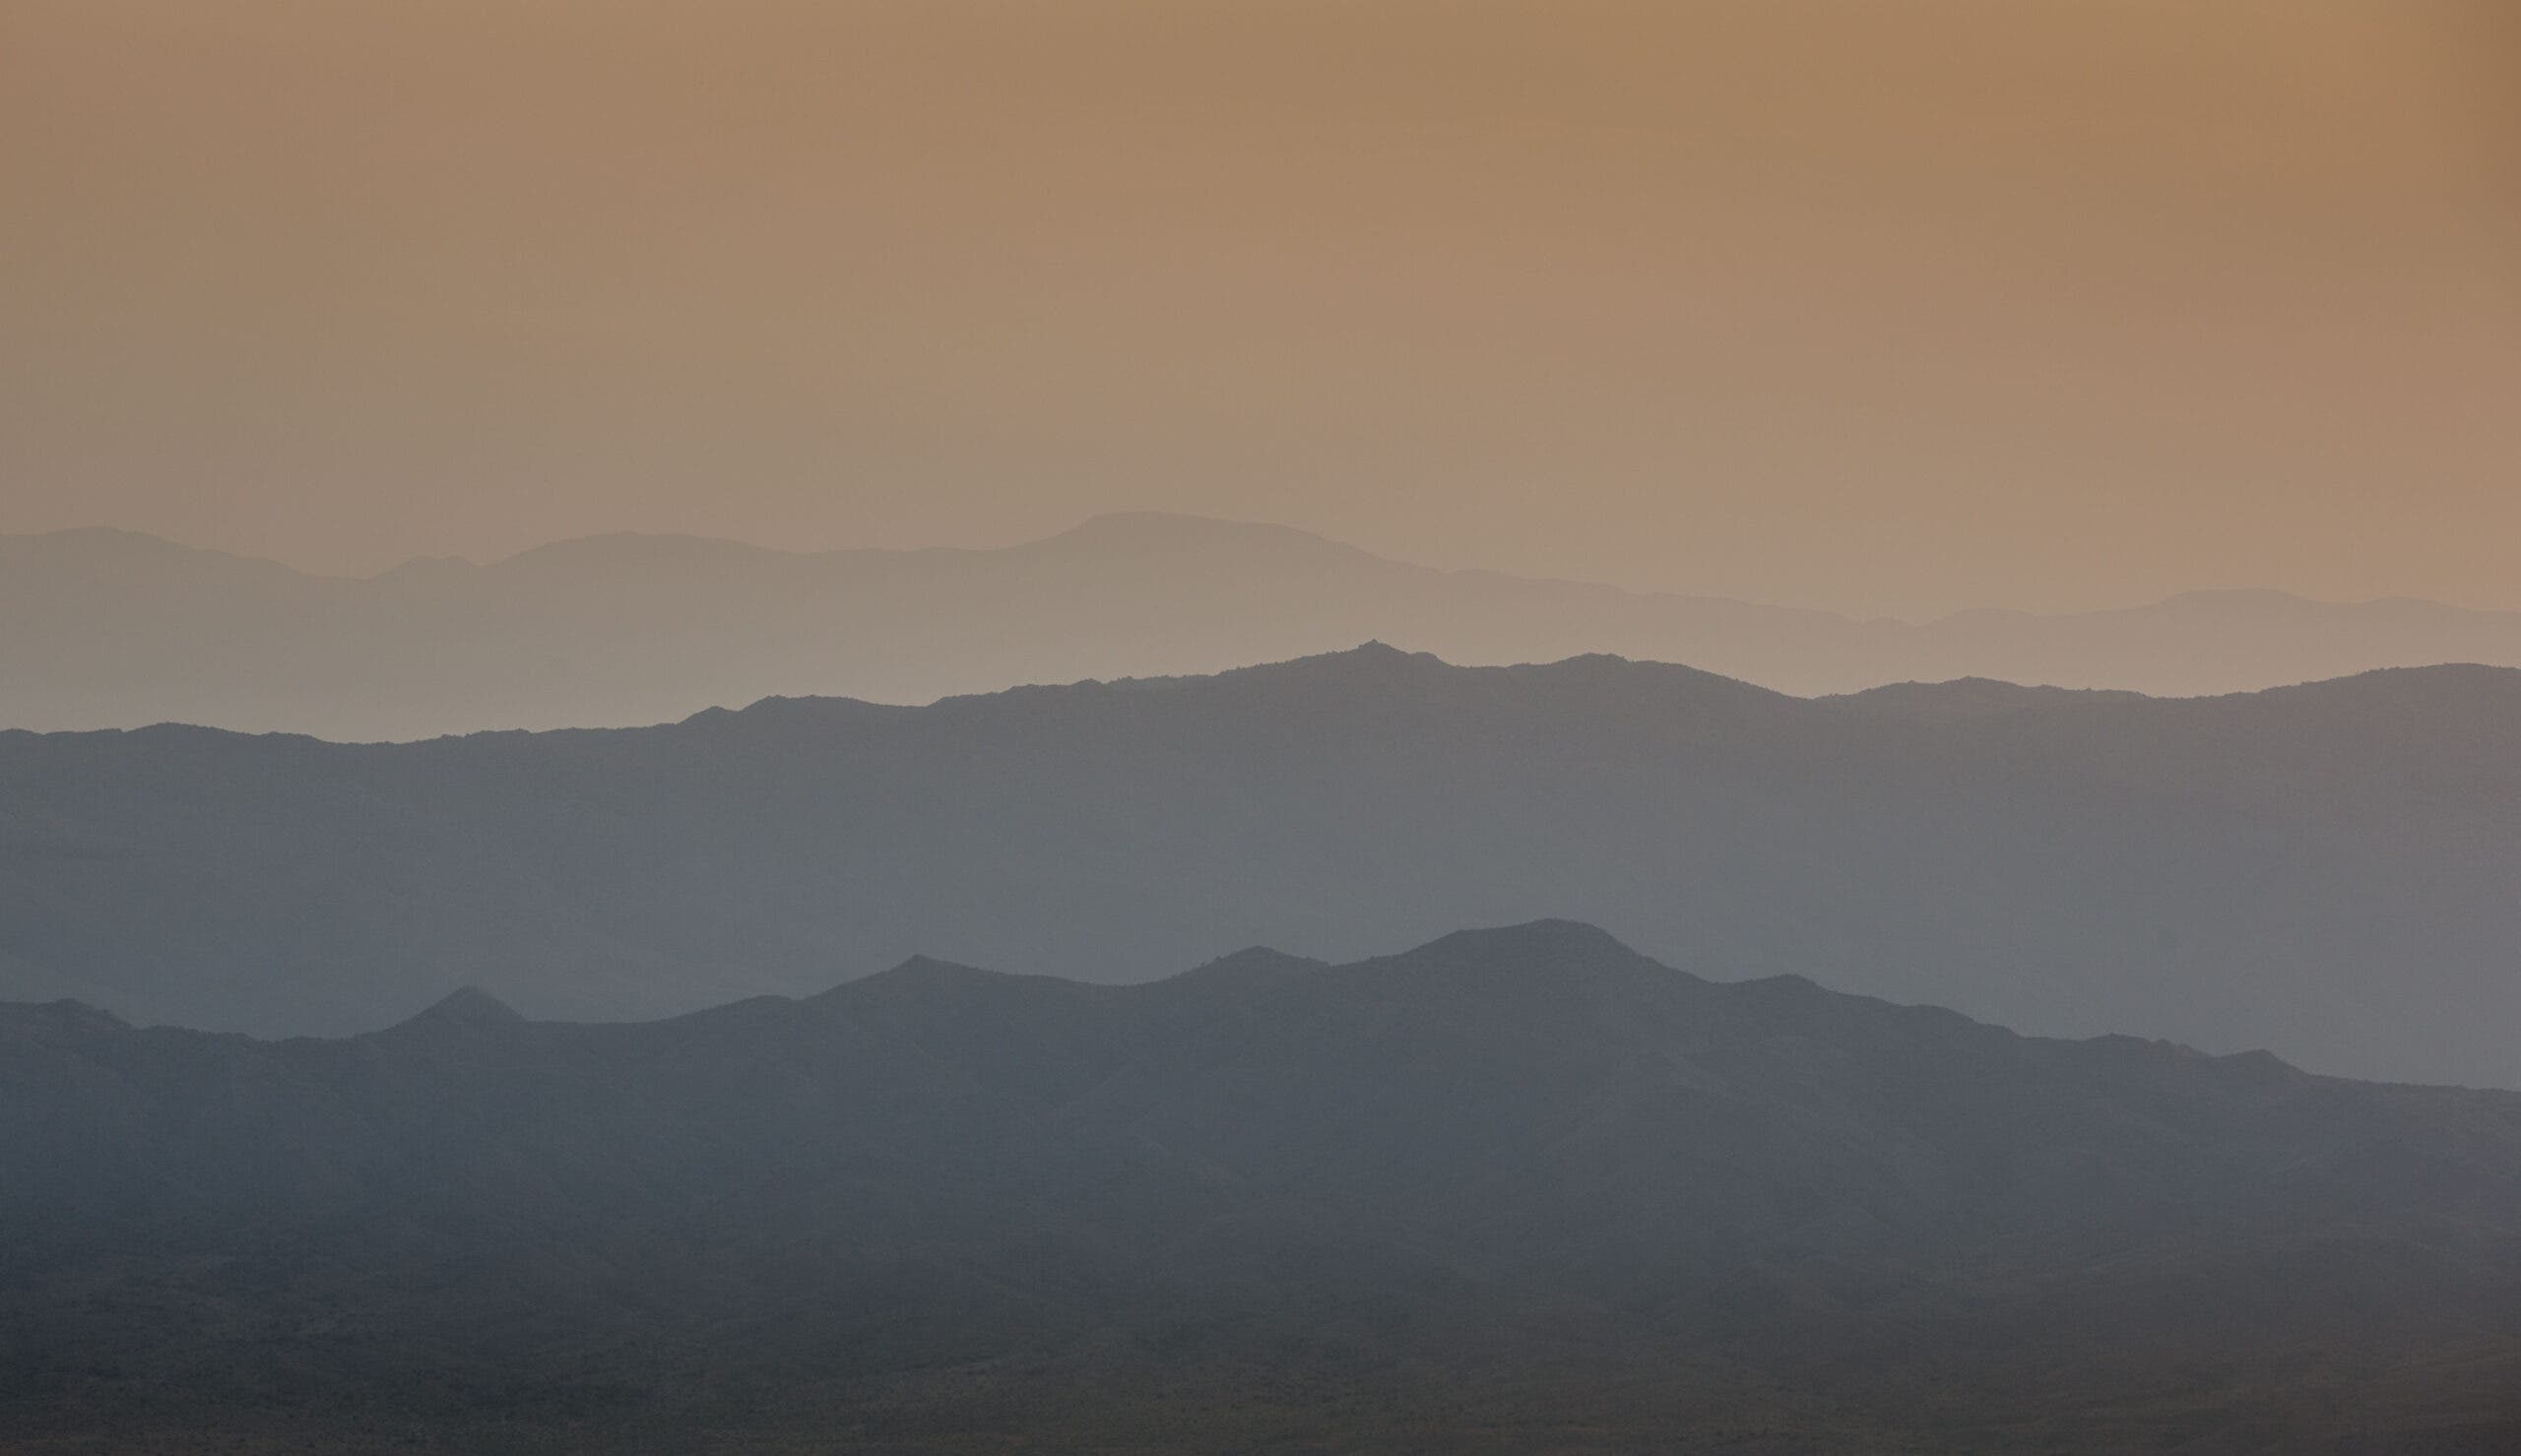
Sunny and 70 is nice, but makes for a mighty short hiking season. Hit the trail all year long by learning how to thrive—not just survive—in wet, cold, hot, and windy conditions.
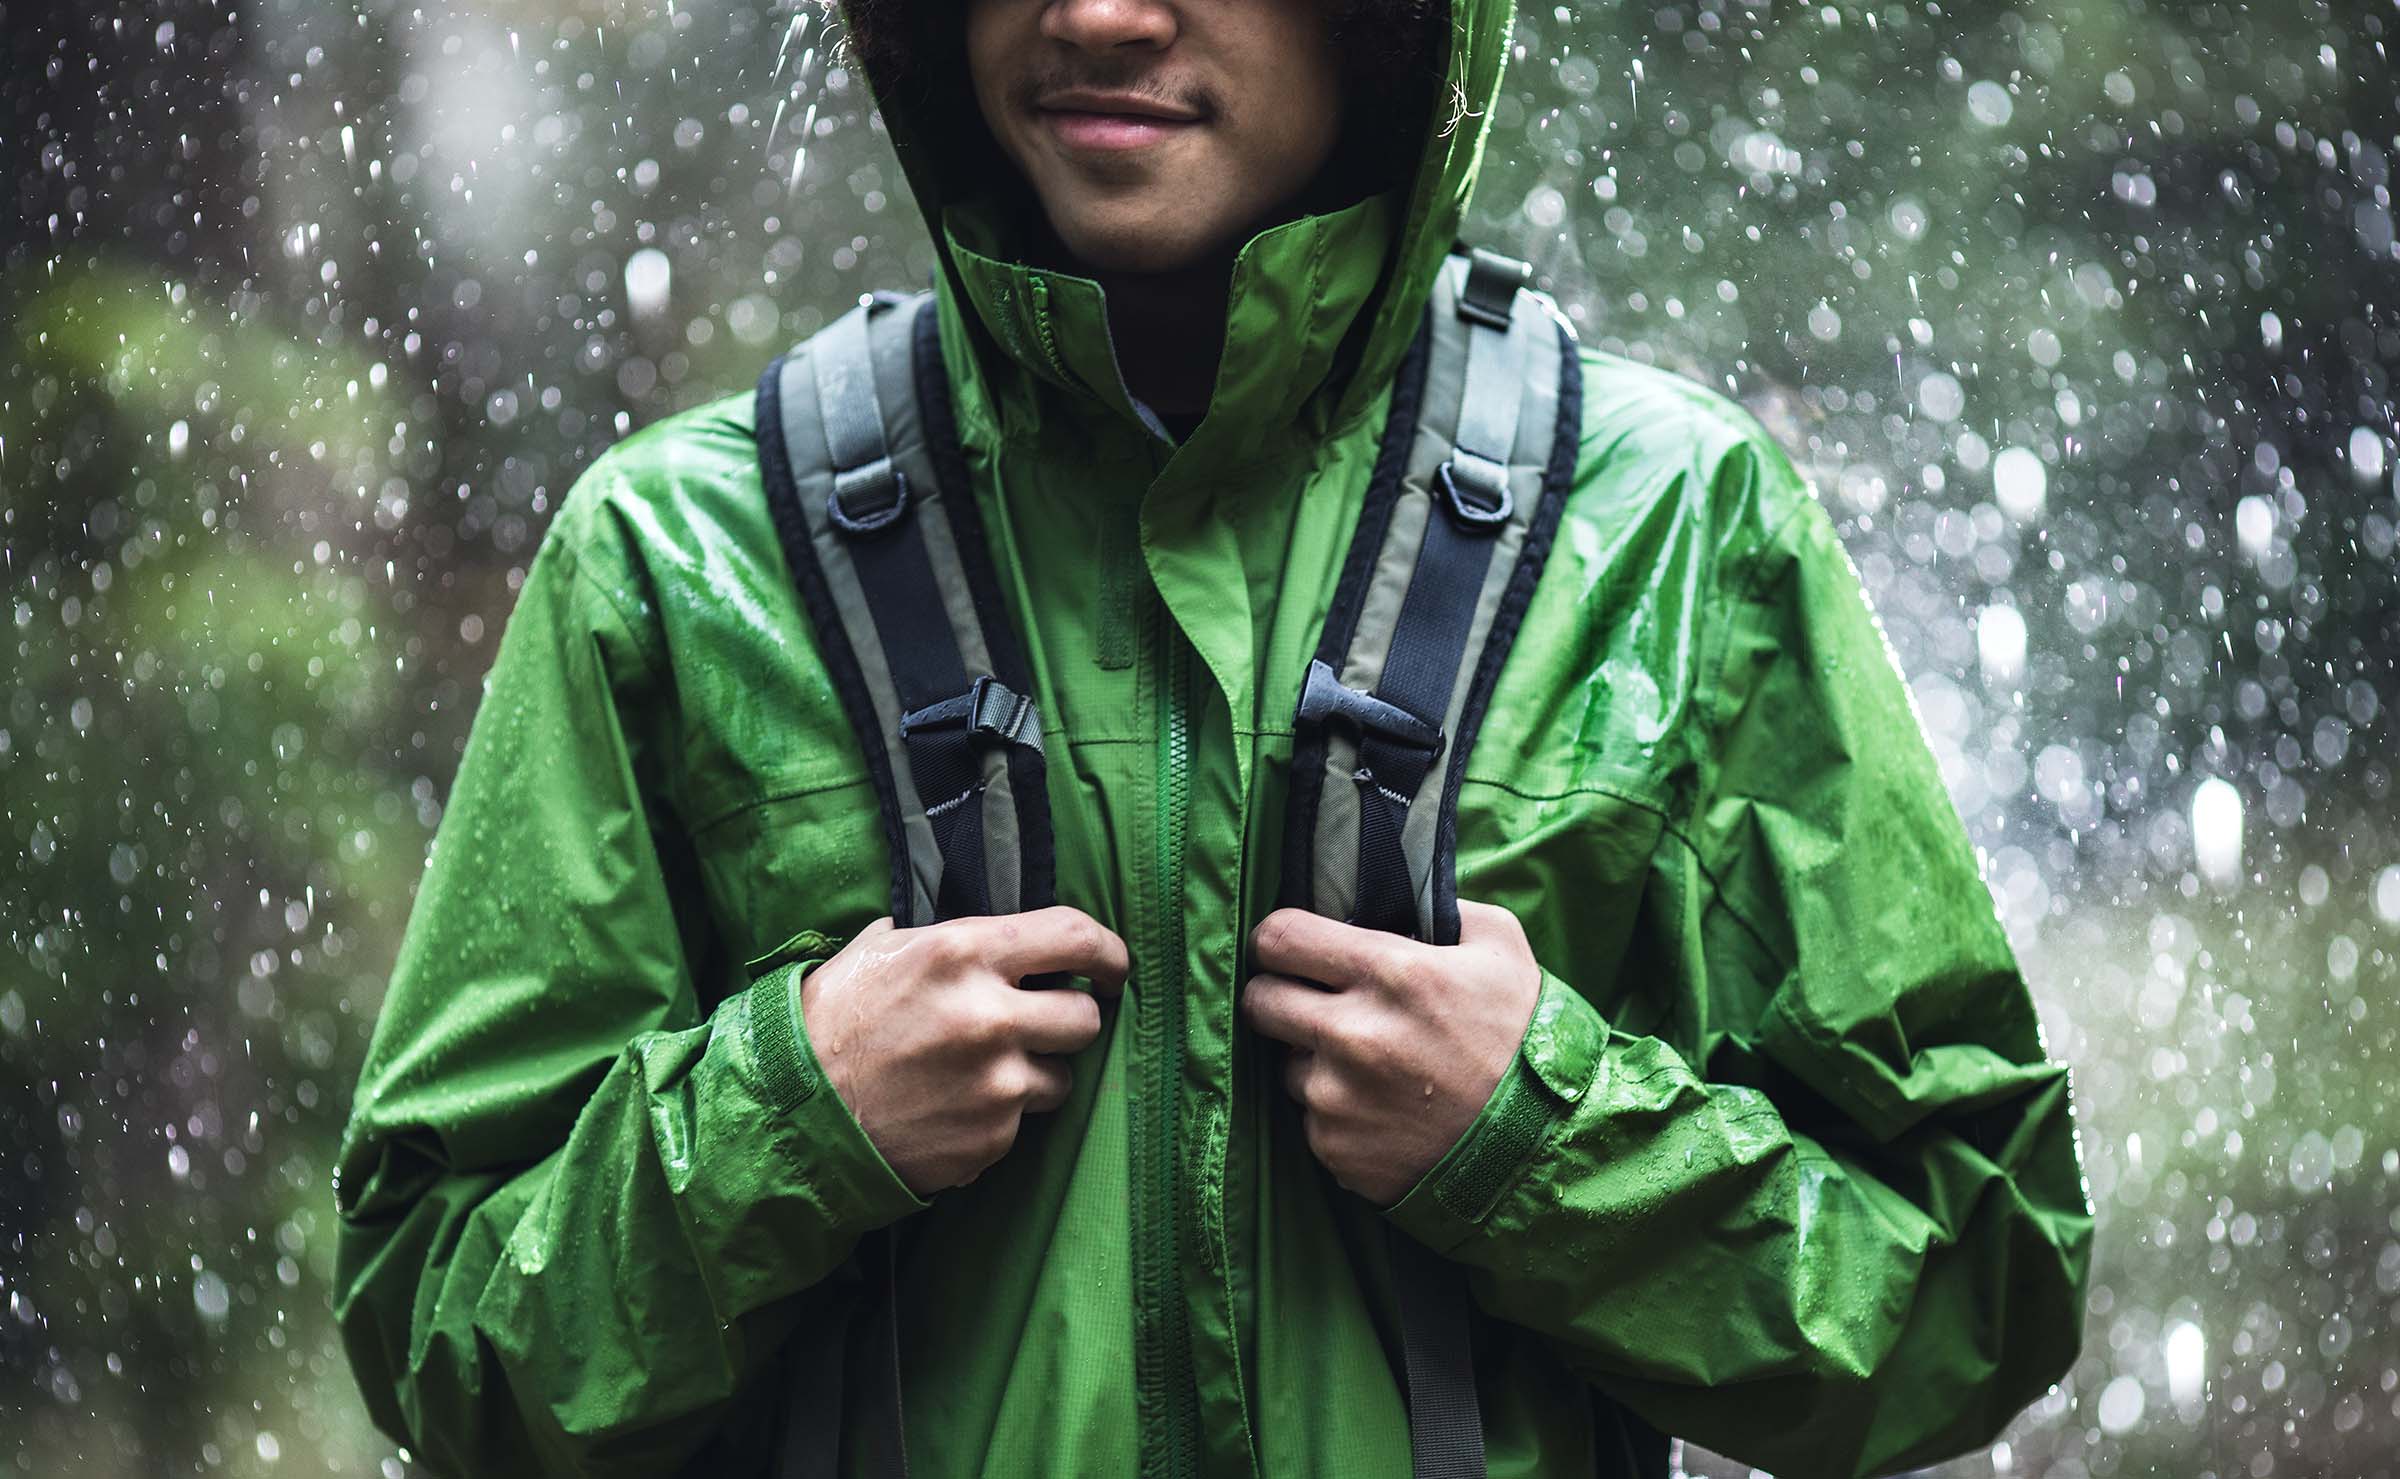
Bad weather doesn't need to mean a bad trip. (Photo: Gabriel Silveia)
Sometimes the weather cooperates on your trips, blessing you with perfectly warm, sunny conditions to camp in. But as often as not, your departure day rolls around, and it’s puking snow, pouring rain, or whipping wind. Is it time to give up on your plans? Not necessarily. By taking the time to prepare and learn the right skills, you can have the best time of your life even in the worst weather of it. We asked a slew of outdoor professionals, from mountain guides to a former Backpacker editor, how they deal with rain, cold, wind, and heat. Read on to find out what they said.
Staying Comfortable in the Rain
Extended rain can put a damper on a trip fast: Nothing saps motivation like spending all day wet and not being able to dry off at night. But with a little advance planning (and a dose of good attitude) even a days-long downpour doesn’t need to ruin your hike.
On the Trail
Organize gear. Segregate snacks, shell, map, camera, filter–anything you’ll need while hiking. Use your pockets, pack compartments, or lash on a waterproof stuffsack for this stuff; never expose other gear to rain.
Stay cool. Even the best waterproof/breathable shells can cause overheating if you’re working hard, making you wet from sweat on the inside. Moderate your pace, keep the hood off, and even wear the jacket like a vest: Stick your arms through the pit zips and tuck the sleeves into pockets. Wear just a baselayer in mild temps and a light drizzle; your body heat will keep you comfortable.
Avoid raising your arms. In a downpour, water will enter at your cuffs and seep up your sleeves. Use trekking poles? Shorten the length to minimize wrist exposure. Rest when the rain stops. Forget your schedule; in extended bad weather, take advantage of dry spells to eat.
Wear wet stuff. If your inner layers get soaked, don’t risk getting dry clothes wet. Hiking will keep you warm.
Tap body heat. Dry wet socks and gloves while you hike. Stow them between your layers, not balled up in a pocket.
Wait it out. If the shower is likely to be temporary–like a passing mountain storm–30 minutes of patience can prevent a day of soggy clothes. Hunker down under a rock overhang or trees.
Beware of wet brush. Even after the storm, wet vegetation can soak you. Keep your raingear on while bushwhacking or if the trail is overgrown.
Make the last hour count. When you have about 30 to 60 minutes of hiking left for the day, assess your comfort and the conditons. Chilled? Increase your pace so you warm up before stopping (otherwise you’ll get cold fast in camp). Overheated? Slow down, so you start drying on the trail and don’t reach camp with sweaty (read: cold) inner layers.
ADVERTISEMENT
In Camp
Keep your inner tent dry. Pre-pitch it in a sheltered area without staking it, drape the fly over, then move it as needed. If you have a kitchen tarp, use it as a set-up shelter, then move the tent. In extremely wet conditions, pitch the tarp over the front of your tent to create an extended vestibule for changing clothes and stowing soaked boots, shells, and gear.
Pre-rig your fly. At home, rig your fly’s guy loops with 15-foot lengths of nylon cord. Use an adjustable trucker’s hitch so you can easily retighten guylines on a sagging fly. (Or use an Editors’ Choice Award-winning Nite Ize Figure 9 Rope Tightener.)
Keep the tent’s interior dry. Spread the footprint inside the tent to protect your sleeping pad and bag from ground-level moisture, which can accumulate from condensation, doorway drips, and leaky floors. Use an absorbent camp towel to soak up excess moisture.
Pack tent clothes. Store dry socks and an extra set of baselayers (top and bottom) in a waterproof stuffsack or zip-top bag. Never let these items get wet.
Keep your feet dry. Wet skin is more prone to blisters. If you must walk around camp in soaked boots, protect dry socks by slipping plastic bags over them, then putting on boots. Dry off your feet before bed. Remove wet insoles and dry them on your quads while in your sleeping bag.
Wear a baselayer dry. Too wet for a fire? Keep a damp (not soaked) shirt on under your insulation while you perform camp duties.
Stow a wet tent in stages. Detach the rainfly, but leave the tent covered while you disassemble poles and (quickly!) stuff the tent. Shake the fly as dry as you can and store it in a separate waterproof stuffsack or garbage bag.
ADVERTISEMENT
Key Gear for Rainy Hikes
Rainshell Duh, right? Just don’t skimp on these key features: unlined cuffs (read: no wicking) that cinch tight with Velcro; a three-way adjustable hood with bendable brim for better protection and visibility; and a cinchable hem that covers your butt. Affordable fave: Marmot’s PreCip Eco.
Hat A waterproof lid offers better visibility and breathability than a hood. Get Outdoor Research’s Seattle Sombrero for hard rain.
Gaiters Rainpants should cover the tops of your boots, but gaiters add critical protection, especially if you step in unexpectedly deep water. Wear them under, not over, your rainpants.
Neoprene socks They’re steamy in mild temps, but waterproof socks (such as SealSkinz Waterproof All Weather Mid Length Sock, $45) will keep your feet warm in the wettest conditions.
Gloves Pack both quick-dry liners and water-resistant gloves; for cold rain, add waterproof shells.
Umbrella Lightweight models, such as MontBell’s U.L. Trekking Umbrella ($35), are great for hiking when temps are warm and wind is nil. Marco Johnson, a NOLS instructor, swears by a golf umbrella, which is heavier but provides beaucoup “sanity space” in prolonged rain.
Water bottle “Put hot water in it and rub it against your wet clothes. It dries them like an iron,” says NOLS instructor Jenn Pine. Stow hot bottles in wet boots overnight to speed drying.
Waterproof sacks Get lightweight stuffsacks in multiple colors, so you know what’s stored in each. Trash compacter bags are tough: Put one over a wet pad to shield a sleeping bag. Pack covers are good for reducing water weight absorbed by your pack, but limit access and tend to flap in the wind.
ADVERTISEMENT
How a Guide Deals With the Rain
Alaska Mountain Guides’ Eli Fierer swears by his “three-sock cycle”: On the first night, tuck wet socks into a tent pocket or ceiling loop to start drying. Night two, move the first pair into your sleeping bag to let body heat finish the job–without soaking your bag–and put that day’s wet pair in their place. Save the third pair for tent use only.
Rig a Kitchen Tarp
A lightweight tarp can provide you with a convenient place to cook, eat, and kill time, which is better for your mental health than spending all of your non-hiking hours in a tent. Rig an A-frame for maximum weather protection, or a lean-to for more headroom and better view, at the cost of less cover. No trees? Use trekking poles that you guy out in two directions for stability. You’ll want a 7-by-11-foot tarp for two campers, or at least 9 by 12 for three. Hiking in a big group? Consider packing a floorless shelter like the Black Diamond Mega Light as a hangout spot.
Staying Comfortable in the Cold
If you live somewhere with four distinct seasons, cold is just a fact of life. Learning to thrive in it is the key to unlocking winter adventures. Get ready for a chilly trip with this advice.
ADVERTISEMENT
On the Trail
Lose layers. If you overdress at the trailhead, you’ll soon be sweaty. Instead, do jumping jacks or jog in place so you’re not chilled for the first 10 minutes.
Stay dry. In extreme cold (below zero), manage your layers and pace with this legendary Arctic adage in mind: You sweat, you die. Starting to perspire? Slow down or strip.
Keep layers handy. You’ll take them on and off frequently. When you’re not wearing a hat or gloves, stow them in pockets, down your shirt, or clipped to a shoulder strap. Stash your puffy jacket and a shell in the top of your pack.
Breathe through your nose. In temps below 20°F, some hikers experience chest pain from cold air. Inhale through your nose and the air will warm up before it hits your lungs.
Take short breaks. Maintain the body heat you’ve already generated by resting briefly (and more frequently if needed). At breaks, put on an extra layer right away–don’t wait until you’re chilled.
Eat fast. Stash snacks in each pocket of your puffy jacket, so that when you put it on during breaks you can refuel without digging around. Keep energy bars from freezing by storing them with a hot-water bottle or hand warmer.
Sit on your pack. Conserve energy during rest stops: Sit on your pack (read: insulation) with your back to the wind.
Keep your feet warm. Prone to cold toes? Cut a square from a closed-cell foam pad (light and cheap) to insulate your feet during breaks. Always change into dry socks if your feet get sweaty.
Use chemical hand warmers. These have myriad uses beyond saving cold digits: Stuff them in interior pockets to increase core temp; pre-warm a sleeping bag by tossing one in an hour before bed; thaw frozen boots in the morning; boost stove output by taping one to the canister.
ADVERTISEMENT
In Camp
Change and sip first. When you hit camp, swap wet layers for dry to limit heat loss. Then brew a hot, sweet drink to refuel, rehydrate, and reheat. (Get inspired with our favorite hot chocolate recipes.)
Limit breezes. Dig or stomp a tent platform six inches deep, so the edge of your rainfly is below the snow’s surface. Then cinch the fly as low as it will go.
Wear your bag to dinner. You’re suddenly sedentary, and temps are falling: Bring your sleeping pad and bag to the kitchen area, or retreat to the tent while your rice is cooking.
Cook before you camp. In extreme cold, break up your sedentary evening hours by stopping for dinner an hour from camp. Cook and eat, then warm up again as you finish the miles to camp.
Bring an extra pad. Double up on ground insulation: Put a closed-cell foam mat under a full-length, inflatable pad.
Go to bed warm. Do sit-ups inside your bag to generate body heat. Wear a hat and make sure your bag is sealed.
Add insulation. 1. Spread extra layers over you in the bag instead of wearing them, says Fierer. That way, you won’t crush their insulating power. 2. Drape a puffy jacket or vest around your shoulders, like a giant neck gaiter. 3. Wrap a shell around the foot of your bag for extra warmth and condensation protection. 4. Really cold? Cover the bag’s hood opening with a puffy jacket. (Just don’t cover your mouth, or risk waking up with a wet, frozen layer over your face.)
Have a midnight snack. Wake up cold? Eat a candy bar.
Prevent condensation. Open fly vents or crack the door to allow a cross breeze. Pack a camp towel to wipe any frost and water droplets and frost that do form on the tent ceiling.
ADVERTISEMENT
Key Gear for Cold Hikes
Face shield Balaclavas are often overkill when you’re on the move. Alex Van Steen, a veteran guide from Rainier Mountaineering, Inc., advises a neck gaiter that you can pull up over your nose as needed; cut a dime-size hole over your mouth to keep your breath from fogging goggles.
Gloves On Rainier, Van Steen takes thin liners for dexterity, ski gloves for moderate warmth, and waterproof mittens for the worst weather. In extreme cold, never take the liners off.
Boots Whether or not you’re using insulated boots, make sure the fit allows wiggle in the forefoot when you’re wearing winter-weight socks. A tight fit can restrict circulation, causing dangerously cold toes.
Zipper pulls Extend zipper tabs–pants fly zipper included–by attaching three-inch lengths of cord. Now you can keep your thick gloves on while adjusting gear and layers.
Hot-water bottles Fill two, put them in socks (to avoid burning your skin), and nestle them at your feet and between your thighs, where the latter can warm the blood in your femoral artery.
Sleeping bag Too big and it’s chilly, but make sure it has extra space (about six inches at the foot) for clothes.
Hooded parka A mountain must, it’s way warmer than a hoodless parka and hat.
ADVERTISEMENT
How a Guide Deals With the Cold
Your body needs extra calories in cold temps. When guiding in Antarctica and Alaska, Mountain Travel Sobek’s Ogilvy fuels up by putting peanut butter in ramen noodles and a hunk of butter in hot chocolate. She also adds heat to her diet with chili sauce and cayenne capsules: “Spicy foods just make me feel warmer,” she says.
Key Skill for Cold Hikes: Find a Comfy Campsite
Avoid low-lying areas in meadows and along rivers when it’s wet and cold. Lower ground tends to get soggy, and the coldest air settles there. But in hot weather, a riverside camp is often breezy and cool.
Camp behind natural windbreaks, such as on the lee side of boulders, or build your own out of rocks or snow.
Branches growing on only one side of the trees indicate frequent, strong winds. Check for widowmakers (dead trees or branches that could blow down) before pitching your tent. Also, wind typically moves down-valley in the evening and up-valley in the morning. Choose a site that’s sheltered from both directions.
Sheltered sites under alcoves and in dense stands of living trees protect from rain, cold, and heat. In winter, the cover reflects radiant heat back at you; in summer, overhangs and trees provide shade. Look for spots with good eastern exposure to catch the morning sun. In a canyon, sleep on a ledge to escape the cool ground breezes (just six feet can make a difference).
ADVERTISEMENT
Staying Comfortable in the Wind
A gentle breeze can be refreshing, but what do you do when it turns into branch-snapping, tent-pole-bending, yelling-to-your-partner wind? Learning to prep your gear and take advantage of local terrain features can make all the difference in the world.
On the Trail
Understand and adapt to wind patterns. Ridges, passes, rivers, and lakeshores see the strongest gusts; avoid them unless you’re fleeing bugs or heat.
Prevent windburn. In an unrelenting blow–whether it’s sunny or cloudy–apply sunscreen and wear sunglasses to protect your face and eyes.
Turn your head. When you have to hike head-on into an icy breeze and your hat and hood don’t shield you enough, turn your head sideways and use peripheral vision to see where you’re going.
Tie off loose pack straps. “They’re like little whips,” notes Van Steen.
Wait it out. Temperature fluctuations make air rise and fall, creating winds that can quickly change. In the mountains, wind often rises at dawn and in the afternoon as air heats up. Heading into exposed terrain? Time or delay your departure to match the local patterns.
Pick your path. If the wind doesn’t die down, hike behind natural windbreaks. The lee side of a ridge offers protection from winds whipping at high elevation.
ADVERTISEMENT
In Camp
Increase stability. Trust us: A poorly pitched tent that groans and flaps for hours makes for a terrible night’s sleep. Give your tent much-needed flexibility by passing a 5mm bungee cord through your fly’s guy loop several times, tying the cord to the guyline, and staking it out. Because it gives a bit, says Fierer, “It’ll stay tighter longer, and this prevents ripping the tent.”
Take time to secure your tent. Orient your tent’s narrow end into the wind so that gusts blow over, not into, your sleeping space. Stake out all guylines to keep the tent from bending or flapping. Soil too loose for stakes? Tie the guylines around hot-dog-shaped rocks. Pile bigger rocks on top to hold guylines in place.
ADVERTISEMENT
Pitch a lead tent. Set up other tents in a line in its lee, advises Van Steen. The lead tent (which should be the largest) will shield the rest from cold gusts during setup and throughout the night. Build a windbreak. In winter, use snow to construct a wall around your site. (Don’t dig a pit around your tent, or drifting flakes will fill it in.)
Keep meals grit-free. Stick to easy, one-pot recipes served in bowls. High-sided Tupperware containers work best.
Key Gear for Hiking in the Wind
Windshell For windy–but relatively dry–conditions, get a breathable windshell that won’t cause overheating (like Outdoor Research’s Helium Wind Hoodie, $119)
Key Skill for Windy Hikes: Cook Safely in Your Vestibule
Officially, no one cooks in a vestibule. Unofficially, veterans of windy, cold, and wet conditions all do it. But get vestibule cooking wrong, and you’re at risk for serious burns, a melted tent, or carbon-monoxide poisoning. Here’s how Andy Tyson, an 18-year guide in Antarctica, Patagonia, and Alaska, does it.
1) Make sure your vestibule faces downwind, so carbon monoxide blows away from–not through–your tent.
ADVERTISEMENT
2) Organize all ingredients and supplies before cooking to eliminate the need to reach over the stove for anything. Alert your tentmates when you’re about to start, so no one has to climb through the vestibule for a bathroom break while you’re cooking.
3) Stabilize your stove on a sturdy, flat rock.
4) If you’re using a liquid-fuel stove, be extremely careful not to let flames jump too high when priming (or prime it just outside the vestibule). Unzip the fly’s door, and have a pot lid ready to shield the tent from flare-ups. Keep a water bottle close at hand to extinguish any escaped flames.
5) Unzip the vestibule’s doors as much as conditions allow (even a few inches can help) to avoid carbon monoxide build-up. The longer the stove runs, the more important this becomes. Never cook inside the tent itself, no matter how nasty it is outside.
ADVERTISEMENT
Staying Comfortable in the Heat
The sun is blazing, the humidity is stifling, and the mercury is rising so fast that the thermometer seems like it’s about to explode. Stay inside? Not likely. Enjoy your hot hikes safely with smart clothing selections and planning.
On the Trail
Stay hydrated. You know this, but every year dozens of hikers get into trouble.
1. Store water in multiple containers, so you can never lose your entire supply.
2. Keep water accessible and sip often.
3. Use drink mixes (like our faves, Amazing Grass’s Watermelon-Lime Fizzy Green Tablets, $9) to replace the electrolytes you lose through sweat.
4. Shoot for at least one liter of liquid per hour; your urine should be clear.
5. Eat salty snacks to avoid dangerously low sodium levels, a condition called hyponatremia caused by overhydration.
Hike north. Plan your route so the sun is generally at your back. Your pack will absorb heat instead of you.
Adjust your schedule. Start before dawn to take advantage of the coolest time of day (after sunset, heat from the day still lingers). Get your miles done before noon, or take a long lunch layover in the shade and continue hiking after dusk. “There’s a reason why people all over the tropics take siestas during the hottest part of the day,” notes Bruce Smithhammer, a veteran NOLS instructor in Mexico. If you’re climbing out of a canyon, time your ascent so that the trail will be shaded. Note: Avoid night hiking in rattlesnake habitat during the summer; they come out when the temperature cools.
Shade your legs. Sun at your back? Hang a shirt from the bottom of your pack so that it shields your legs.
Air out your feet. Take off your boots and socks during rest breaks.
Protect your head. If you don’t wear a hat (or opt for a visor), put sunscreen in the part of your hair.
Eat light. Your appetite might decrease in hot temps, but you still need fuel. Replace greasy summer sausage with a chicken pouch, and have smaller, more frequent meals.
ADVERTISEMENT
In Camp
Sleep low. Cool air sinks, so look for shaded, north- or east-facing sites in valley bottoms.
Skip the stove. When you have to ration water in camp, save what you have for drinking–not cooking and pot cleaning. Pack dried fruit, bread with pesto, or backcountry sushi rolls made with cream cheese, pouch tuna, wasabi, and carrots on nori (or a tortilla).
Scrub down. You’ll sleep better if you wipe off sweat and grime. Pack wet wipes, or use a moistened bandana.
Sleep in a mesh tent. If you can’t sleep en plein air because of bugs, use a well-ventilated shelter. Leave the fly off of any tent when the sun is out so that solar heat doesn’t collect inside.
Protect your pad. In the desert, shine your flashlight horizontally across the ground to locate pad-puncturing cactus spines. Sweep the area thoroughly before laying your pad down. Alternatively, pack a puncture-proof, closed-cell foam pad like Therm-a-Rest’s Z-Lite SOL ($36).
ADVERTISEMENT
Key Gear for Hiking in Heat
Protective clothing Minimize exposed skin with a light-colored, long-sleeve, collared shirt and lightweight pants. “You may feel warmer initially,” says Death Valley National Park backcountry ranger Aaron Shandor, “but once you start moving, creating a breeze, and sweating, you’ll be much cooler.”
Sun hat Best: A wide-brimmed sun hat (like Sunday Afternoons’ Adventure Hat, $40.) Cheaper: Tuck (or sew) a bandanna under the back rim of your cap, Lawrence of Arabia-style.
Skirt Women: Get maximum comfort and breathability in an above-the-knee cotton skirt, says Mountain Travel Sobek guide Shelli Ogilvy. Guys, suspend your judgement and consider an outdoor kilt.
Sleeping sack In jungle-worthy weather, pack a lightweight cotton model (such as Cocoon’s Cotton Mummyliner, $34) instead of your sleeping bag. (And use it to line your bag for extra warmth in cold weather.)
Mist bottle Fill one at the trailhead and spritz yourself regularly on hot, dry hikes, advises Shandor.
Cotton shirt Yep, you read that right. Cotton’s slow-drying properties make it perfect for scorching temps: Soak a shirt in a stream, then put it on for sweet relief. “Warmth moves to a cooler area to equalize, so the cool water from a bandanna or T-shirt draws heat off your body,” explains Iris Saxer, an instructor with the Wilderness Medicine Institute.
Portable shade Bring a backpacking umbrella for protection on the move or a light-colored tarp for lunchtime.
ADVERTISEMENT
How a Backpacker Editor Deals With the Heat
“Admittedly, there’s no science to back this up,” says our former executive editor, who once hiked through a Sonoran Desert heat wave. “But when I trek in temps above 100F, I like to drink a cup of hot tea in the afternoon in camp. Some say it makes you sweat more, which increases cooling. I think it slightly raises your internal body temperature, which makes the outside air feel cooler.”
Originally published in September 2009; last updated December 2021