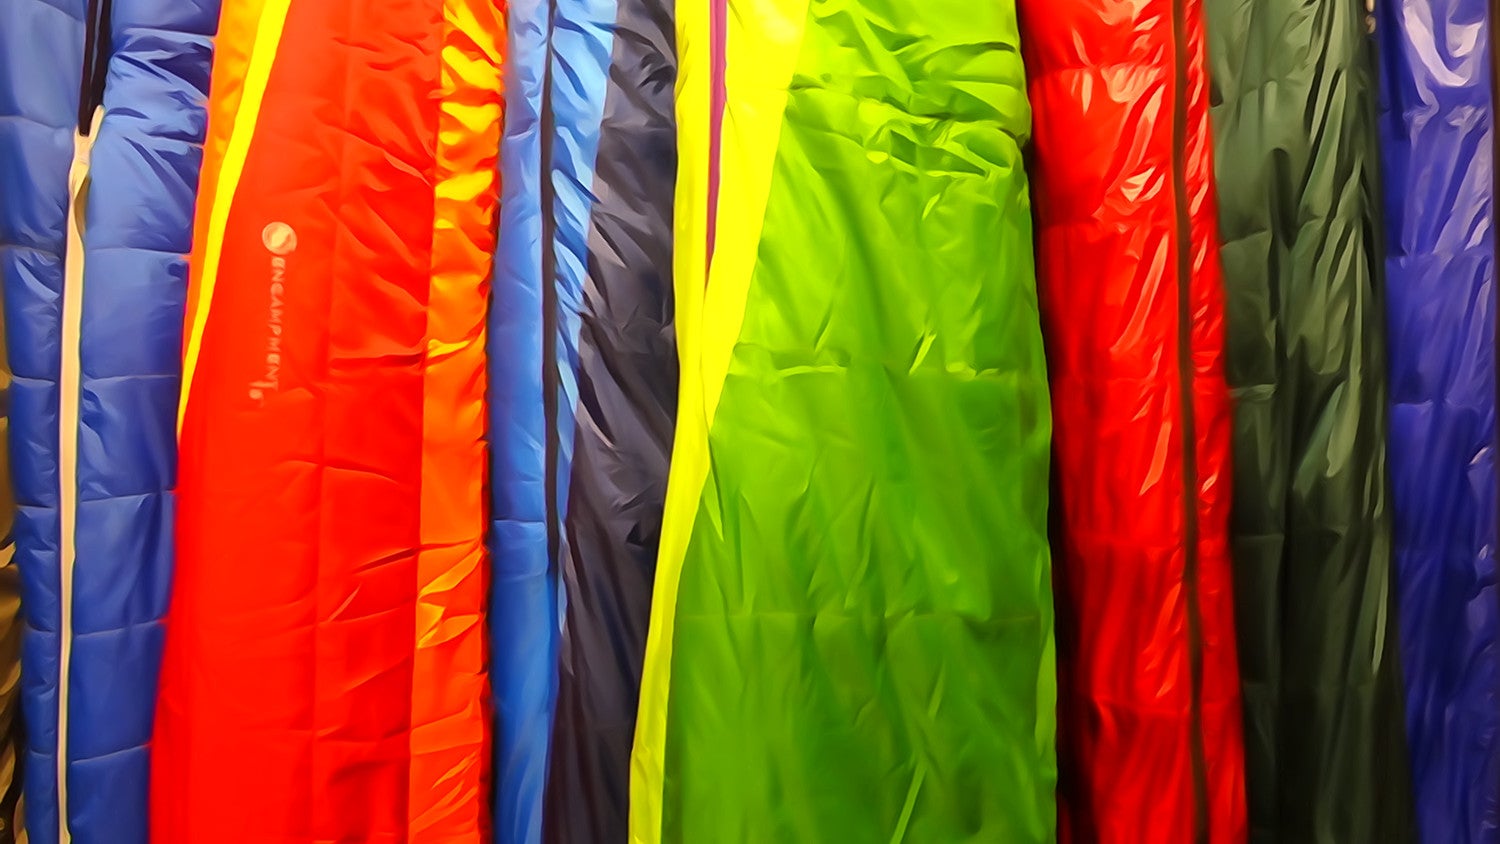
How to Fix Sleeping Bags

'VasenkaPhotography'
Buying a sleeping bag? Pick carefully: In a survey, 52% of our readers said that they expected to keep their sacks for five to ten years; an additional 25% said they hoped to use the same bag for ten years or more. The key to keeping your bag going strong? Careful maintenance and cleaning.
Maintaining your sleeping bag
Dry it out. In humid or wet conditions, take every opportunity to dry your bag by draping it over a rock or branches, or just laying it on the ground. Moisture reduces loft in down bags.
Treat zippers with TLC. If there’s a snag, don’t try to yank the slider free. Instead, pull out the obstruction perpendicular to the track.
Never store your bag compressed. It’s devastating to the loft. Instead, use the large cotton/mesh bag it came with. Or hang it.
Cleaning your sleeping bag
Body oils compromise loft. Run your bag through a Laundromat washer and drier once the bag starts to feel gross (you know what we mean). Use a purpose-made soap (Nikwax Down Wash or Tech Wash) and launder your bag alone on a cold, gentle cycle. Dry on low heat. It’ll take a few cycles, but high heat damages down. Between cycles, use your hands to break apart any down clumps balled up in the baffles.
Repairing your sleeping bag
Gaping holes Though rare, gaping holes happen due to accidents or negligence, especially along the zipper track. Do your best with duct tape in the field, then send it to the manufacturer or a specialty gear repair shop.
Replace If your tent is filled with feathers in the morning and there’s no visible tear, your bag is in unstoppable decline. After years of stuffing and unstuffing, the stitch holes in the baffles have stretched to larger than down-cluster size. You can delay replacement by layering up, but it will be time to face facts soon. For synthetics, once they’re no longer warm, it means the fill has compressed. That’s a one-way street.
How to fix small tears in your sleeping bag
Trim the frayed edges and ready a patch (McNett’s Tear Aid and Gear Aid’s Tenacious Tape are the standards; duct tape works if it has to, but will leave a mess later when you peel it off). Cut the patch round and a ½ inch larger than the hole on all sides. Apply the patch to the outside of your bag. Smooth out from the center to eliminate any air bubbles. When you get home, paint over the patch’s edges with Gear Aid’s Seam Grip. Let it cure flat before storing.