Published December 14, 2018 01:15AM
Pass/Fail: Pull a Sled
Snow opens up new options for hauling gear, but that doesn’t always mean you should use them.
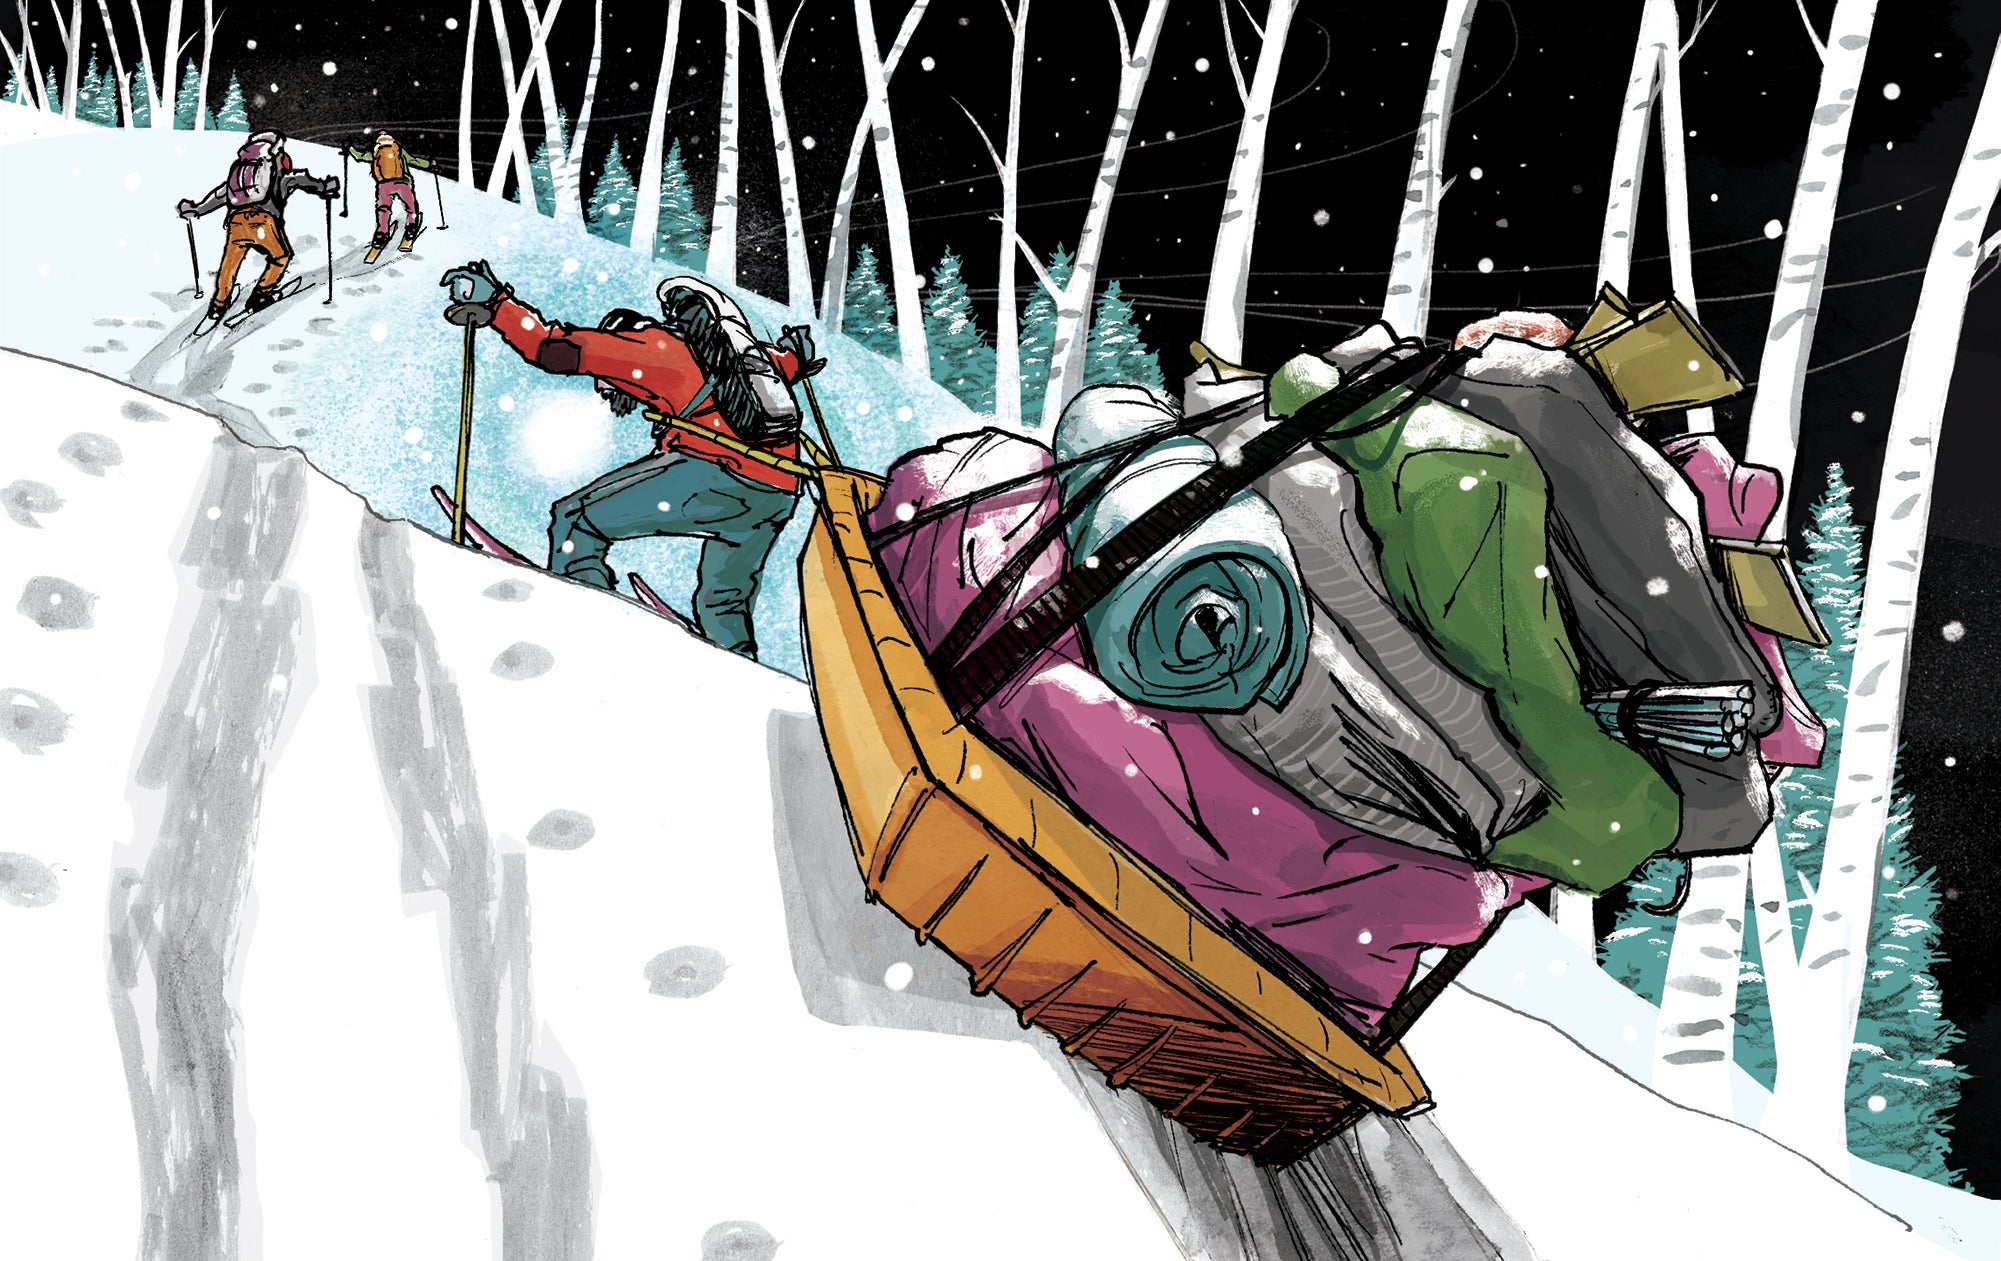
'Brett Affrunti'
The sound of vomiting does not encourage optimism, especially in the backcountry. After dark. In the snow. Without a clear route to follow.
It was nearing midnight, and under different circumstances I would have enjoyed the steady spring flurries. But the splatter of stomach contents hitting the ground was unmistakable, and though I kept my own dinner down, I think I actually felt worse than my buddy: After all, I was the one who’d been pulling the 60-pound pulk sled for the past seven hours.
Two days earlier, storms in Colorado’s San Juan Mountains had forced my group to relocate a backcountry ski trip on short notice. Fortunately, I knew of one hut that’s almost always available: the 10th Mountain Division’s Skinner Hut in the Sawatch Range. I had some idea that its frequent lack of reservations was due to a notoriously gruesome approach, but we had a seasoned crew, and 2,170 feet of gain over 10.6 miles seemed challenging but reasonable.
The decision to use a pulk, a 5-foot-long plastic sled connected to a chest harness, seemed like a simple one. I’d been hauling them for years on hut trips to carry in the sort of deluxe provisions that are worthy of a basecamp with a full kitchen. But, until now, these hut missions had mostly been on snow-covered roads or wide trails with mellow grades. This was my first time taking a sled on a steep skin track, but I didn’t hesitate: The physics of pulling a heavy load behind me still seemed better than skiing with 60 pounds on my back. Besides, I’d signed myself up for photo duty for this trip—how else was I going to carry all that food and all my camera gear?
On the day of the trip, we planned to start skiing before lunch, but due to an accumulation of small issues that can be generally described by the Law of Backcountry Groups in Large Numbers, our crew didn’t depart from the trailhead until late afternoon. Still, it was windless, temps were a balmy 45°F, and it wasn’t supposed to start snowing until midnight. Perfect, I thought.
My optimism was short-lived: A few minutes after setting skis to trail, the top-heavy sled refused to glide across the late-season slush, and pulling it felt like hauling a rowboat through sand. But given the choice between requesting to share the load and showcasing my grit, I chose the latter and soldiered on, sure we’d hit firmer snow as we climbed.
ADVERTISEMENT
The first 7.5 miles of the approach to the hut follow a relatively flat road that wraps around Turquoise Lake before climbing to the Continental Divide in earnest. Going up isn’t usually a problem with sleds, but this path went both up and around—something I hadn’t considered during my cursory glance at the map—and that meant sidehilling.
Every 50 to 200 feet, the sled capsized downhill, crossing the fiberglass poles into my hips and threatening to pull me down with it. On a flat trail, I’d simply unclip from the harness to right the sled, but here, that move would release a 60-pound missile down toward Turquoise Lake. Instead, I had to stand helpless, waiting for my wife Heather and our friend Crystal to sidestep downhill in their own overloaded packs, do an Olympic powerlifting move to flip the sled upright, and sidestep back up to our track. This continued for the remainder of the trek: For every few minutes we spent making progress, we spent an equal amount of time righting the sled.
By sundown, we still had 4 miles—and most of the elevation gain—to go. Temps dropped to the upper 20s and the top layer of snow froze solid. I heard yelling and saw Crystal slip face-first, roll downhill, and end up pinned under her own pack. Stuck in my contraption, I stewed in my shame while Heather helped her out. So much for showcasing my grit.
ADVERTISEMENT
Several hours and dozens of sled rightings later, we reached the base of the final climb to the hut. By this point, we knew we were about a mile out, but we couldn’t find the trail markers in the dark. That’s when the exertion and altitude finally caught up to my friend’s digestive system.
I’d had enough. Throwing my remaining pride to the wind, I ditched the sled and started skinning uphill to find the trail, finally free and unburdened. It was the best 15 minutes of the trip for me, and briefly preceded the worst. At the top, while everyone else warmed by the fire, I set out to retrieve the sled. I popped off my skis, hooked myself in, and carried out the rest of my sentence by getting the pulk to the hut the only way that was physically possible: postholing.
The Verdict: Fail
I didn’t examine the topo well enough to anticipate the sidehilling, and I overloaded the sled, making it even more prone to tipping over. And yes, the ski out was just as bad as the skin in.
Key Skills: Pull a Sled the Smart Way
Invest in a good sled around $300 (we like SkiPulk’s Snowclipper Pulk; $265). Chest harnesses are pricier but stay in place better and offer more forward leverage than a belt. Opt for rigid poles in rolling terrain to keep the sled from colliding with your calves on descents.
Choose an appropriate trail. Start with snow-covered roads—they’re wide , well-marked, and generally gentle. Avoid grades steeper than 25 degrees, switchbacks, spring slush, and boilerplate.
Bring a friend (and some rope). If you must sidehill, have the friend tie off to the uphill back corner of the sled and move in tandem with you, remaining beside and uphill of the sled to keep the line taut. On downhills, get your friend to tie into the back. Then, pizza like you’re in ski school.
Pack smart. Put the heaviest items low and near the center of the sled, and keep the overall sled height as low as possible to reduce tipping. Store everything in a handful of large stuffsacks or duffels to prevent small items from wriggling free.