Published May 18, 2022 05:35PM
How to Photograph a Glowing Tent at Night
Bring home dreamy after-dark images of your starlit camp with these pro-level tips.
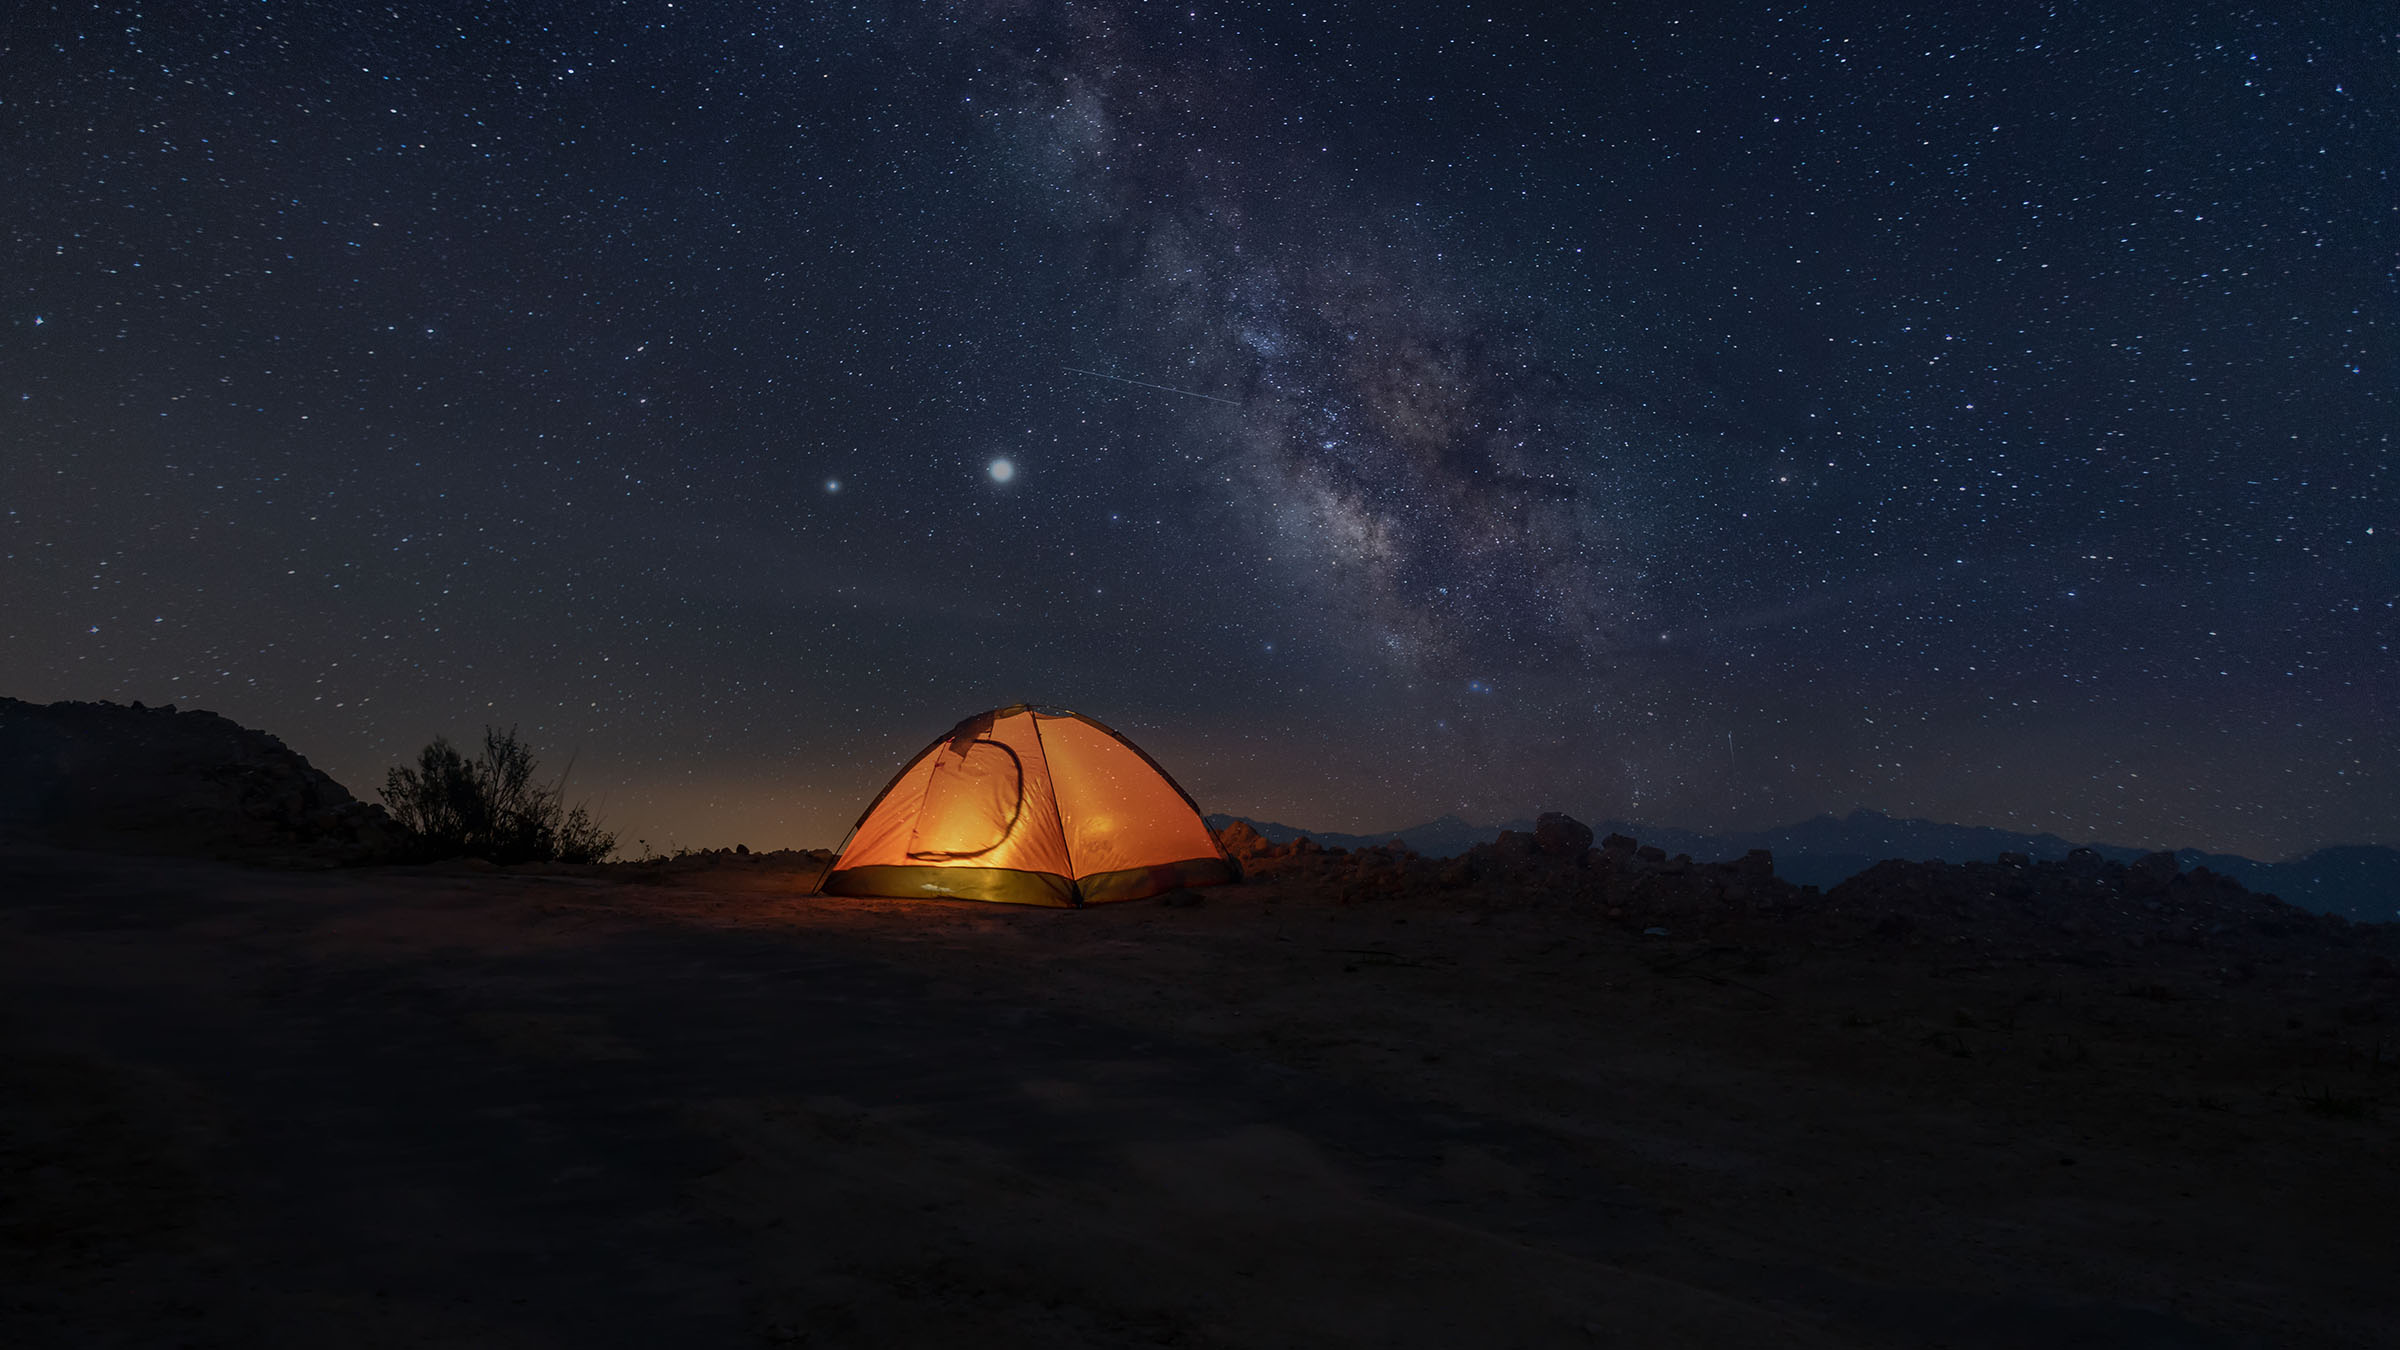
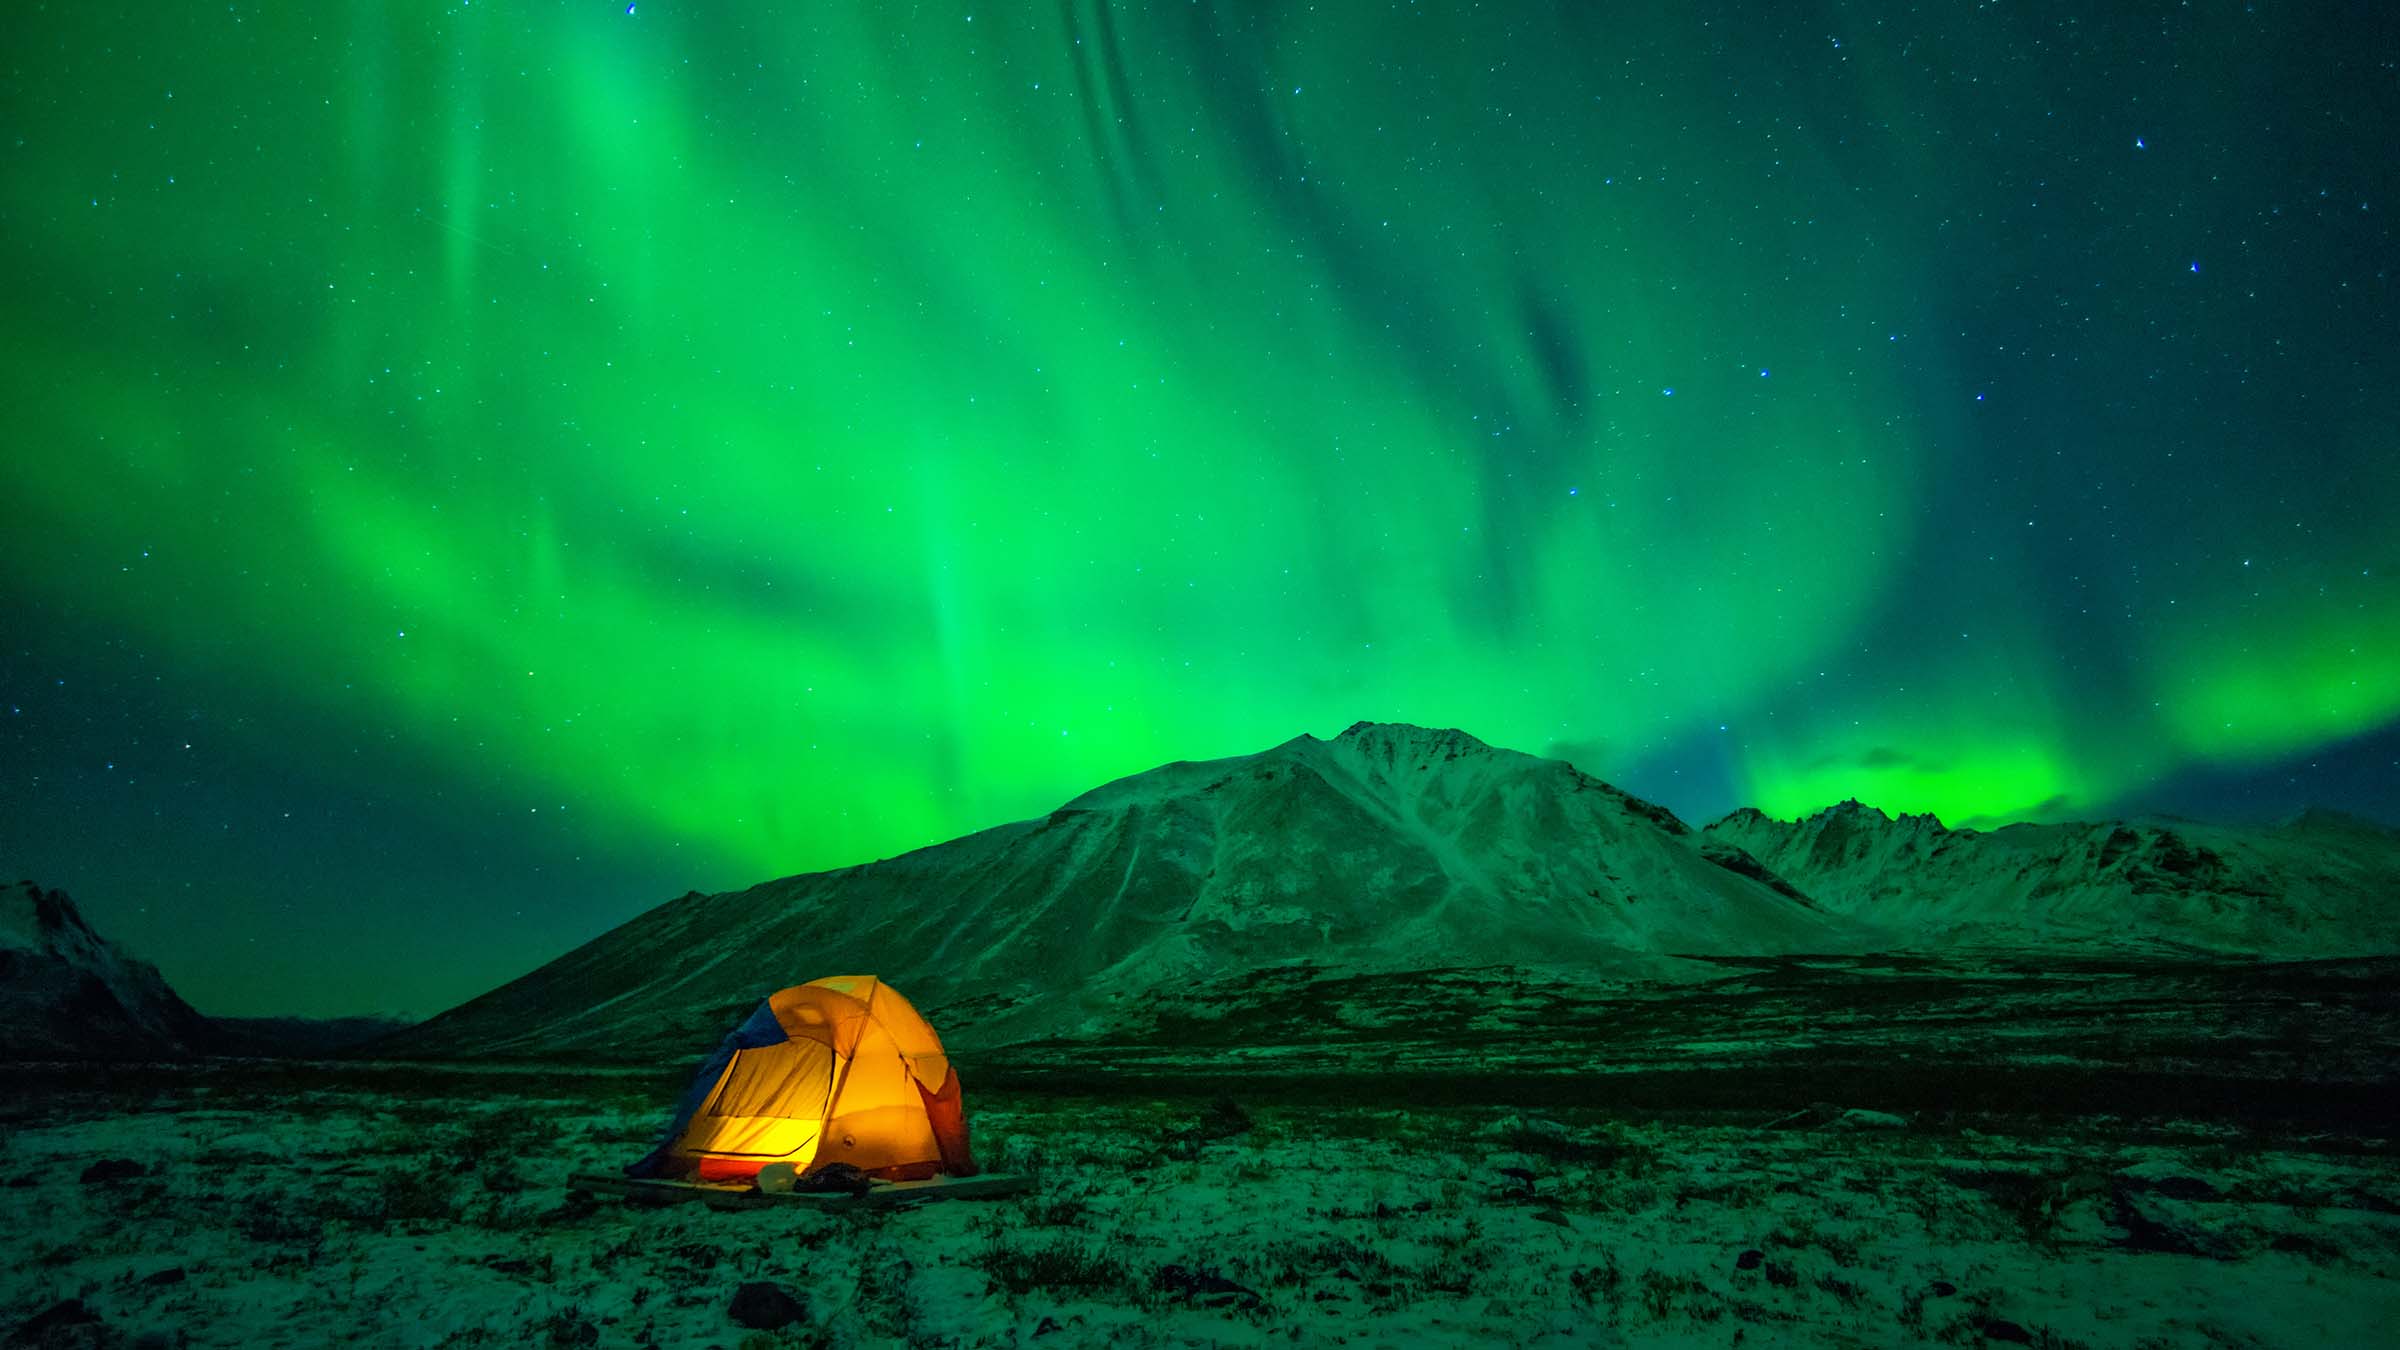
(Photo: Longhua Liao / Moment via Getty)
It’s a classic shot that’s appeared on more than one Backpacker cover: a solitary tent lit from the inside, a sparkling sky in the background. Nab it yourself with these pro tips.
Pick your site
Make sure you’re at least 50 miles from cities (a little light on the horizon can be interesting; too much will wreck your shot). Water and snow reflect starlight—seek them to enhance the scene.
Find the stars
Choose a campsite with a clear view of the sky. Even better: Make sure that view includes the Milky Way, and time your trip so that there’s no moon to overwhelm the stars. Use the Sky Tonight app to figure out the best shooting times and spots.
Expose for the sky
Challenge: Constellations rotate. Avoid unwanted blurs or star trails by opening your aperture all the way and boosting your ISO to 1600 or higher. Set your shutter to 20 to 30 seconds (tripod mandatory); any longer and you’ll get trails.
ADVERTISEMENT
Light the tent
Make it glow, but not too much—its real color should come through. For even light, make a lantern by using your water bottle to diffuse your headlamp; put it in the middle of the floor. Take some test shots. Tent look white? Dim the headlamp, adjust the lantern’s position, or partially cover it.
Focus
Go manual; autofocus doesn’t work well in the dark. Stand at least 10 feet from your tent, focus to infinity, then back off slightly.
Time-lapse
Capture the stars in motion by using an intervalometer (a timer that fires the shutter at set intervals). Basic units cost as little as $25; look for one designed for your camera. Or splurge on the CamRanger ($299; 3.4 oz.). This deck of cards-size attachment creates its own local wireless network to turn your smartphone into a remote for your DSLR. See your shots, refocus, control the intervalometer, change camera settings, bracket for HDR, review images—all from the comfort of your tent.
Originally published 2014; Last updated May 2022