Updated July 10, 2025 03:03PM
If you buy through our links, we may earn an affiliate commission. This supports our mission to get more people active and outside.Learn about Outside Online's affiliate link policy
Popping Blisters, Preventing Hot Spots, and More: A Guide to Comfy Feet
Tired of red, stinging blisters three miles into every ten-mile trek? Us too. That’s why we’ve brought together the best blister prevention tips and tricks for keeping you and your feet happy on any trip.
Should you pop blisters? Here's what the experts say. (Photo: Louisa Albanese)
What Causes Blisters?
As you hike, your boots and socks rub against your feet, moving the thick outer layers of your skin more than the sensitive inner layers, which causes them to begin to separate. This is a “hot spot.” Ten minutes of rubbing later, and fluid has fully filled the void between your skin layers. This is a blister. Moisture (from sweat or a river crossing) accelerates this process.
For instance, imagine rubbing your thumb against the skin of a ripe peach. The skin moves under your finger. If you press harder, the skin wrinkles, then tears. The same process is at work on your skin: the outer layers can move more than the sensitive inner layers can, and with enough moisture and friction, they suffer damage—a blister.
ADVERTISEMENT
Blister Prevention
A few minutes of prep work at home and some easy maintenance on the trail can keep your feet feeling fine for miles:
Before you leave home:
- Buy boots that truly fit, not the first discount pair you see at your favorite outdoor consignment shop or, worse, an internet knockoff you inevitably won’t try on before the trailhead.
- If you’re wearing leather boots, break them in before you hit the trail. Wear them around the house, to the grocery store and when taking your dog out in the morning. Next, wear them on day hikes before putting them to the test on overnights with a heavy pack. Duct tape rough seams to decrease friction against your foot. Wearing synthetic boots or trail runners? If they irritate your feet out of the box, chances are that won’t change much.
- Choose your socks wisely. Never wear cotton (that applies to the rest of your ‘fit, too). It holds moisture close to your skin, which accelerates the blistering process. Like your shoes, pick socks that fit snugly without wrinkles or annoying seams. Then find what feels best for you, thickness-wise, and experiment with a thin, sweat-wicking synthetic sock under a thicker wool layer. You can also try blister-resistant socks.
- Buy supportive insoles to keep your foot intact inside your boot. Also, clip your toenails to prevent pressure in the front of your boots.
- Preemptively duct tape your feet if you have done all of the above and still find yourself regularly suffering from hot spots a few miles into a big trip.
While on the trail:
- Keep your feet dry. Bring extra sweat-wicking socks to change into after a couple miles on the trail. Then hang the sweaty pair from the outside of your backpack, so they’ll be dry and ready to change into by dinner.
- Rinse your feet whenever possible. Not only do dirty feet blister faster, but they also can increase a blister’s likelihood of becoming infected. Even better: Dunking your tired, sore feet in running water feels amazing. Just make sure to let them dry thoroughly before stuffing them back inside your boots.

How to Stop Boots From Giving You Blisters
Don’t toss big-ticket boots in the bin when a quick makeover will do the trick. If the problem is a pressure point, rather than fit or break-in, you can work it out just like a cobbler would. More importantly, this two-step trick also lets you customize your leather boots for bunions, heel spurs, and other foot problems.
- Remove the laces and pull back the tongue. Apply a dab of mink oil (found at most hardware and shoe stores) to the inner leather at the troublesome spot. Massage until the oil is absorbed to soften the leather. For non-leather-lined boots, skip the mink oil and go to the next step.
- Knead the offending area with a hard, smooth, blunt object, such as the end of a broomstick or a closed pocketknife. Use a circular or back-and-forth motion and a healthy bit of elbow grease. As a result, the extra space this effort creates should eliminate the problem.
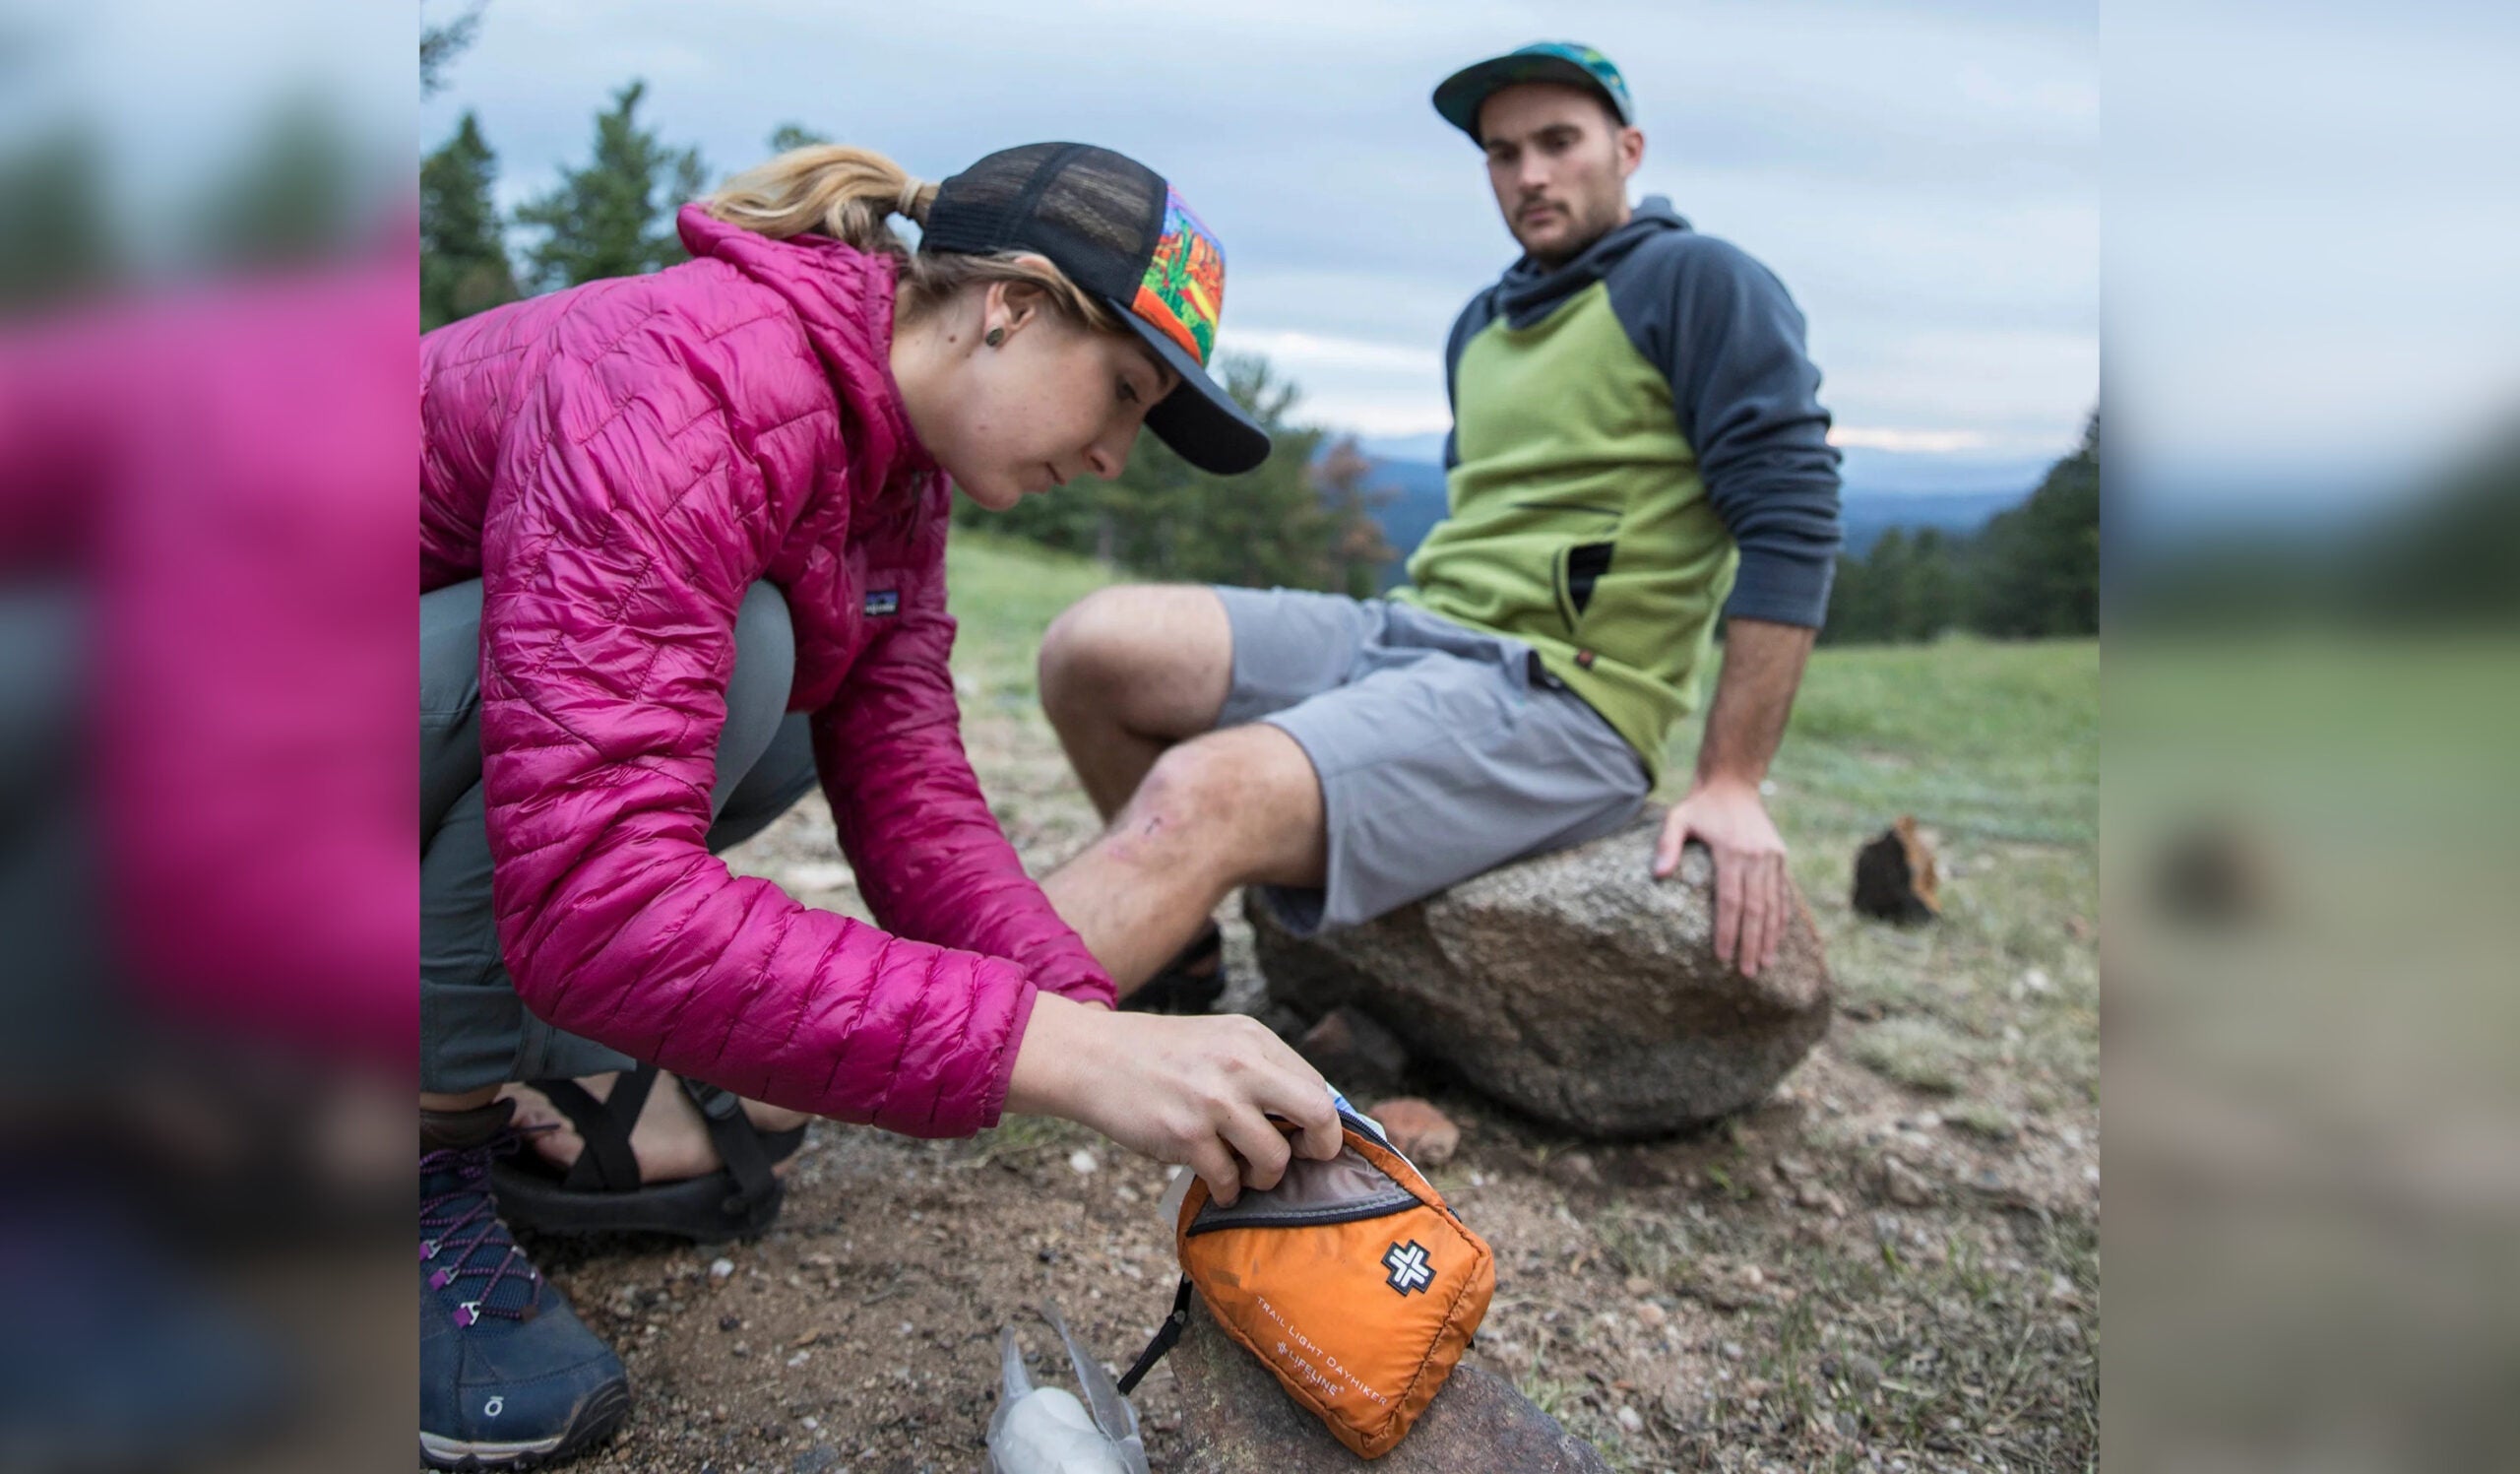
Is Popping Blisters OK?
If you grew up in Girl or Boy Scouts, you may have learned not to pop blisters, and that doing so could open you up to infection by creating a break in your skin. Sure, that’s technically true, but sometimes the benefits outweigh the risks. If you’re deep into the wilderness and not willing to abandon your trip, carefully draining your blister may be your only option.
ADVERTISEMENT
Buck Tilton, Backpacker contributor and director of the Wilderness Medicine Institute at the National Outdoor Leadership School, has treated hundreds of backpackers’ backwoods blisters, so we consulted him for the final word:
“At WMI, we open and drain almost all blisters (the exceptions are those caused by burns), including the controversial ones: blisters filled with hazy, cloudy fluid and even blood blisters on the heel or ball of the foot,” he says. “Our philosophy is that a blister in a high-stress area is going to pop if you keep walking on it. We’d rather drain it in a controlled setting than have it burst inside a sweaty, dirty boot and sock.”

How to Treat Blisters
It’s just a hot spot:
- Immediately stop, find a place to sit, take off your shoe and sock, and access the hot spot.
- If you’ve caught the spot before a blister has fully formed, wrap the affected area in several layers of duct tape, which will reduce the friction between your foot and boot. Also, wrap toes separately from the rest of your foot, and don’t tape over them unless they also are rubbing against your boots. If your skin is noticeably red and raw, cover the wound in antibiotic ointment and an adhesive bandage before wrapping the affected area in duct tape.
- Leave the duct tape in place until you return home. Removal can be painful, and regularly aggravating the area to change out duct tape on the trail is not recommended.
(Duct tape not doing the trick? Our editors recommend Wuru, loose Merino wool you can put between your hot spot and sock to cut down on rubbing. Just place a wad of it over the affected area and hold it in place while you pull your sock over.)
It’s a fully formed blister:
- Clean the blister and surrounding skin with soap and water, alcohol or an antiseptic wipe.
- Sterilize a pin or knife with alcohol, boiling water or a flame.
- Pierce the bottom of the blister. Start at the top of the blister and gently massage the fluid down and out.
- Cover the wound in antibiotic ointment to help prevent infection.
- Cut a piece of moleskin half an inch larger than the blister. Then cut a “donut” hole just larger than your blister in the middle of the moleskin.
- Place the moleskin donut around the blister and cover with a second piece of moleskin.
- Cover the moleskin and surrounding skin with several layers of duct tape.
Note: Never rip the roof off of a blister. You’ll increase your risk of infection and expose the more sensitive skin below.
ADVERTISEMENT
It’s a blood blister on toe:
- Slather on an antiseptic and cover it with a bandage or moleskin. You can apply a bandage on top of moleskin for additional protection. Both will protect the blister from infection if it pops or leaks on its own.
- Most sources suggest not to pop a blood blister: They’re more likely to get infected, compared to regular blister. However, if it does pop on its own, do clean it with antibacterial cream or ointment and keep it covered.
- Elevate and ice the blister if it’s uncomfortable. This will reduce the swelling and the size. You can also manage pain with over-the-counter medicine, such as ibuprofen or acetaminophen.
- If treated correctly, it’ll heal on its own within a week or two.
How to Treat a Heel Blister With Duct Tape
.jpg 28216")
1. Heel blisters can cause agony step after step, and they often make a surprise appearance at the start of big trips, when your payload is heavier than normal. Your first step; Clean and disinfect the area.
.jpg 28217")
2. To help moleskin, Glacier Gel, and tape stick better, paint any unopened areas on and around the blister with tincture of benzoin, a skin adhesive. (Note: The alcohol solvent stings on open sores).
.jpg 28218")
3. For open blisters, Glacier Gel from Adventure Medical kits is the ticket. Apply it stretched, with as few wrinkles as possible. Keep your ankle flexed forward during the taping procedure.
.jpg 28220")
4. Hold moleskin and Glacier Gel in place preferably with slippery duct tape, which allows socks and boots slip over the wound. Blister unopened? Just paint the bubble with Vaseline or antiseptic cream and go to duct tape.
.jpg 28221")
5. Tightly stretch a 6- to 8-inch piece of duct horizontally over the blister.
.jpg 28222")
6. Rounding the edges keeps them from rolling into pressure points later on.
.jpg 28223")
7. Stretch several more pieces in the same direction.
.jpg 28224")
8. Once the heel is thoroughly and smoothly covered, put several sections of tape in a ‘stirrup’ fashion under the heel and instep, attaching them to the horizontal bands.
.jpg 28225")
9. Layer tape in both directions until you have a smooth, tight wrap that covers the heel pocket completely. Wrap well forward of your ankle bone, but not far above them.
.jpg 28226")
10. Finish the wraps with one or two sections of tape running down the Achilles and underfoot. This keeps heel lift friction from rolling and peeling the horizontal tape bands.
.jpg 28227")
11. Almost finished: the repair should look like this.
.jpg 28228")
12. Hold the assembly in place by running one or two half-widths of duct tape around your heel and across the forward fold of your ankle. Most importantly, keep your shin tilted forward during this to prevent uncomfortable tension while walking.
.jpg 28229")
13. To finish, trim up any uneven edges and awkward folds with scissors. While hiking, you may need to trim back the Achilles, shin and forefoot to avoid irritation. Avoid wet-footed river fords because they’ll loosen the whole blister repair.
.jpg 28230")
14. On multi-day trips, remove the tape overnight to let your foot breathe. Also, to save time and make tape last longer, cut the instep strap and carefully remove the tape boot for reuse. A short piece of tape will reattach it.
ADVERTISEMENT
Blister First Aid Kit
Must-haves:
- moleskin
- duct tape
- safety pin or knife
- alcohol or antiseptic wipes
Optional add-ons:
Tincture of benzoin, a balsamic tree resin, has antiseptic, aromatic, and adhesive properties. It can be found in many forms-impregnated in cotton swabs, in small vials as a liquid, and as a spray-at drugstores and medical supply houses. Keep a little benzoin in your first-aid kit and use it to:
- Augment the stickiness of any blister treatment. Just apply it to your foot, let it dry until tacky (a few minutes), then affix your dressing of choice.
- Protect your skin from friction. When applied to unblistered skin, tincture of benzoin dries to a hardened shield like a second, protective layer of skin.
- Seal an existing blister as a last resort.
Tips for Hiking with Blisters
Sometimes, all the first aid in the world doesn’t help. Here’s how to tough it out until the trailhead if need be.
- Distract yourself. Chat with your partner, listen to your favorite songs or a podcast, sing, or think happy thoughts to take your mind off the pain.
- Don’t give up on minimizing pain and preventing additional blisters. Continue to change your socks regularly and keep your feet clean.
- Smile. Fake it ’til you make it. You’ll feel a little bit better.
How Long Do Blisters Take to Heal?
If you catch them early, blisters won’t be a bother for too long. Your skin begins to recover within six hours, toughens within two days and usually heals completely within a week. However, if you continue to irritate the blister, you prolong the healing process and increase your chances of infecting it.
ADVERTISEMENT
Blister Myths
Deodorant is the best blister prevention method. Antiperspirants reduce sweating, but sliding your Old Spice around your foot can increase irritation between your foot and sock and increase the likelihood of blisters.
Foot powder also prevents blisters. Sweaty powder quickly clumps and increases friction between your foot and sock, creating more blisters.