Updated April 30, 2025 12:02PM
Master Class: Explore the Alpine Zone
Apply mountaineering basics to adapt to thing air, avoid high-altitude hazards, and make smart decisions.
'Beware of fast-changing alpine weather (Nate Strong)' (Photo: Cavan Images / Gabe Rogel)
Prep for Changing Conditions
The higher you go, the higher the stakes. Mountains create their own weather, and it can change in an instant. Warning signs: clouds getting thicker and lower to the ground; lenticular (lens-shaped) clouds hovering above a peak, which indicate high winds; and sudden changes in atmospheric pressure. Monitor the latter with an altimeter—watch for sudden changes in altitude that aren’t explained by your movement. Falling pressure indicates a storm threat. Check forecasts, pad your schedule, and pack extra layers and gear.
Recognize Hazards
Understand terrain-specific alpine dangers—and how to navigate them safely.

Rock
Danger: Instability, tricky routefinding, rockfall
Technique: “Even if the route appears easy, slow down and pay attention,” Wedberg says. Pick your line of least resistance from afar or follow an established route. Where footing is less certain, such as on talus fields, keep weight on your back foot as you test the stability of the rock ahead. Stay nimble and leap away if a rock shifts underfoot. Avoid traveling above or below your partners: If one of you were to fall or knock a rock loose, you’d take out the others. If you must hike above or below teammates, spread out to stay out of each other’s fall line.
ADVERTISEMENT
Snow
Danger: Slides, hidden ice
Technique: Snow can make climbs easier by reducing the danger of loose rock. Start before dawn, when cold temperatures make terrain frozen and more stable. When crossing soft snowfields, kick steps into the snow before stepping with your full weight. Always move from one balanced position to another. Rope up with teammates in steep areas.
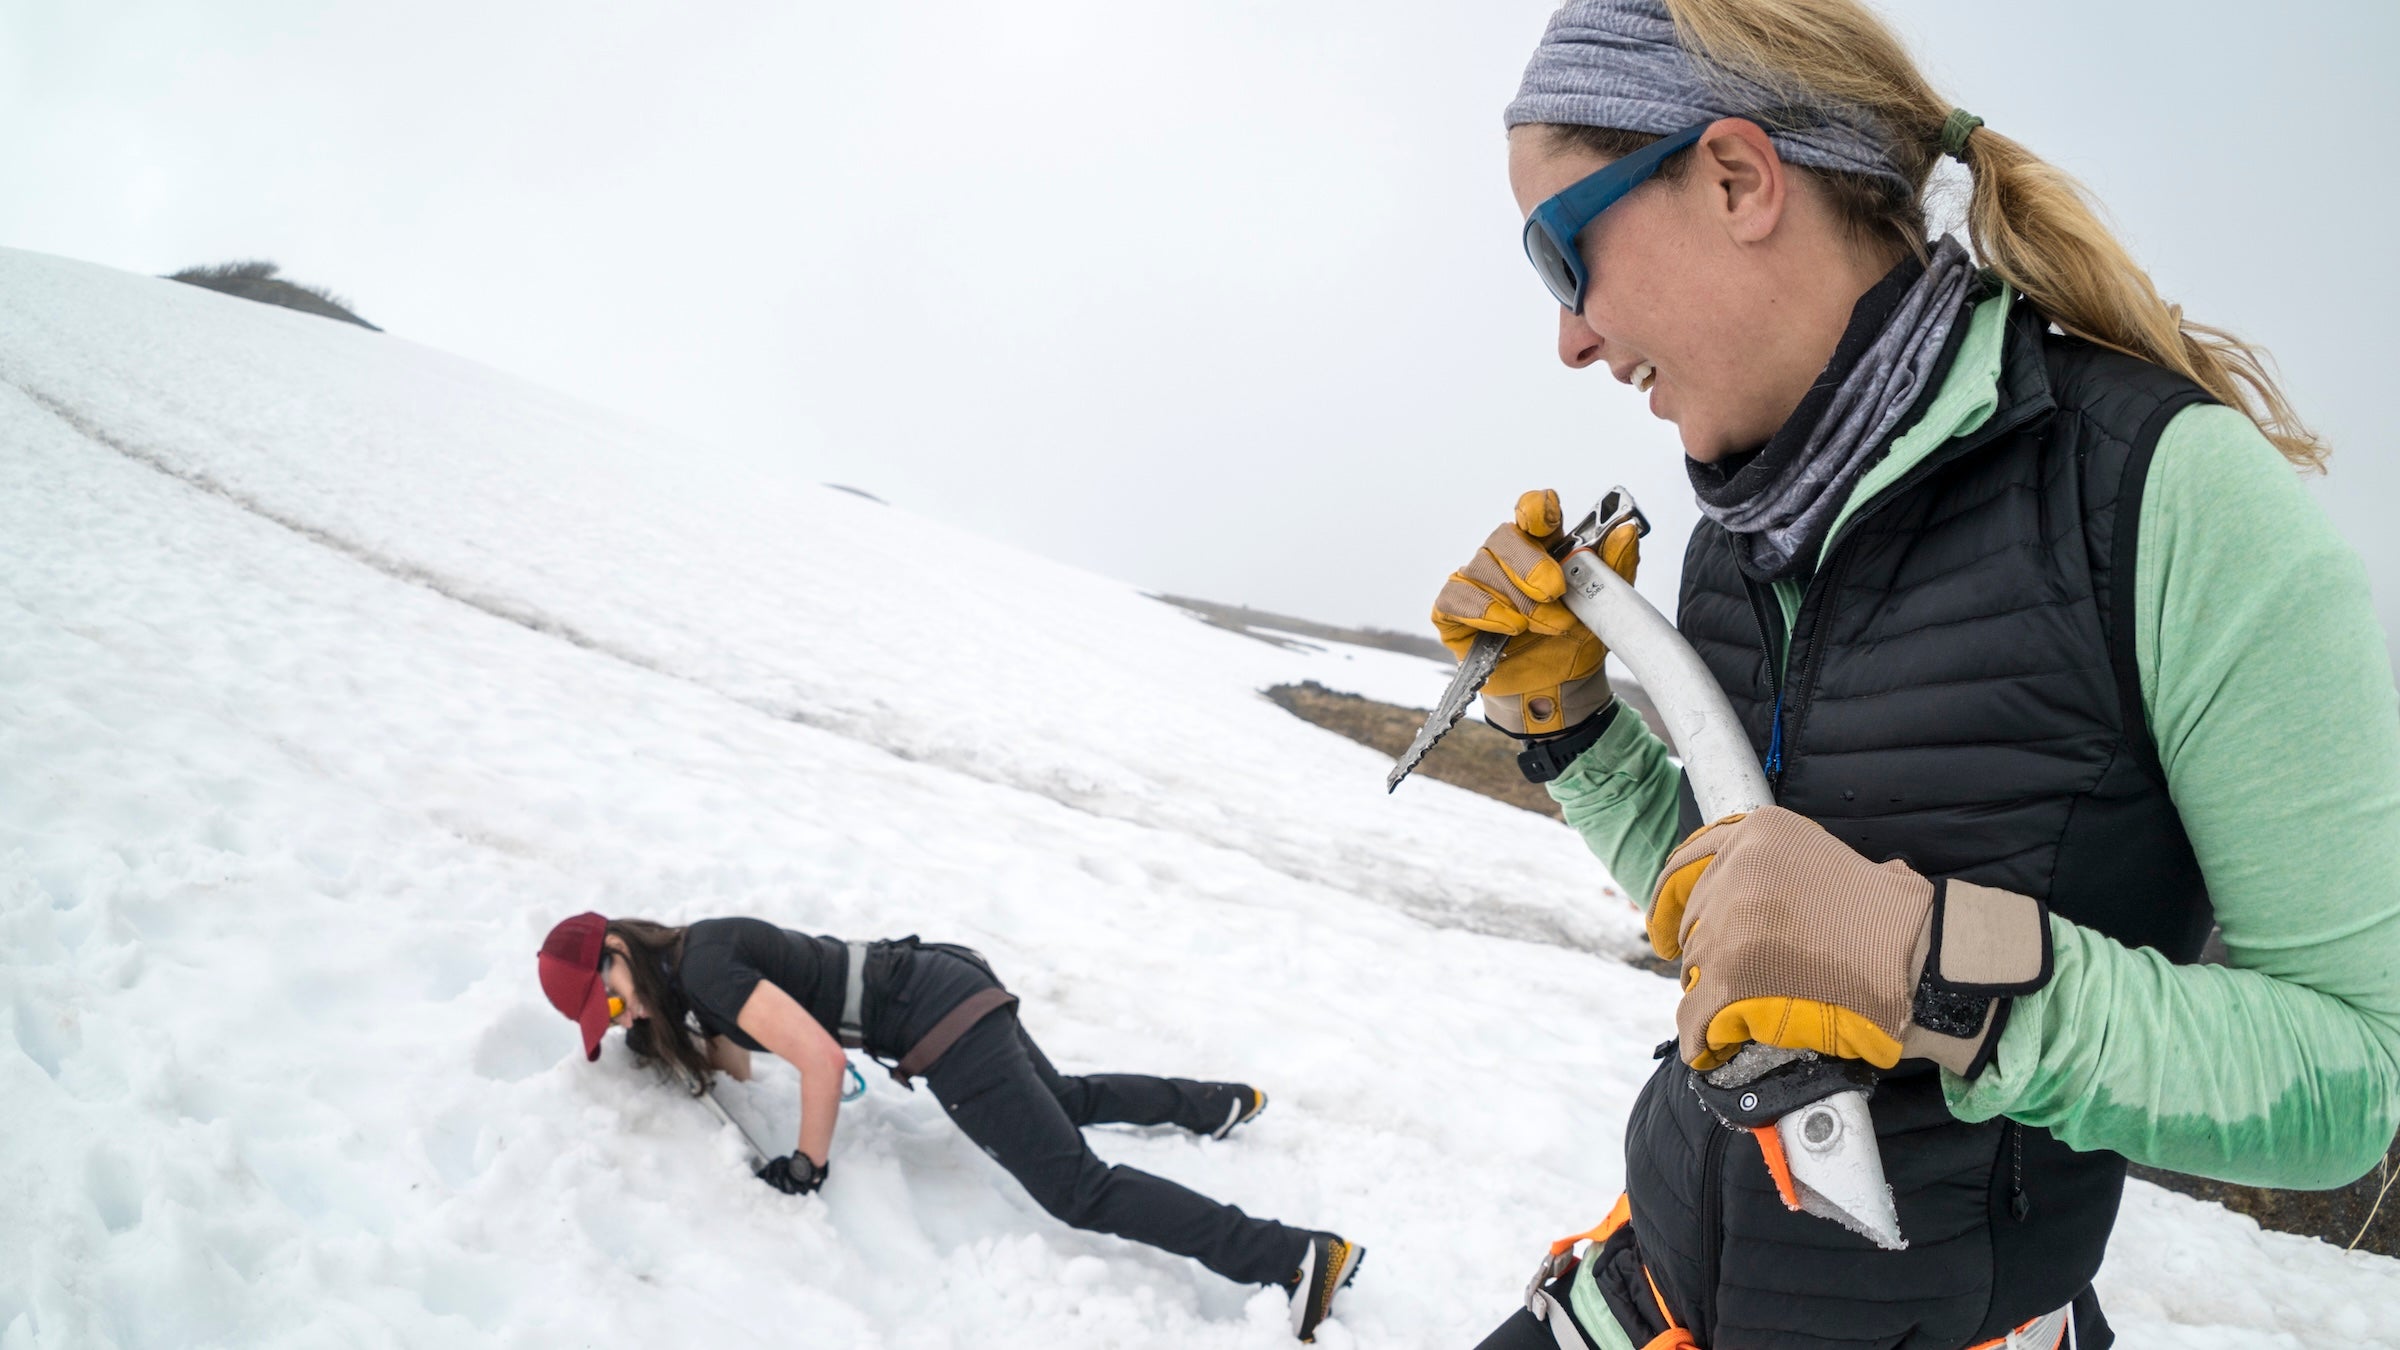
Ice
Danger: Losing your footing
Technique: Your ice axe is like a third leg, providing added stability on icy slopes. Master the self-belay: Hold the axe in your uphill hand with the pick facing back, and plant the axe’s shaft firmly into the uphill slope to use it as an anchor. If you start to slide, self-arrest: Position the axe diagonally across your chest, gripping the shaft with one hand and holding the head with the other (a). Roll in the direction of the pick to flip onto your belly. Throw your weight onto the axe pick, burying it into the slope (b). Practice before trips.
ADVERTISEMENT
Time It Right
The best time and season for an alpine climb? Consider these factors: Early-season snowfields can be easier and safer than rock if you’re properly equipped with an ice axe and crampons. Also, time of day matters: Predawn, frozen snow is easier to traverse than late-afternoon mush. Rockfall is more common during heavy snowmelt. Summer thunderstorms are most common in the afternoon, so you want to be off the summit early. Variable conditions aside, here’s when to target some of the world’s most popular peaks.
Prevent Common Mistakes
Beginners
The problem: Poor fitness and acclimatization. “Roughly 80 percent of accidents happen on the descent, when your body is spent,” Wedberg cautions.
The fix: Train adequately for the ascent and descent, which use different muscle groups. Build endurance on a series of training hikes and smaller climbs. Ascend and descend stairs with a weighted pack. Build strength, targeting quads, glutes, hamstrings, core, and calf muscles. Going from sea level to more than 10,000 feet? Spend a day or two at camp acclimating. During the climb, stay hydrated and maintain a slow and steady pace that feels manageable for hours on end. You should be able to carry on a conversation without gasping for air; if you can’t, slow down.
ADVERTISEMENT
Intermediates
The problem: Failing to turn around when encountering unsafe terrain without having the proper gear (or knowledge).
The fix: Research guidebooks and trip reports, and survey rangers and outfitters to learn what the targeted climb requires, and be clear-headed about matching your skills and experience to the task. Don’t attempt anything for which you’re not prepared or equipped. If you’ve purchased new gear for a specific trip, spend time familiarizing yourself with it at home and on easier training climbs.
Advanced
The problem: Complacency and overconfidence. “As climbers gain experience, some become complacent, thinking they’ve learned all there is to learn,” Wedberg warns. But such thinking can be catastrophic in the mountains.
The fix: Keep your mind open and alert to new situations, new terrain, and changing conditions that you haven’t encountered before. “If you don’t learn something new every trip,” he says, “you should stop climbing.”
ADVERTISEMENT
Key Gear
Ice Axe
Grivel’s G1 carbon-steel axe is light, strong, and affordable. The neutral design is good for general mountaineering. $75; 16 oz.; grivel.com
Helmet
Protect your noggin with the Petzl Elios, a light and widely adjustable lid. $65; 11 oz.; petzl.com
Crampons
Black Diamond’s Sabretooth comes in a versatile clip version for boots without a toe welt; anti-balling plates prevent snow buildup. $180; 33 oz.; blackdiamondequipment.com
ADVERTISEMENT
Refine Your Judgement
Know when to turn around.
Signs you should turn back:
- Weather is awful (thunder, whiteout)
- Acute mountain sickness or edema (severe headache, nausea/vomiting, shortness of breath)
- You’ve reached your predetermined turnaround time (even if you haven’t reached the summit).
- Snow appears unstable; learn the signs at backpacker.com/snowpack.
- You or someone in your party is injured or dangerously exhausted.
- You’ve encountered conditions you’re not prepared for, like crevasses or ice.
Continue cautiously (revisit turnaround plans every 15 minutes if you notice these issues):
- Iffy weather (wind, clouds gathering) or distant storms
- Mild altitude sickness (headache, fatigue, reduced appetite)
- It’s not turnaround time yet, but you or your teammates are struggling and losing time.
- Snow is deeper than expected, but stable.
- You hear of an injury or rescue above you that has not affected your team.
- You’ve encountered unexpected conditions, but you’ve practiced for them.
Know the Ropes
- On a glacier, the risks to un-roped climbers who fall into a crevasse far outweigh the risks to a rope team. Always tie in.
- On moderate slopes and slick snow, it’s less obvious. You have to decide whether un-roped climbers will be able to self-arrest or if they need group support. The risk of roping up: One person falls and pulls the whole rope team down (it also slows the climb). Look at the angle of the slope and the potential runout if you slide. Use good judgment: Will you be able to self-arrest alone? If not, rope up.
- If you’re embarking on a climb that may require ropes, take a class or climb with a guide until you’re familiar with the key skills: tying knots, setting protection, belaying, setting anchors, and making prusik slings (tied correctly with a friction knot, these let you ascend a rope; learn how at backpacker.com/knots.)
Rescue a Fellow Climber
Partner fell into a crevasse? Here’s how to save him.

1. After the fall is stopped, the middle climber (or climber closest to the fallen climber) should stay in self-arrest position to anchor the fallen climber while the end climber slowly gets up and starts building an anchor. The anchor should be between the arrested climber and the lip of the crevasse.
ADVERTISEMENT
2. Build an anchor using whatever protection you have: ice screws or ice axes firmly secured in ice, skis or backpacks buried as deadmen in soft snow. Try to place two or more independent anchors with slings (loops of climbing webbing or cord) to spread out the load. An additional sling should connect the anchors to the rope of the fallen climber.
3. Once the anchor and slings are secure, ease off the self-arrest slowly to make sure the anchor holds. Belay one climber to the edge of the crevasse to check on the fallen climber. If the climber is uninjured, he may be able to rescue himself by climbing the crevasse wall or scaling the rope using a prusik sling. If the climber needs more help, you may have to haul him out.