Maps: How to Orient a Map to the Surrounding Terrain

'1) You're looking at the land, and your map, but it's still easy to get turned around. First, orient your map properly to True North (TN). Then you…'
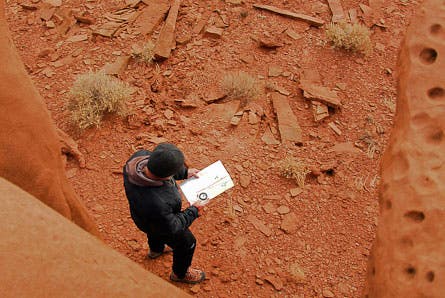
1) You’re looking at the land, and your map, but it’s still easy to get turned around. First, orient your map properly to True North (TN). Then you can correlate paper landmarks to real ones.
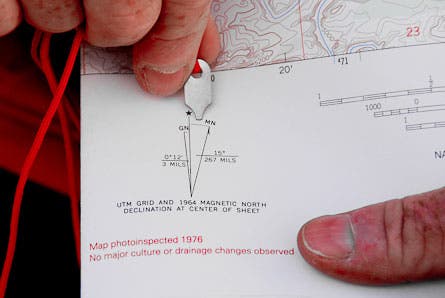
2) Geographic North, at the North Pole, equals “up” on maps, but compass needles point to the Magnetic North Pole (MN). The difference in angle, called ‘magnetic declination,’ is shown at the lower left of most map quads.
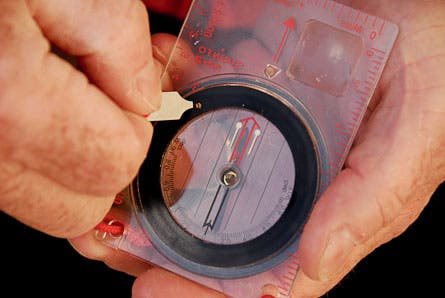
4) Any compass worth using has an adjustable magnetic declination. Some are simple friction twist adjustments. This one uses a small screw on the needle capsule.
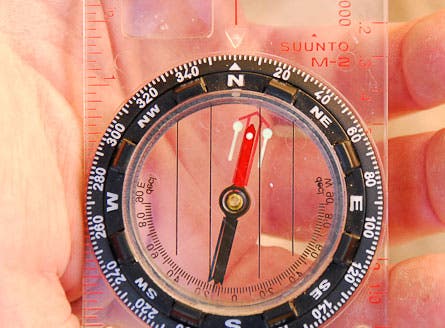
5) Properly adjusted for 15 degrees East declination (southern Utah) the compass looks like this. The needle points to MN. The compass navigation lines point to TN.
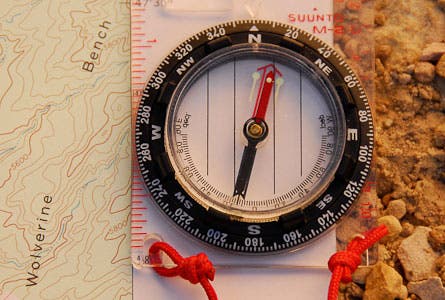
6) Put the compass “upright” on your map quad. Be aware that many grid lines on maps (survey lines and UTM grids) don’t point to true north. Map borders always do.
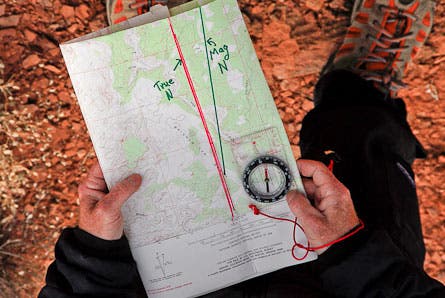
7) Rotate until the compass and map come into alignment. Now you can look around to see how directions and landmarks correlate.

8) An example in confusing terrain: The mapped canyon runs north, but it twists and bends. Orienting the map properly looks like this, even though the canyon seems to be oriented wrongly.
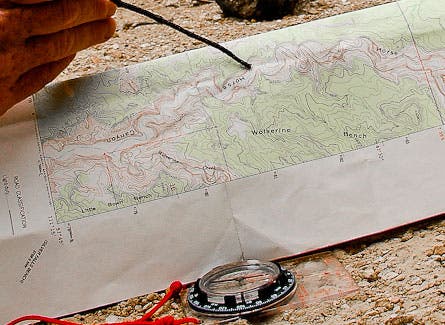
9) Looking closely, the map reveals you’re at a western bend in the canyon. But you need to follow your progress to know roughly where you stand. With a GPS and coordinate-gridded map, you could pinpoint your position AND accurately orient to landmarks.
Photos by Jennifer Howe / howephoto.us