Backcountry Skiing 101: Plan a Tour on CalTopo

'caltopo.com'
Maps have come a long way since the days of pre-printed USGS quads and compass navigation. With today’s technology, you can not only find any map you want, but also analyze one with much greater detail and accuracy, alter it for your needs, and navigate with it in the field. That’s good news for backcountry skiers because our whole discipline is “off-trail,” and maps are paramount to staying on-course and in safe zones.
Our favorite (free) web-based app for planning backcountry ski trips is CalTopo. It involves more than drawing a line on a map, and there is a learning curve, but master CalTopo and we bet it’ll set you up for a more successful trip—and maybe even help you find some hidden powder stashes from your couch.
Step 1: Get acclimated.

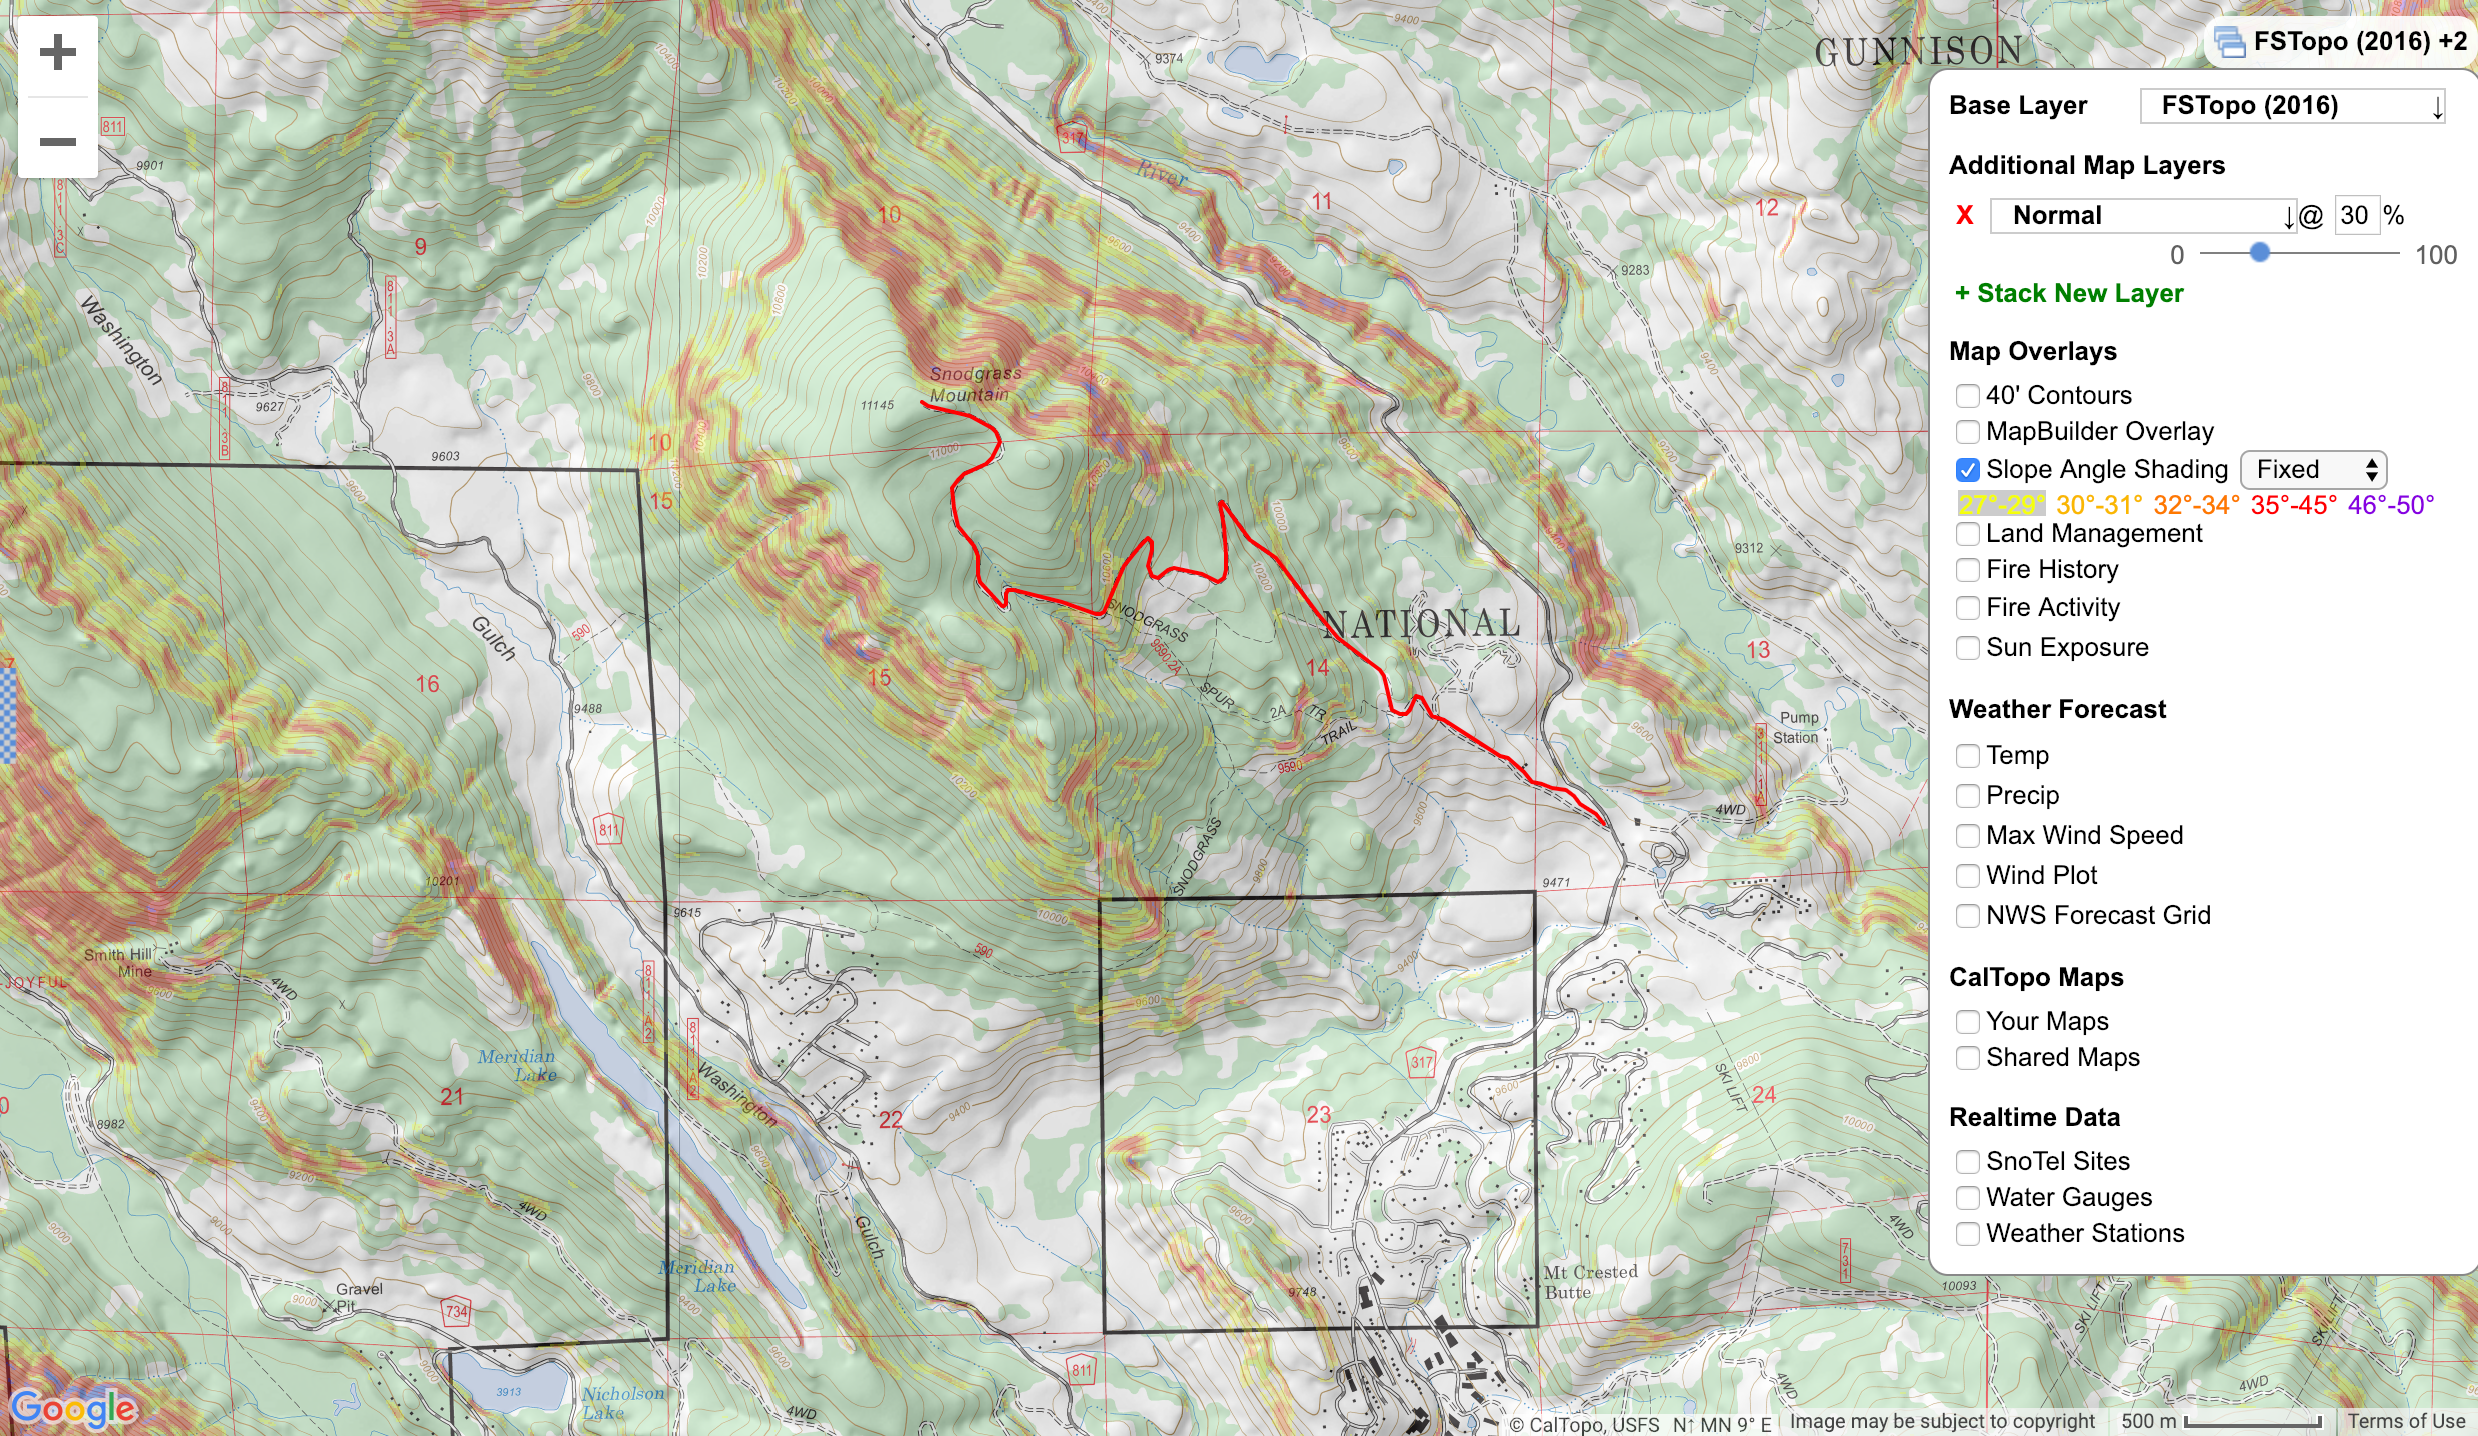
Start with a base layer like the USGS or FSTopo maps (on the left-hand side of the screen). These layers are based off the classic USGS quads and will help you visualize the terrain. (Still don’t understand? Now’s a good time to learn to read a topo map.) You’ll see any preexisting trails, forest roads, and other routes that will help you move through the terrain better.

Next, turn on “Slope Angle Shading.” (Find it on the left-hand panel under “Preset Layers,” below the map overlays.) This feature is uniquely beneficial in the wintertime: It color codes the terrain based on its steepness, making it easy to visualize both the most skiable slopes, as well as the most avalanche-prone ones. (Not a substitute for actual snow safety training, but still helpful: Select a safe route.)
While you’re scoping lines, don’t be afraid to add additional layers, like satellite maps (listed in layers as NAIP), shaded relief, and even Google’s Terrain map to get an even better feel of the terrain.
Step 2: Read the terrain.
Think you’ve found a good spot to go? Now it’s time to learn more about your objectives.
Right click the map and Add a Line. From the parking area, begin drawing your tour. Follow a preexisting trail or fire road if you know it’s the same in winter, or draw your line along terrain features like creeks and gullies that will serve as easy handrails. We like color coding the lines for out and back (or ascent and descent) and adding waypoints to mark trailheads, summits, and other landmarks.

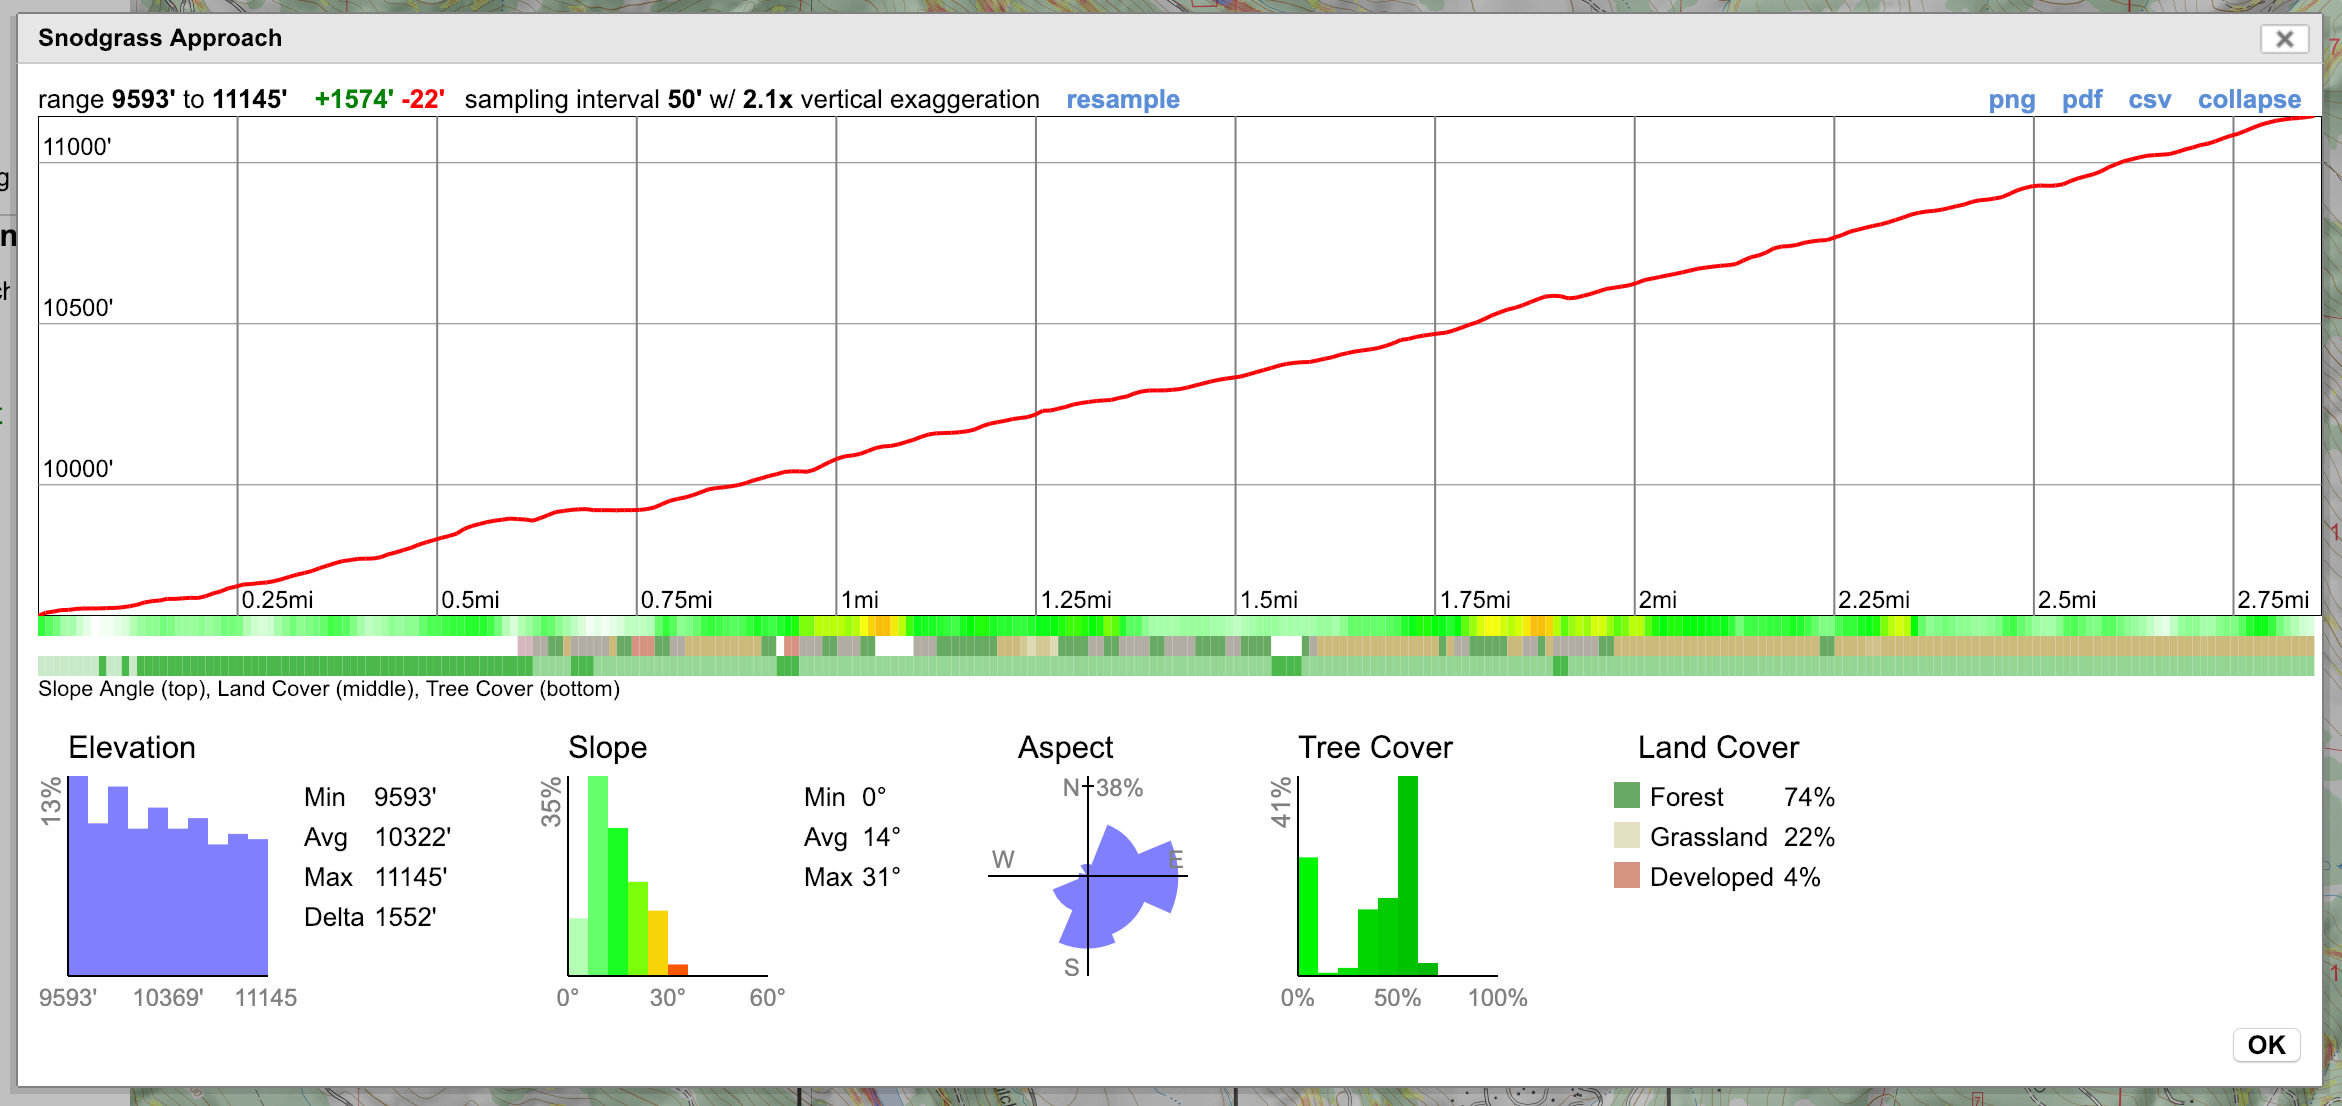
Once you’ve drawn your potential route, click on it and select “Terrain Statistics.” You’ll see not only an elevation profile of the route, but also more detailed statistics including data on slope angle and aspect—important pieces of information when planning a trip around avalanche hazards. Average and maximum slope angles, as well as the abundance of particular slope aspects, can be compared to avalanche forecasts to help you steer clear of slide-prone areas.
Step 3: Take it with you.

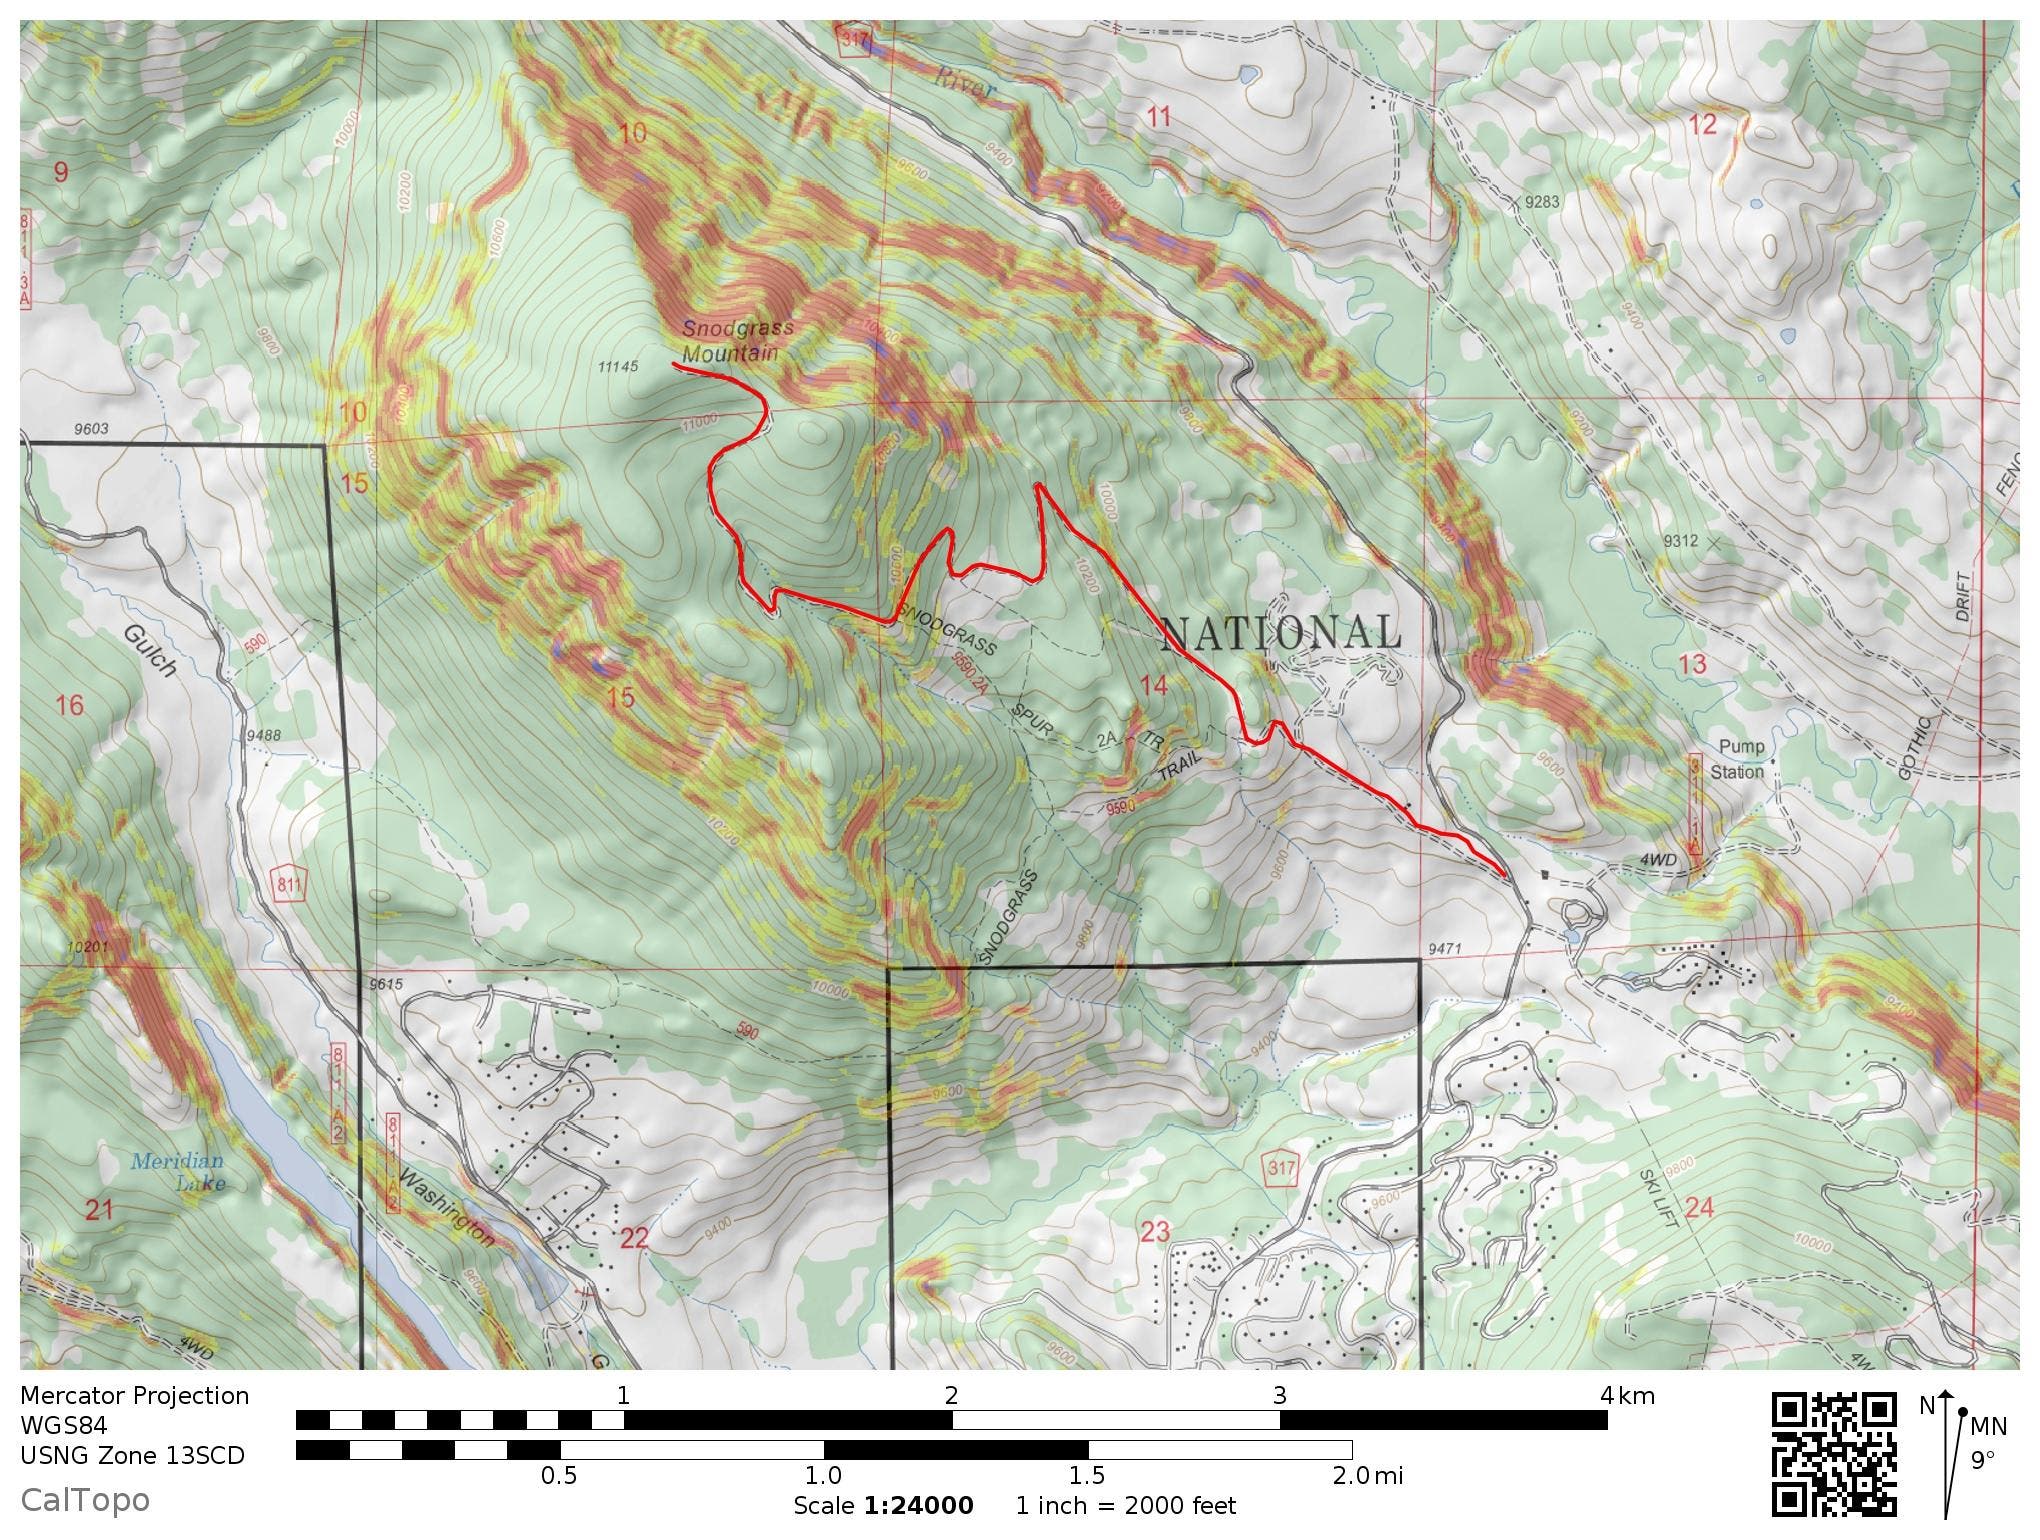
When you have a map built that you want to take into the field, CalTopo allows you to create a Geospatial PDF with all the layers, lines, waypoints, and other features that you’ve designed.
After selecting “Print to PDF or JPG” (near the top, under “Print”), you can choose the size of the paper, as well as the scale of the map and any other features you want to include. Then, either print the map (use waterproof paper like Rite in the Rain’s All-Weather Copier Paper, laminate, or just keep it in a gallon-size plastic bag) or export it as a PDF.
Use can use the free Avenza Maps app to scan the QR code on the map PDF to import it directly to your phone. (That’s helpful if you want to view your location against your map in real time or add waypoints or a track.)
Note: Mapping software and smartphones are no substitute for the reliability of paper and compass (which don’t need batteries to run, or die in the cold), but they do give you a level of customization and resolution, both when you’re planning your trip and once you’ve clicked into your skis, to make your day go as smoothly as the powder you’re hoping to slash.