How to Make an Ultralight Shelter

1. Calculate tarp area. Tyvek is typically sold in 9-foot rolls. Two people will need at least 9 by 10 feet for a tarp; soloists will need 9 by 7. A simple rectangular cut offers the most coverage.
2. Add a footprint. Protect your pad and keep your stuff out of the dirt: Buy enough material to cut a 5-by-7-foot groundsheet for two people, or a 3-by-7-foot sheet for one.
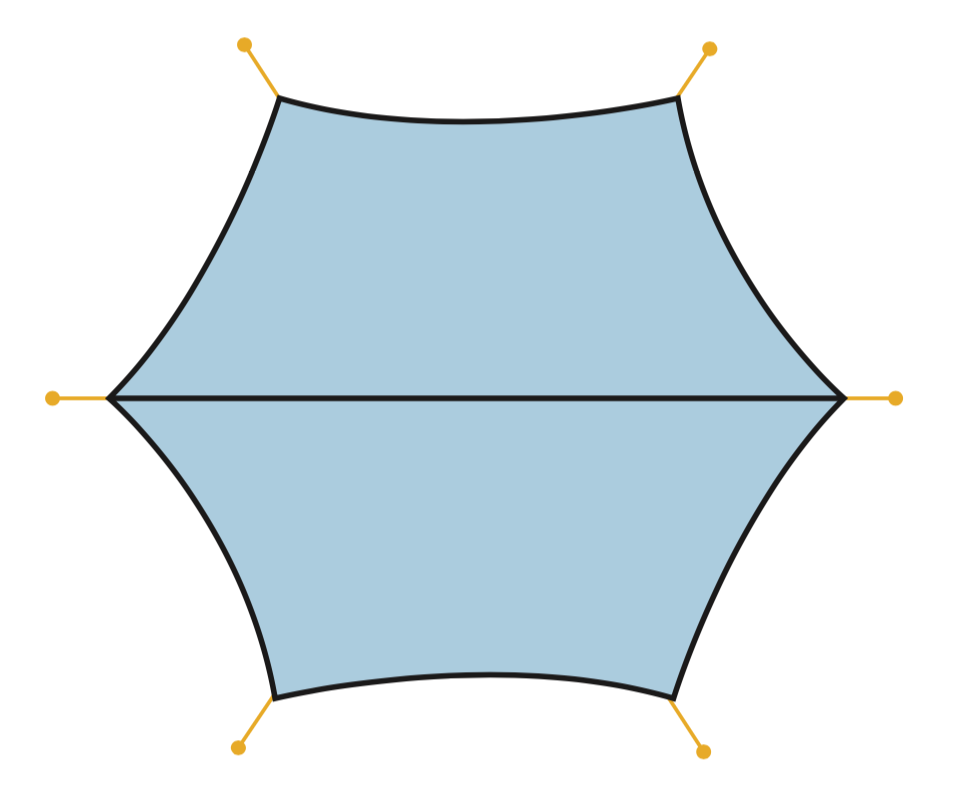
3. Customize fit. Hammocking? Cut the corners off your rectangular tarp; a hexagonal shape provides adequate protection for a hanging sleeper and shaves off 2 to 3 ounces.
4. Soften the fabric. To reduce crinkling, put the material through a couple cold wash cycles without soap. Add a few tennis balls to the dryer, and dry on low heat.
5. Practice your knots. Grommets compromise durability. Instead, use an adhesive version (like Zpacks Stick on Loops; $2 each) or twist each corners into a short rope and use a sheet bend to tie on guylines.
6. Do a shakedown. String cord between two trees, 3 to 4 feet high (this is your “ridgeline”), and drape the tarp over it. Stake out each corner so the guylines come out at 45-degree angles. The edges of the fly should extend a foot beyond the groundsheet. Lower the ridgeline to get the edges of the tarp closer to the ground in bad weather. Lift the system for more headroom and better ventilation.