How to Glissade

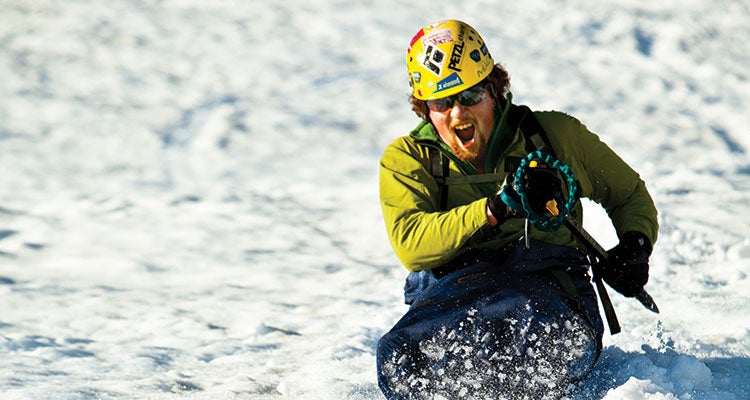
'The fun and fast way down Mt. Hood. Photo by: Ben Herndon / tandemstock.com.'
1. Check conditions. Dense, settled snow is ideal. Dig your axe into the snow to test for ice. If there’s noticeable ice underneath, you won’t be able to stop or steer well and could end up tumbling instead of glissading.
2. Scope your route. If you can’t see the bottom of the slope, don’t attempt a glissade. There could be drop-offs out of view.
3. Remove excess gear. Waterproof pants are optimal. (On low-angle slopes, boost speed by climbing into a bivy sack, pictured.) Gear like crampons and harnesses can easily catch on things, so stow them in your pack.
4. Position your body. Sit upright, knees bent, and don’t lean forward.
5. Ready your ice axe. “It acts as a rudder to moderate speed and steer,” Casey says. Grip the axe just under the blade with the adze pointing backward and position it beside your hip. You’ll drag the spike in the snow to brake and weight turns.
6. Go. With the axe locked at your side, push off and let your butt do the work.
7. Stop. Pressure the axe and your heels into the snow. If you find yourself unable to stop, self-arrest by rolling over on your stomach and thrusting the pick of the axe into the snow (don’t attempt to glissade until you can confidently self-arrest).