Updated December 4, 2024 02:55AM
How to Cross a Frozen Lake
Sometimes it’s the fastest way. Often it’s the prettiest. And in places like the Great Lakes region, ice creates temporary routes only winter adventurers get to explore. Stay safe with tips on assessing ice and preparing for self-rescue.
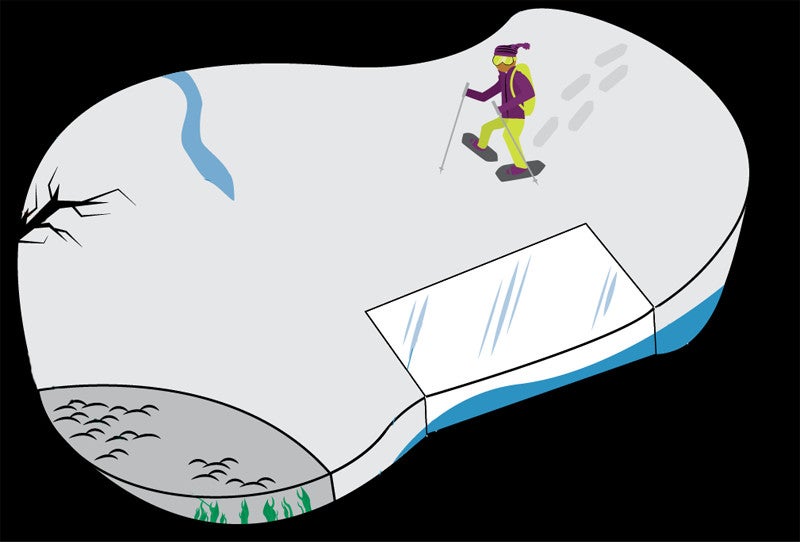
'Frozen Lake (Illustration by Giovanni Corrado Leone)'
Check with locals
Ask land managers or outdoor shops and guides about current ice conditions. It’s good intel, but keep in mind that ice thickness can change quickly as temps rise and fall.
Be prepared
Carry “ice claws” and a 50-foot length of rope in order to help yourself—or others—in an emergency. The Wisconsin Department of Natural Resources recommends making self-rescue spikes like this:
ADVERTISEMENT
1) Cut two 4-inch pieces of wooden doweling, about the thickness of a broom handle.
2) Drive heavy-duty nails part way into one end of each dowel and file the exposed ends sharp.
3) Drill a hole through the other ends and thread a few feet of cord through, connecting the dowels.
4) Drill holes in the ends (next to the nails). Nest the nail of one pick in the hole of the other, covering the points.
5) Carry the claws in an accessible pocket and use them to pull yourself onto the ice if you fall in.
Tread lightly
Wear skis or snowshoes to help distribute your weight over the ice. In a group, keep your distance from others (about 50 feet). That way, if someone falls in, others are less likely to go under, too.
Avoid weak spots
Inlets, outlets, and narrows that hide underwater currents all weaken the ice from below. Cracks, especially if they’re in depressions, large and uneven, or filled with water, are no-go zones (and if you cause ice to crack, return to shore). If you know the lake’s summer patterns, steer clear of weedy places that create underwater compost masses, which generate heat.
Study the color
Clear ice with a bluish tint is the safest. White, milky ice is a sign of melting and reforming ice, which leaves air pockets that weaken it. While such ice can be passable, it’s not preferred (especially if covered in snow, insulating the ice beneath). Don’t tread on dark, thin ice.
ADVERTISEMENT
Check ice thickness
Make a hole in the ice (an ice axe works, an ice auger is better). Dip a stick or trekking pole in and measure. Four inches of clear ice means you are good to go, but cloudy ice should be 8 inches thick. Check at least every 150 feet. “You can be walking on it in one area, but 10 feet away it could be a different condition that is not safe to walk on,” says Stan Linnell, boating and water safety manager of the Minnesota Department of Natural Resources.
Survive a dunking
If you fall through the ice, remain calm and keep your clothes on, as they can help you float to the surface (but skis/snowshoes are a hindrance; jettison them). Swim toward the spot you fell in, get your hands and arms on the ice, and kick vigorously with your feet. Use your ice claws or ice axe to gain traction. Pull yourself onto the surface, lie down, and roll away from the weak ice. Seek shelter, dry clothes, and hot drinks immediately.