Updated December 3, 2024 05:41PM
How to Break In Your New Hiking Boots
You might be ready for the trail, but your shiny new boots probably aren’t. Here’s how to get them prepped for adventure.
(Photo: Gaj Rudolf/EyeEm via Getty Images)
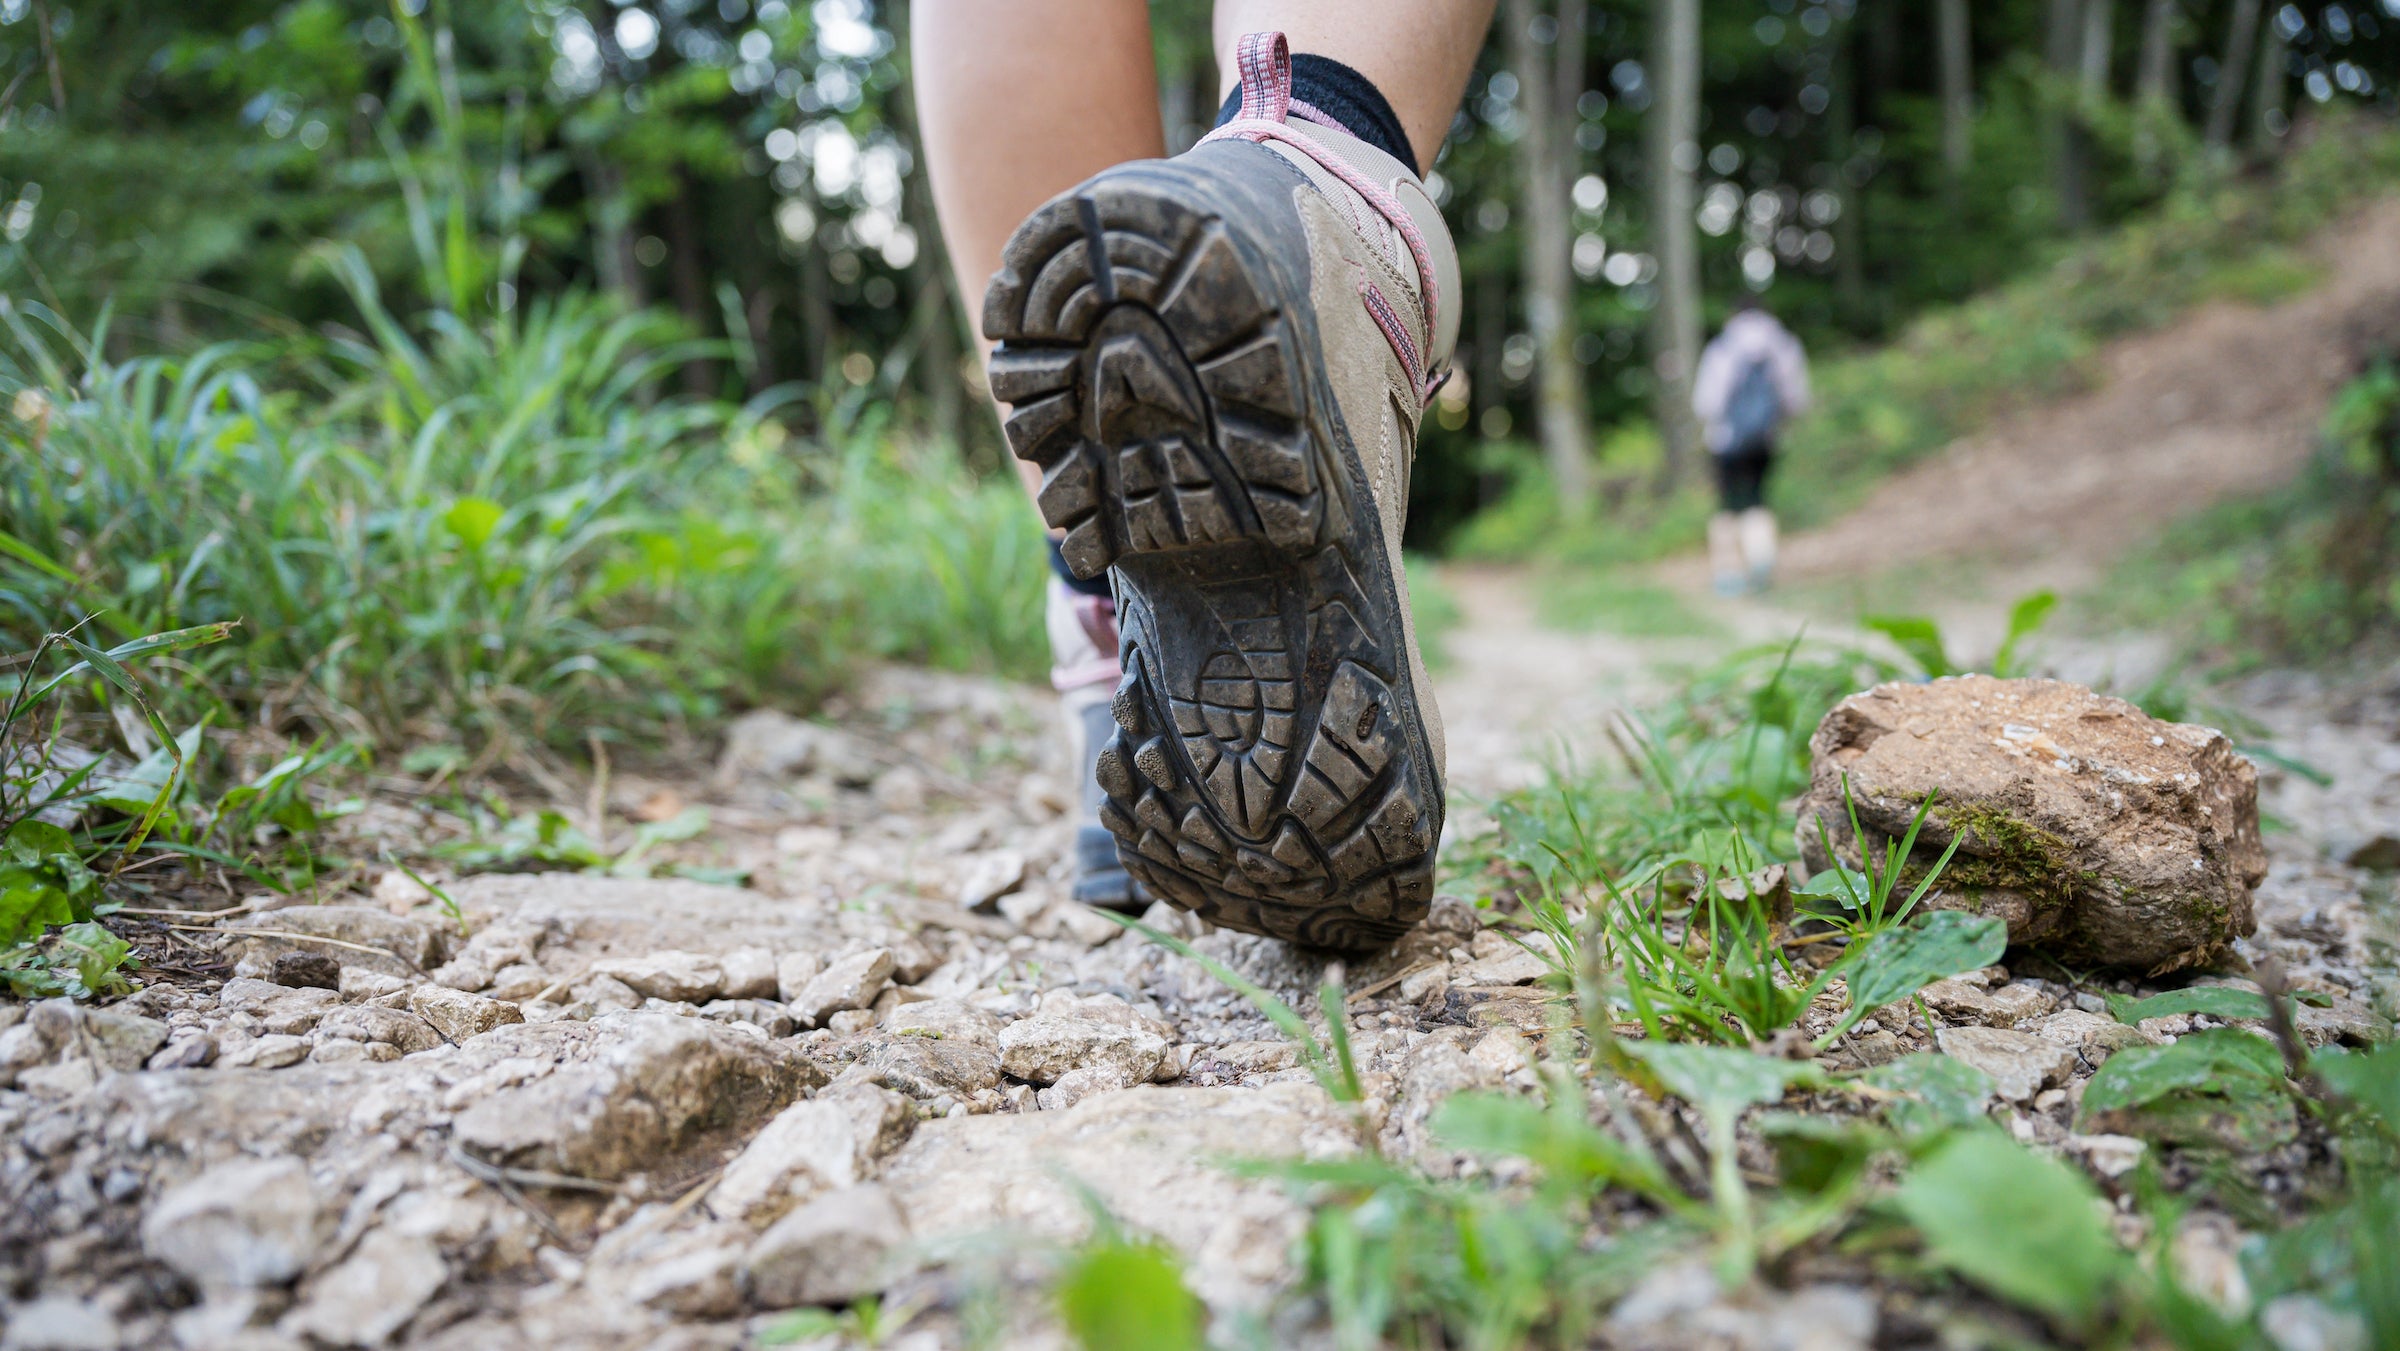
Unboxing a brand new pair of boots is thrilling. Imagine all the adventures you’ll have together! It’s tempting to throw them on and hit the trail right away, but don’t. Hiking in fresh kicks before they’re broken in can lead to blisters, hotspots, and an overall bad time. Here’s how to get your shoes ready for miles of hiking bliss.
Do my shoes need breaking in?
It’s true: Not all hiking shoes need to be broken in. Trail runners, light hikers, and synthetic boots are generally ready to go out of the box (but still, it’s a good idea to take them for a test ride on shorter excursions so you can figure out any hot spots before embarking on a long adventure). Stiff, ultra-supportive, and leather boots require the most break-in time, and will deliver the biggest consequences if you skip it. Determine which category your new shoes fall into and develop a plan from there. Be sure to leave plenty of time—up to a couple of weeks is ideal—between when you buy the boots and your first big backpacking trip.
During your boot break-in period, you’ll also be toughening your feet. The process of developing calluses is as important as softening your shoes, and the two go hand in hand. For long hikes, you can begin the process of toughening your feet early by taking barefoot walks on sand or experimenting with different socks while you hike.
Phase 1: Around the House and Neighborhood
You may have heard that wearing your boots around the house is the best way to start the break-in process. This can be useful, especially since you can easily remove the boots as soon as they get uncomfortable. Wear them while you do chores or cook—but remember, reclining on the couch while you watch TV will do nothing to get your feet or your boots trail-ready.
Read More: The Best Hiking Boots of 2021
The motion of walking on a flat surface is very different from the ups and downs of a hiking trail. Stairs are a good place to start, but getting your shoes out in nature is the best way to begin breaking them in. Start with walks around your neighborhood or on short trails where you can quit if you begin to experience painful rubbing or pinching. A bit of discomfort might be necessary to the break-in process, but be sure to stop short of developing blisters.
ADVERTISEMENT
Phase 2: The Light Dayhike
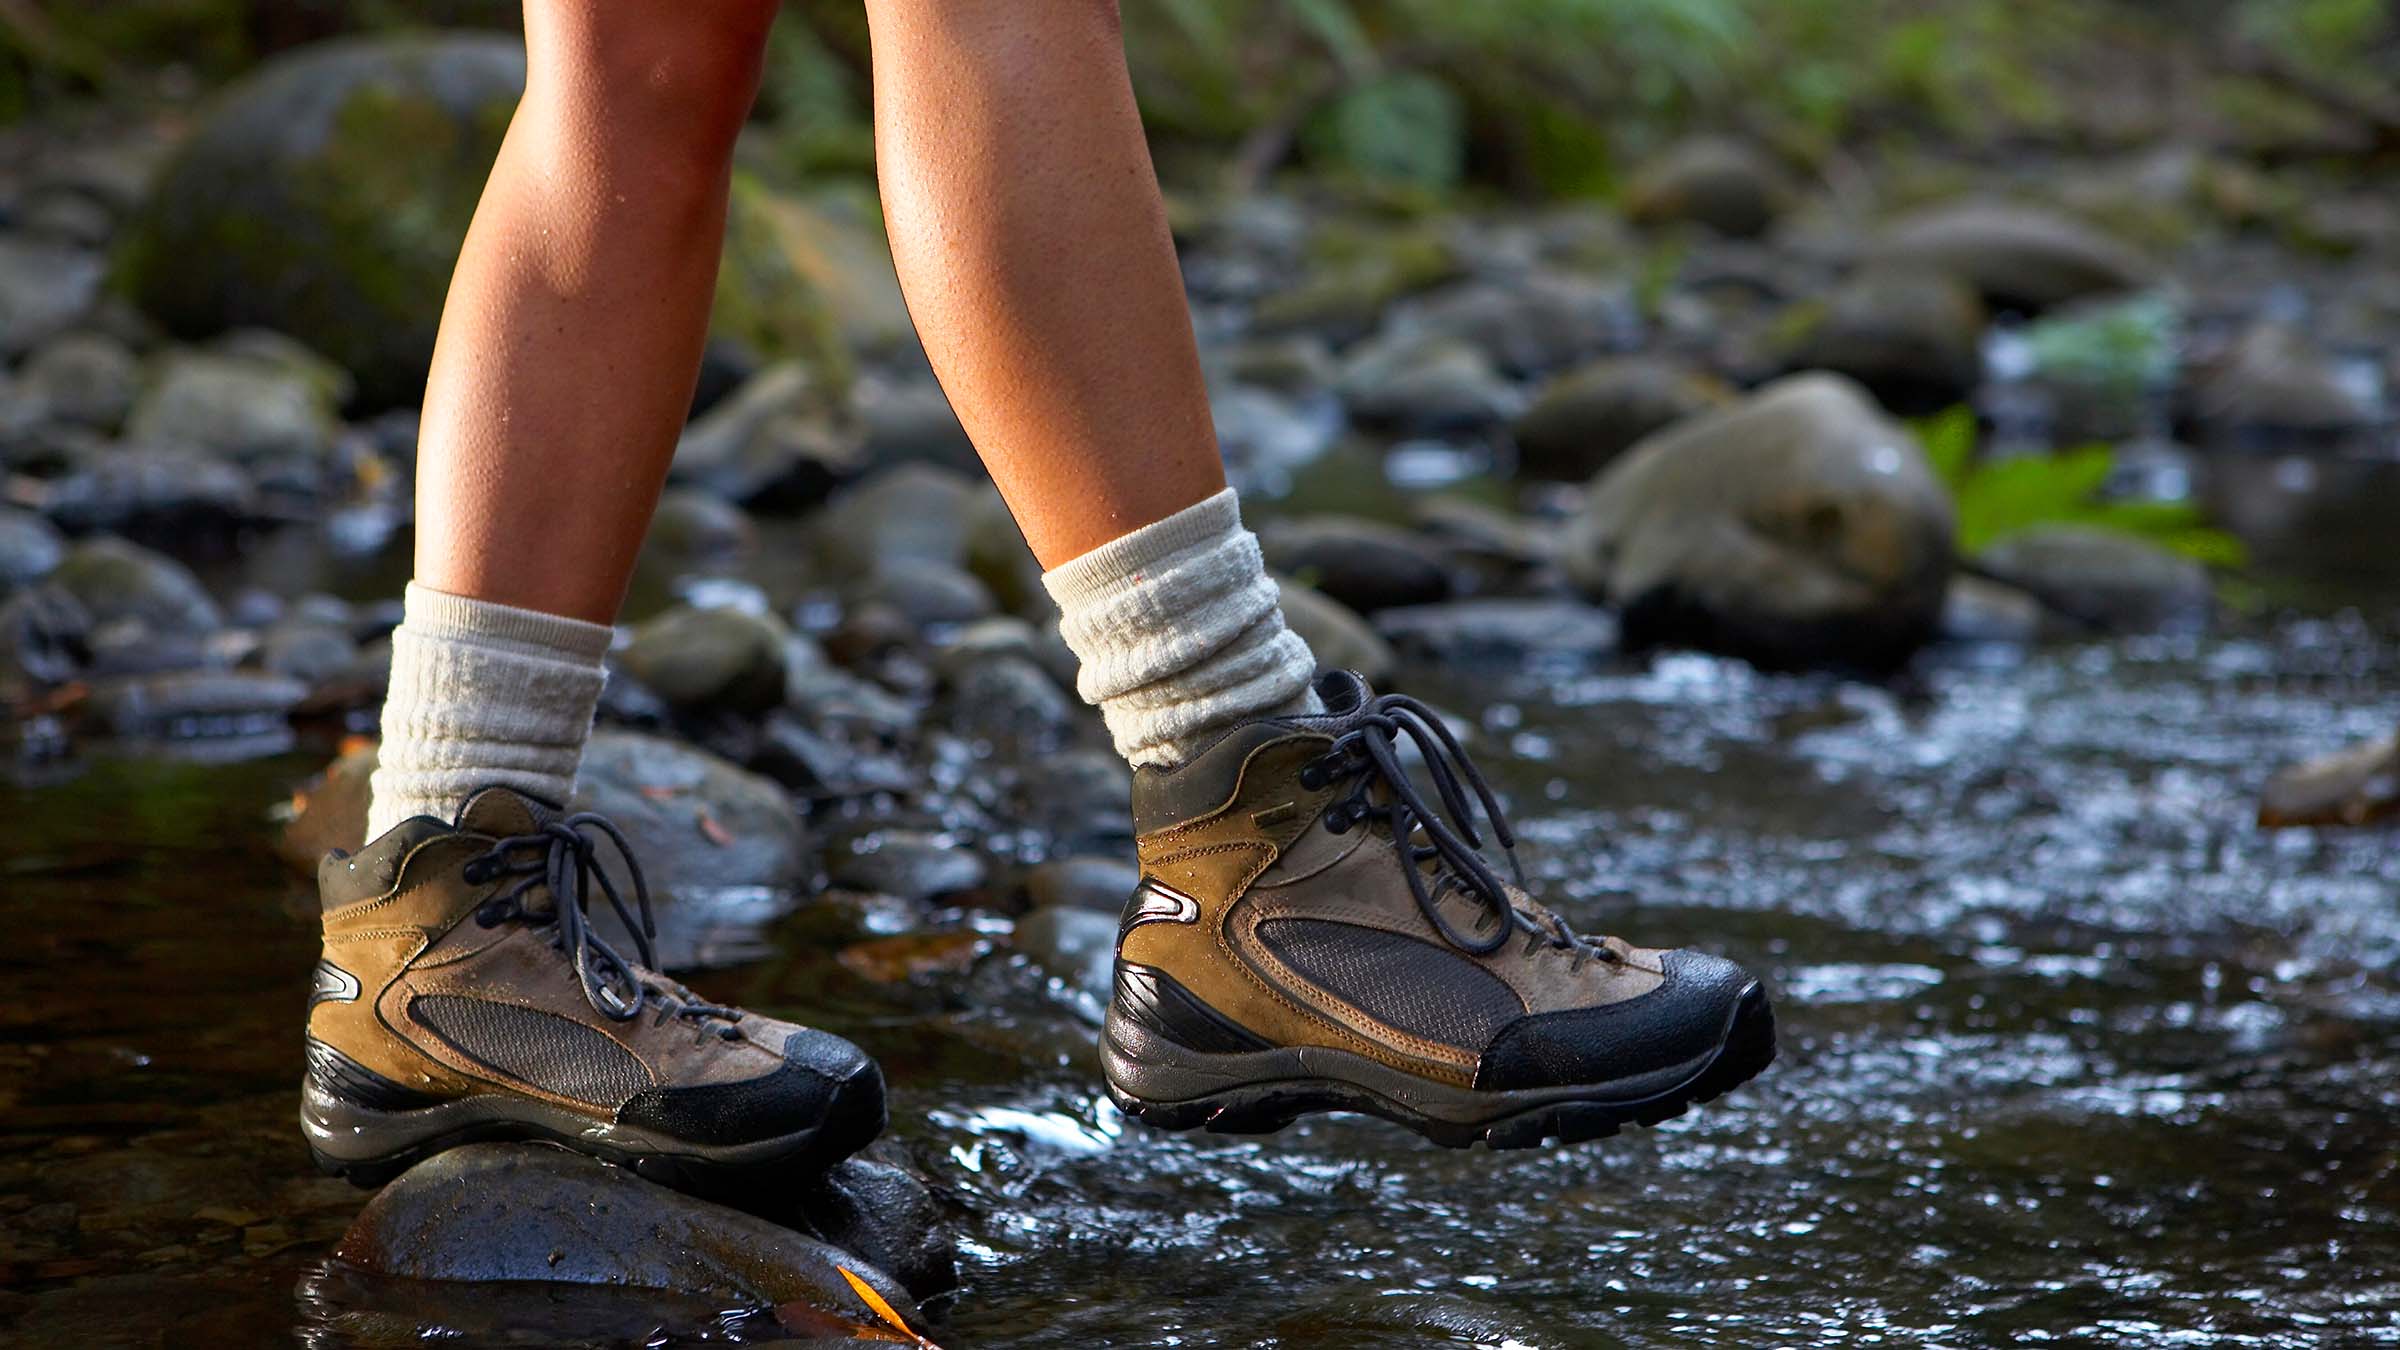
After a few successful neighborhood strolls, you’re ready to hit a moderate trail to start the break-in process in earnest. Variety is the name of the game: Choose a trail where you can introduce your boots to inclines, uneven terrain, and maybe even a bit of moisture. Carry a daypack with essential gear and pack plenty of moleskin, or even a spare pair of shoes to change into if needed. Gradually ramp up your mileage and elevation gain.
Phase 3: With a Pack
Your shoes will perform differently under the weight of a full backpacking pack than a light daypack. Once your shoes are feeling somewhat softer and formed to your feet and you’re not experiencing too much rubbing, load up a pack and hit the trail. It’s a good idea to try this on a dayhike first, so you can pull the ripcord if things get too painful. Experiment with how loose or tight you tie the laces to alleviate hot spot-causing pressure and determine the right fit. If you have chronic sore spots on your feet (old injuries, bunions, etc) may also benefit from some specialist lacing techniques.
What if it Didn’t Work?
Even if you put time and effort into breaking in your boots, blisters can happen. The first step is prevention: Wear moisture-wicking socks, or try wearing two pairs of socks, like these pairs by Injinji, to decrease friction between your skin and sock. On your first big hike with new boots, stay vigilant and listen to your feet: Address any discomfort early to prevent hot spots from progressing into blisters. Carry moleskin and Body Glide, and treat blisters right away.
ADVERTISEMENT
When to Know You’re Wearing the Wrong Boots
Some boots take longer than others to break in, but if you’re experiencing prolonged pain and blisters after months of break-in, you may want to consider a different pair of boots. While rubbing and friction may resolve over time, considerable pinching or fit issues are less likely to change. You can decrease the chance of making this costly mistake by getting your new boots fitted by an expert at an outdoor store rather than buying online.