How To: Adjust Trekking Poles for Efficiency on Varying Terrain

'On flat or rolling terrain, adjust the pole to elbow height, so your forearm is roughly horizontal when held.'
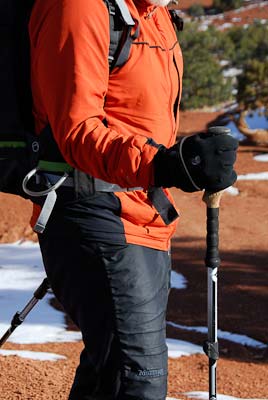
On flat or rolling terrain, adjust the pole to elbow height, so your forearm is roughly horizontal when held.
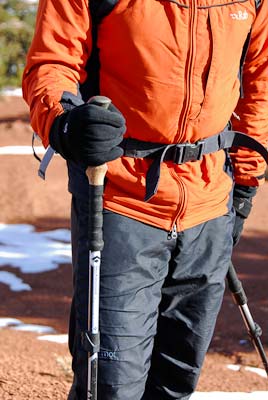
On flat or rolling terrain, adjust the pole to elbow height, so your forearm is roughly horizontal when held.
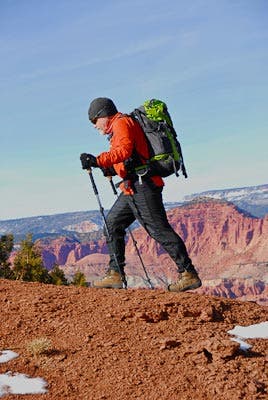
This allows for a natural stride, arm swing, and decent propulsion.
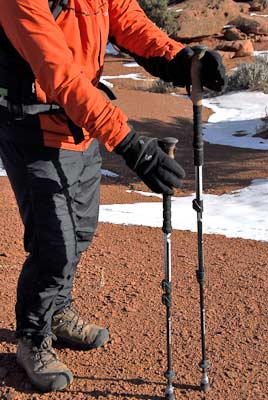
For steep uphills like mountain boulderfields or precipitous trails, radically shorten the poles down to thigh height, or as short as they’ll go.
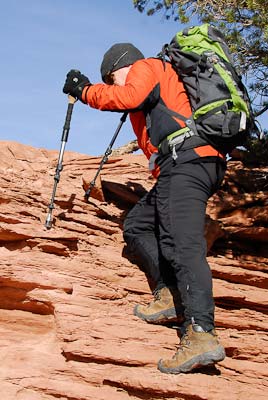
This allows for a natural arm position, energy savings, and more security on steep slopes where scrambling with your hands would be awkward.
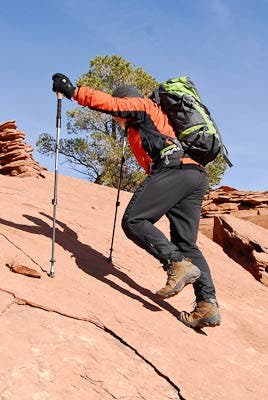
If your poles are too long, you’ll be trekking in the ‘stick ’em up’ position, which is unstable and tough on your shoulders with a big load. It also makes you vulnerable to shoulder dislocations should you fall awkwardly.
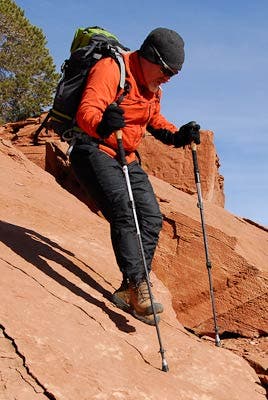
For steep descents, extend the poles to chest height, which allows you to reach down for secure pole placements while maintaining a balanced position.
Photos by Jennifer Howe / howephoto.us