How to Care for Your Backpacking Gear

'Louisa Albanese'
Don’t poison your gear.
In the field: Be careful with DEET-based bug repellent, which melts plastics, including membranes, and can damage synthetics and other fabrics. At home: Avoid fabric softener. It coats fibers with waxy chemicals, which clog membranes and damage moisture-wicking properties.
Treat yourself.
Your shell’s DWR (durable water repellent) treatment will deteriorate over time. Wash the garment, then revitalize it with wash-in or spray-on DWR like Grangers Performance Repel Plus. Apply a treatment when you notice water soaks into the fabric instead of beading off (called wetting out).
Prep for the washing machine.
Pre-treat heavily soiled garments with a spray made of one part OxiClean mixed in 20 parts water (let sit for 10 minutes). Before washing, open all zippers and secure loose straps. Wrap zipper sliders in a piece of cloth secured by a rubber band to prevent washing-machine damage.
Avoid excessive sunlight.
Don’t worry, this doesn’t mean you should only hike at night. But ultraviolet rays are hard on gear, especially fabrics. Over the long term, UV exposure causes fading, cracking or softening, and impaired waterproofing, so you don’t want to exacerbate the effect. Hang your camp clothesline in the shade, and if a piece of gear needs to be in the sun—like a tent—use a solar wash (we like Nikwax Tent & Gear Solar Wash) to mitigate the impact.
Repair rips.
Resist the urge to pull leaking down from your sleeping bag or puffy. Pinch feathers back in from behind, clean around the tear with an alcohol prep pad, and trim any loose threads. Patch the hole with repair tape (rounding the edges will help prevent peeling). For torn shells, clean the area and apply repair tape to both sides of the fabric.
Know when to sew.
Not all holes can be fixed with tape or iron-on patches. Break out the sewing machine for holes that are 2 inches across or bigger, are in high-wear areas like the knees, or on synthetic material that will melt under heat. For in-depth sewing instruction, get expert advice from Boulder Mountain Repair in our online gear repair and maintenance course.
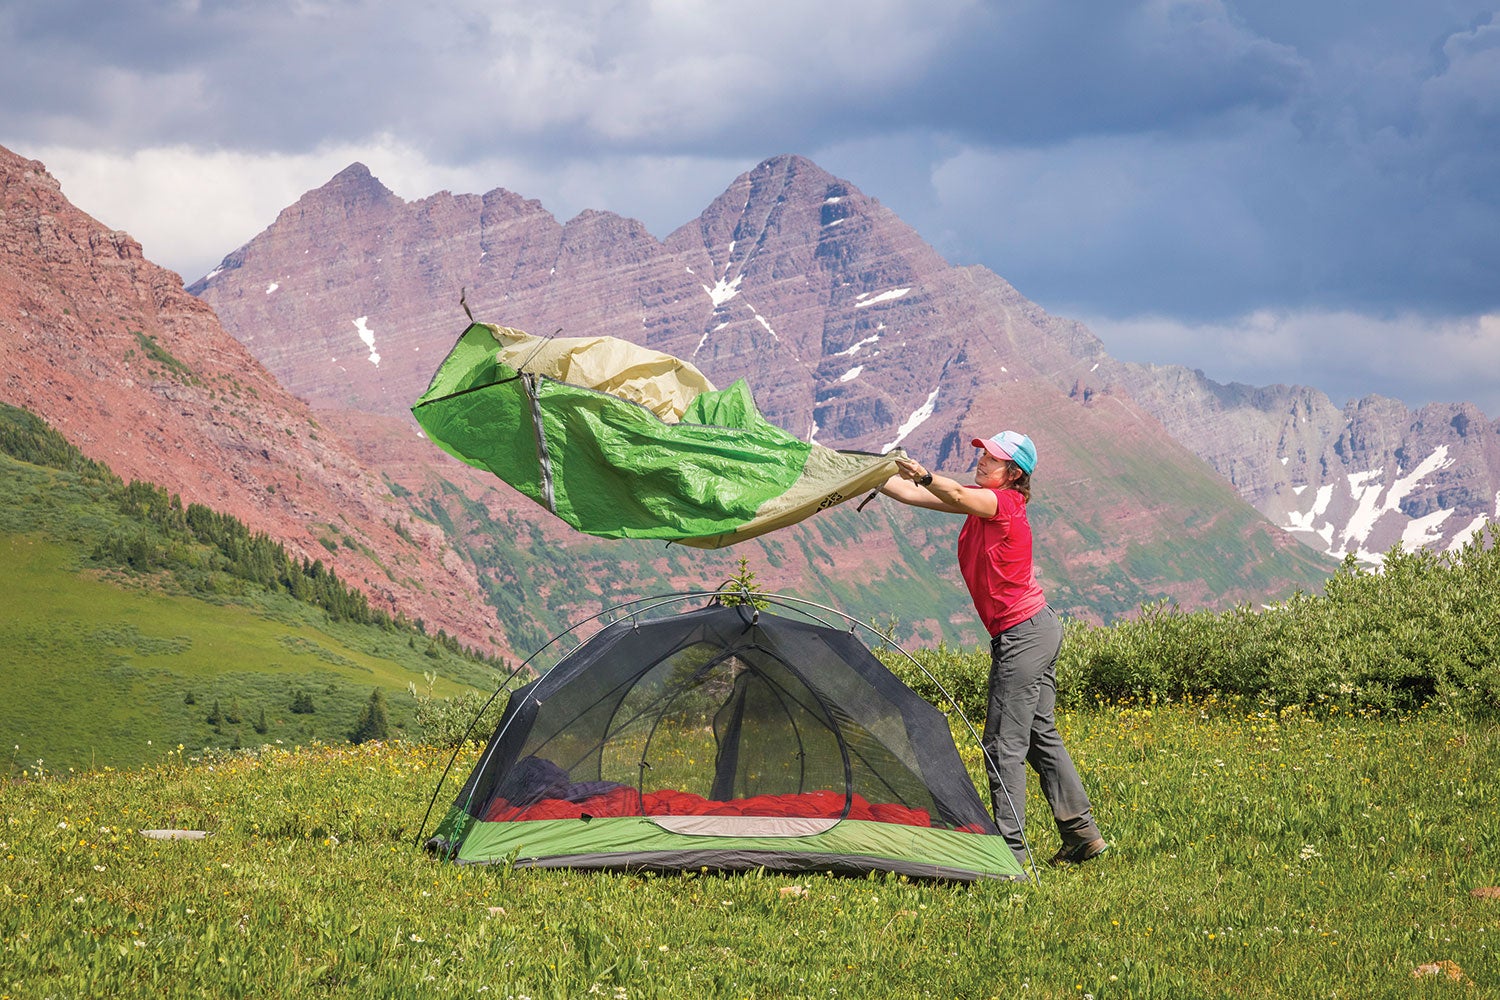
Extend Your Tent’s Lifespan
Prolonged use, improper storage, or extreme heat can delaminate your rainfly’s waterproofing. When the coating begins to peel, it’s time for a new shelter.
Unless the tent is very old, most brands will replace an entire pole or even just a section. Dead shock cord can also be rethreaded.
Air out your tent after use. For a deeper clean, wash by hand with tech wash in a bathtub, then hang dry.
Clean dust and debris from zippers with with a hose or toothbrush.
Don’t let poles snap together; the aluminum can chip and make it hard to slide one end over the other.
When to Retire Your Gear
Extending the life of your gear is better for the environment and saves money, but some damage can’t be fixed. Here’s how to know when it’s time to let go.
Hiking Boots
Repair: Sole separation As long as the outsole hasn’t completely peeled away from the boot, a little Shoe Goo will seal it right back up.
Retire: Large leaks Small leaks can be remedied with leather wax or waterproofing treatment, but blown seams and large tears mean it’s time for an upgrade.
Waterproof Shell
Repair: Wetting out Revive your raingear with proper cleaning and re-waterproofing (see left).
Retire: Delaminating membrane With enough use, the membrane can eventually peel away from the fabric, leaving you without reliable waterproofing or any way to bring it back.
Sleeping Bag
Repair: Lost loft Unless you really mistreat your sleeping bag—especially a down bag—most fill issues can be fixed with a good wash.
Retire: Expired synthetic fill While down fill can usually be revived by a good cleaning, clumped or thinning synthetic fill is much more difficult to fix.
Trekking Poles
Repair: Broken locking mechanism If the twist lock adjustment is loose, disassemble the pole and clean the screw and plastic expander plug with a rag or toothbrush.
Retire: Major dents or cracks Many manufacturers will sell or send you replacement segments, but for snapped or heavily damaged shafts, new poles may be in order.
Sleeping Pad
Repair: Leaky inflatable pad To find the source of a leak, inflate your pad, submerge it in water, and look for bubbles. Air dry and clean around the puncture with an alcohol prep pad. Apply Seam Grip to the hole, then patch with repair tape.
Retire: Burst seams Major leaks, damaged internal baffles, or broken valves warrant a splurge.