Published April 14, 2022 11:38PM
Hiking Boots and Shoes: How to Buy, Fit, and Repair Them
Footwear tech is more complicated than it looks. Maximize your mileage by learning how to pick the right boots and make them last.
Hiking boots are good for trails where you want more support. (Photo: Maria Fuchs / Getty)
Brush up on backpacking basics with tips, tricks, and advice from Backpacker’s experts in Hiking 101.
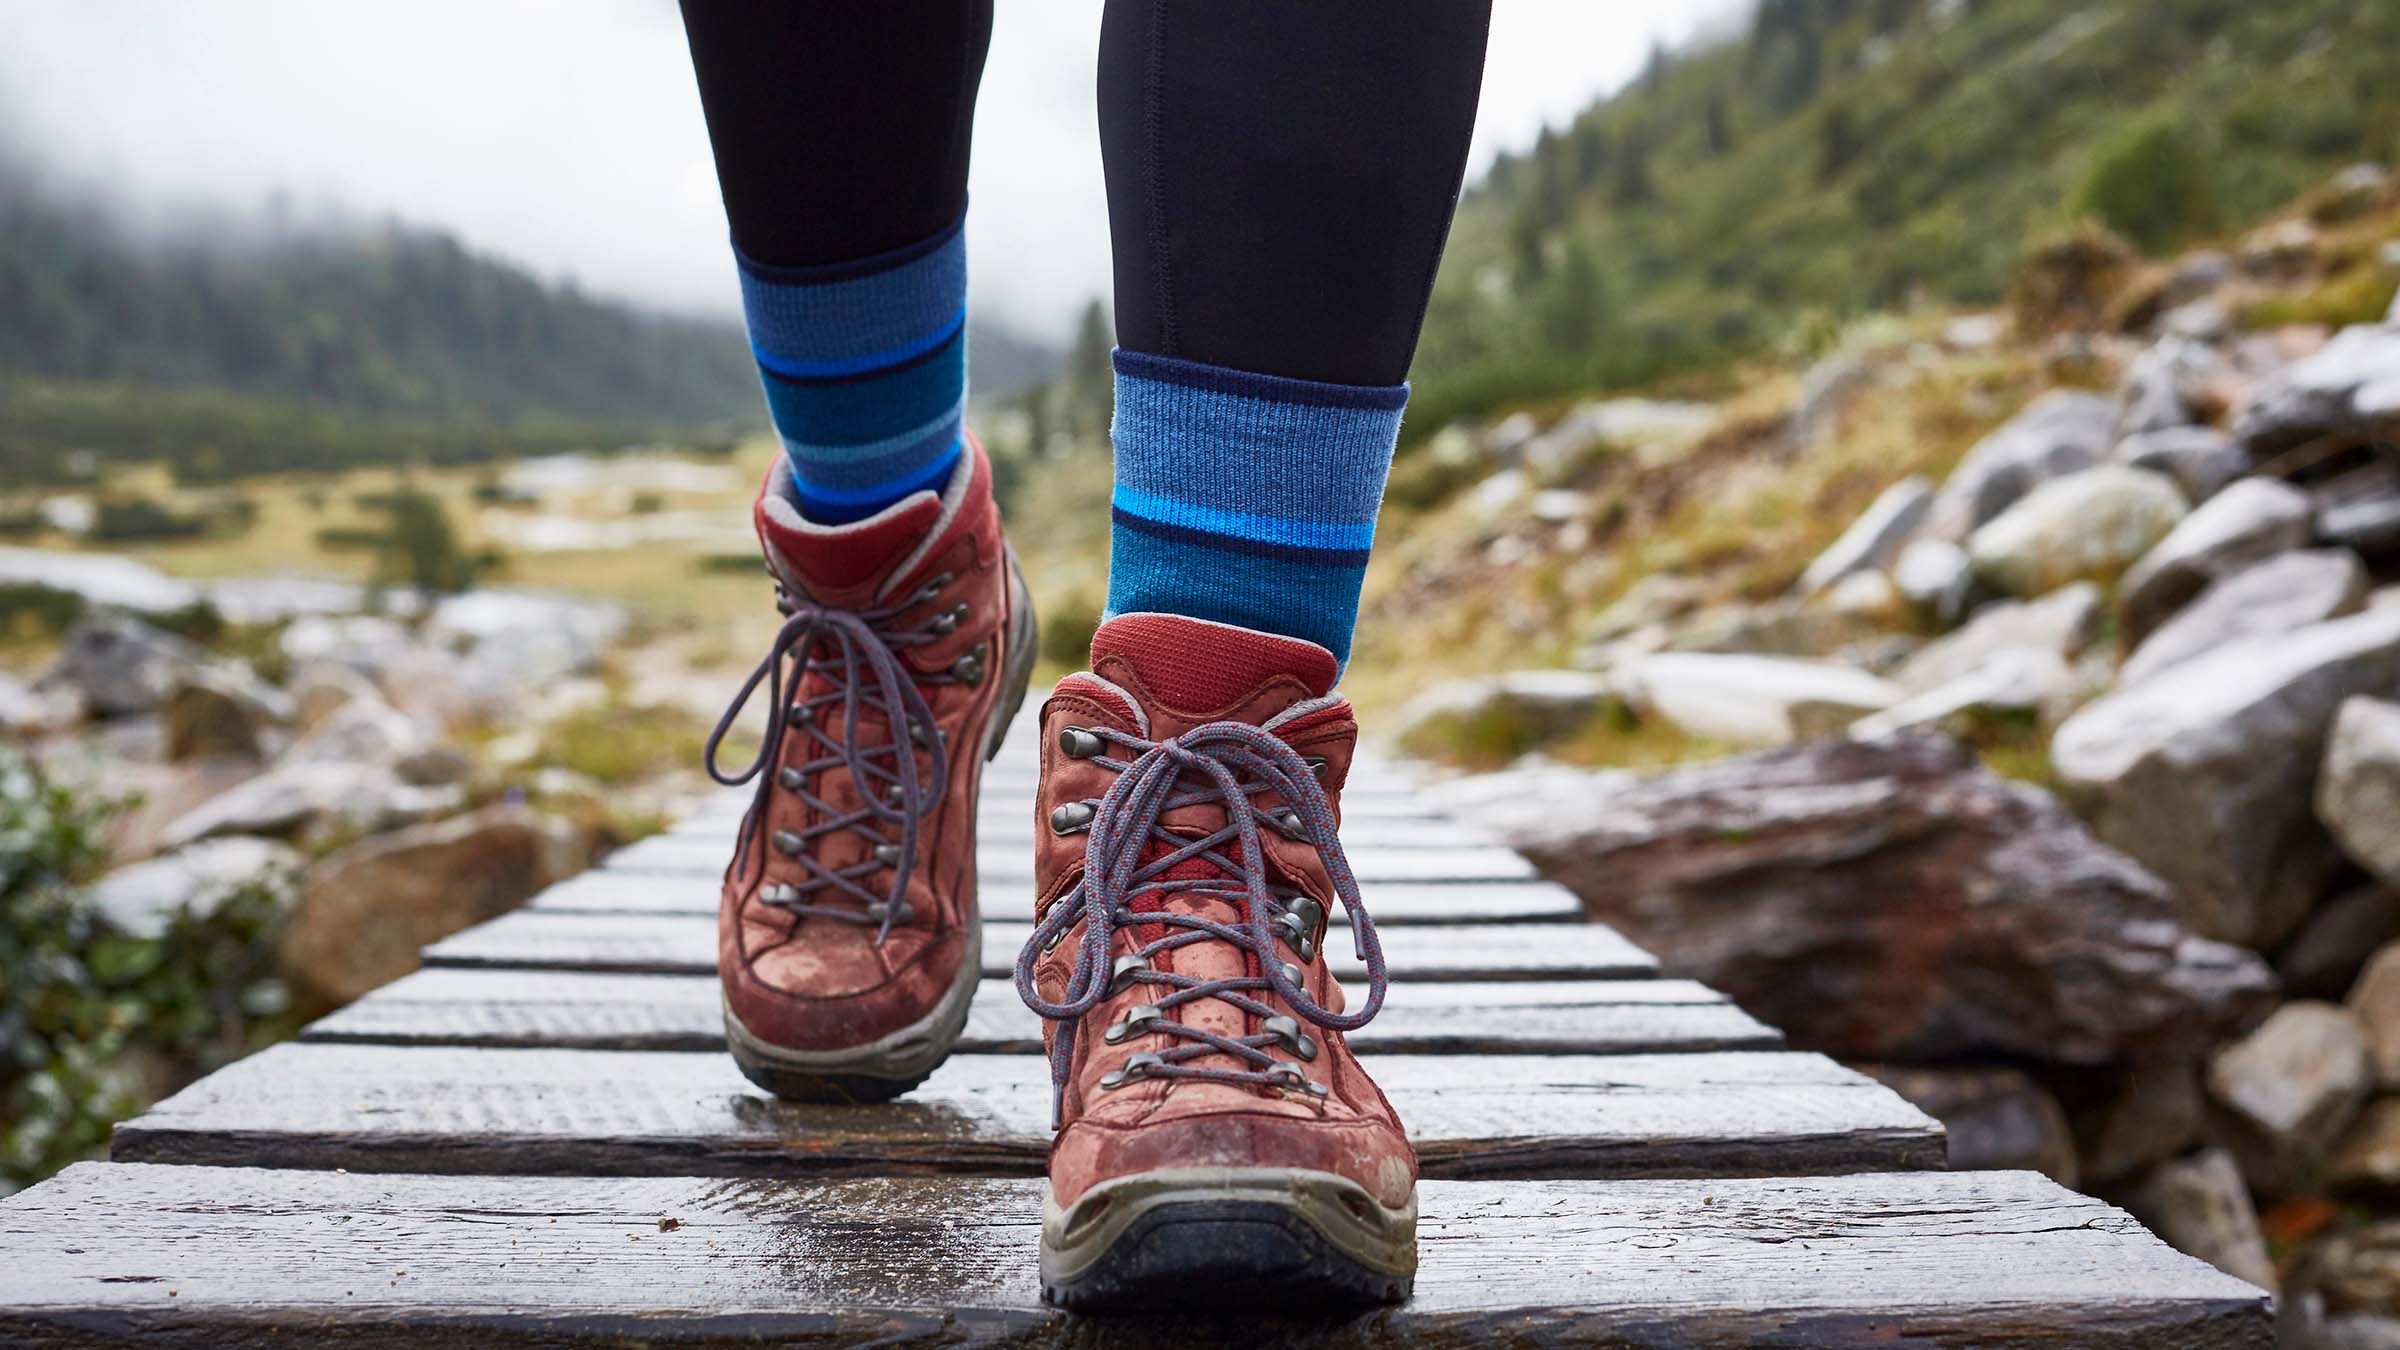
It doesn’t matter how fit or experienced you are: If your feet hurt, you’re going to have a miserable hike. The good news: With hundreds of models of hiking boots and shoes on the market, your perfect pair is waiting for you. The bad news: there are also thousands of pairs of shoes that won’t fit your foot perfectly, and many of those will be on tempting sale racks or beckoning to you in online ads. Before you get overwhelmed scrolling through hundreds of options, get equipped with our step-by-step guide for finding, fitting and buying one of those rare, made-perfectly-for-your-foot pairs of hiking boots.
Find the Right Hiking Boot or Shoe Type
There are seven main hiking boot and shoe types that perform better or worse depending on the terrain you hike and the load you carry. Start your search by asking yourself: What will I primarily be using these for? Then, narrow it down to one of these options:
Trail-Running Shoes
Low-cut and lightweight, trail runners typically have better traction, more cushioning, and better midsole support than average running shoes to handle the rigors of the trail, yet they’re not quite as stiff or heavy as a light hiker.
ADVERTISEMENT
Technical Scrambling Shoes
Low- or mid-cut and fairly lightweight, these shoes have grippy, sticky rubber soles and narrow, foot-hugging lasts for bouldering, scrambling, and rock climbing. The fit is typically more snug than a standard hiking shoe (allowing climbers to feel the rock and get better purchase), but with a tight fit and a stiff last, scrambling shoes are uncomfortable for anything but short hikes to the crag.
Trail Hiking Boots and Off-Trail Hiking Boots
Boots meant for use on well-maintained trails boots are either low- or mid- cut and geared for striding on even paths. Support is adequate for moderate loads.
ADVERTISEMENT
With higher-cut ankles and more torsionally rigid soles, off-trail hiking boots are designed to protect your feet where the footing is unpredictable. Off-trail boots often have rubber rands (buffers to protect the upper in high wear areas like the toe and heel), and cutout ankle collar known as an Achilles notch (to relieve pressure on long descents), full waterproofing, and crampon compatibility.
Mountaineering Boots
The stiffest of the bunch, mountaineering boots are also the most protective. Often lightly insulated, these boots are geared towards very high, cold places. The always have rigid soles designed for crampon use. Downside: Their stiff soles usually make hiking difficult.
Winter Boots
Winter boots are essentially trail or off-trail boots that have been modified for use in colder temperatures, with a higher ankle to keep snow out, insulation to keep you warm, a waterproof membrane to keep you dry, and amped up traction for snow and ice. They’re ideal for snowshoeing and winter hiking.
Water Shoes
Designed primarily for paddling trips, river crossings, and other wet conditions, these shoes feature good drainage (often mesh uppers or small holes along the side of the shoe) and quick-drying materials.—Kristin Hostetter
ADVERTISEMENT
Get to Know the Parts of Your Hiking Boots
Learn the vocabulary around hiking footwear, and you’ll have an easier time explaining what you want, not to mention parsing reviews. (Image too small to read? Click here for the full-size version.)

How to Fit Hiking Boots and Shoes
Let’s get one thing straight: If you aren’t already familiar with the model you’re getting, don’t even think about buying a new pair of hiking boots online unless you can return them. No sale is good enough for you to risk blisters and toe bang on your next weekend adventure. Once you’ve determined the type of shoe you need, follow these guidelines for finding the model that is best-suited for your foot size and shape:
ADVERTISEMENT
Shop in-store late in the day when your feet are swollen–like they will be several miles down the trail.
Pro Tip: If your feet are prone to swelling, try buying your hiking boots a half-size big and changing from thicker to thinner socks throughout the day Alternatively, try loosening the boot laces over your toes every couple hours to relieve pressure on tired, swollen feet.
Find an experienced boot fitter to measure your foot’s length and width on a Brannock device and determine your foot’s volume. Then ask them to recommend different brands and models that are known to fit your unique foot-type.
Try several on different brands and sizes. Different manufacturers use different shaped lasts, and your feet will feel better in some than others. Pay attention to how the contours of the footbed work with the contours of your feet. Make sure to choose a boot that feels right for your foot size, regardless of whether or not it matches up with your street shoe size.
Wear your insoles and hiking socks to see how they feel inside potential new boots. The last thing you want is to buy a pair that feels great in thin work socks, but suddenly is a half-size too small with your favorite pair of wool hiking socks.
Test your boots on an incline. Good stores have a sloped board for this purpose. Check for heel slippage and toe bang, signs of a too-big boot and a good chance you’ll be losing toenails. A little stiffness is okay, but pay attention for rubbing seams or excess wiggle room, which often lead to blisters. If the store has a generous return policy, buy a pair and try them out around the house for a few days. (Keep the tags on.)
ADVERTISEMENT
Should I buy insoles for my hiking boots?
Shoemakers use the words “insert,” “insole,” and “footbed” interchangeably to refer to the same thing: a contoured platform that’s supposed to provide additional cushion and stability, and keep your foot in a neutral position (level, with arch raised). The problem: Most shoes come with thin foam insoles that do squat. Instead, get an after-market insert made specifically for hiking or running; most feature a molded, hard-plastic base for arch support, and resilient foam for all-day cushion. Most BACKPACKER editors swap out thin, non-contoured footbeds for a supportive insert. —Annette McGivney
How to Care for Your Hiking Boots and Shoes
Now that you’ve found the perfect pair, make them last for hundreds of miles with these tips:
ADVERTISEMENT
● Condition and Waterproof as Needed. Depending on the amount of wear they get, you should be treating your boots up to three times a year, or whenever the materials starts to lighten in color and look dry and thirsty. There are loads of good treatments out there, all tailored to work with different types of leather and materials. Whichever treatment you use, be sure to follow the instructions carefully. Two or three thin coats are better than one thick gloppy one. Also, contrary to popular opinion, you should never warm your boots in the oven prior to treatment—unless you want the toes to curl up like clown shoes and the glue to melt all over the place.
● Repair Your Soles: If your boot sole starts to delaminate, or peel away from the boot, repair it immediately with Shoe-Goo or a similar product, or take it to a professional to get repaired. (See more repair tips below.)
● Choose Your Supplies Carefully: Avoid using mink oil or any other type of oil which will over-soften most backpacking and hiking boots. (Note: If your intent is to simply soften stiff, unyielding leather, a dab of mink oil may help.)
● Dry Right: Never dry wet leather boots near a fire or other direct heat source or you could end up shrinking them by half a size, which will most definitely lead to nasty heel blisters. The best way to dry boots is slowly but surely. Remove the insoles and laces, open the boots up as much as possible for maximum airflow, and insert newspaper. (If you’re in the field, try chemical heating packs/hand warmers.)
● Avoid Mold and Mildew: When you reach the car after a hike, avoid the temptation to stuff your wet, mucky boots in a plastic bag and forgot about them for a while. If they stay trapped in plastic for too long, they’ll quickly be devoured and turn rank.—Kristin Hostetter
Fun fact: Mud and foot sweat hinder breathability. Give your dirty boots a good go-over with a stiff-bristled brush after each trip. Once a year, go at them with a mild detergent and a brush. Scrub the inside, outside, and insole (the latter controls odor), then let them dry in the shade. —Caleigh Ryan
ADVERTISEMENT
How to Repair Hiking Boots and Shoes
When your boots do start to show signs of wear, use these at-home repair tips from Peggy Welch, co-owner of , to make them (almost) good as new
Delaminated sole: Crisis? Use duct tape. At home? Clean both interfaces where the glue failed. Apply Gear Aid Freesole to reattach.
Cracked leather: Prevent with a water-based leather treatment. Get severe cracks patched or restitched ahead of time. Too late? Use duct tape as a temporary field repair.
Peeling toecap: Use shoe glue as a temporary fix, then send your boots in for new toecaps.
Torn mesh panel: Use a shoe-specific patch. In the field? Patch with a square of bandana to keep out dust and debris.
—Corey Buhay
Last updated April 2022