Published September 16, 2022 02:56PM
The Secret to Eating Better in the Backcountry? Master the Dehydrator.
A home dehydrator might be the handiest kitchen tool you never knew you needed. Upgrade your backcountry cooking with these drying (and rehydrating) tips.
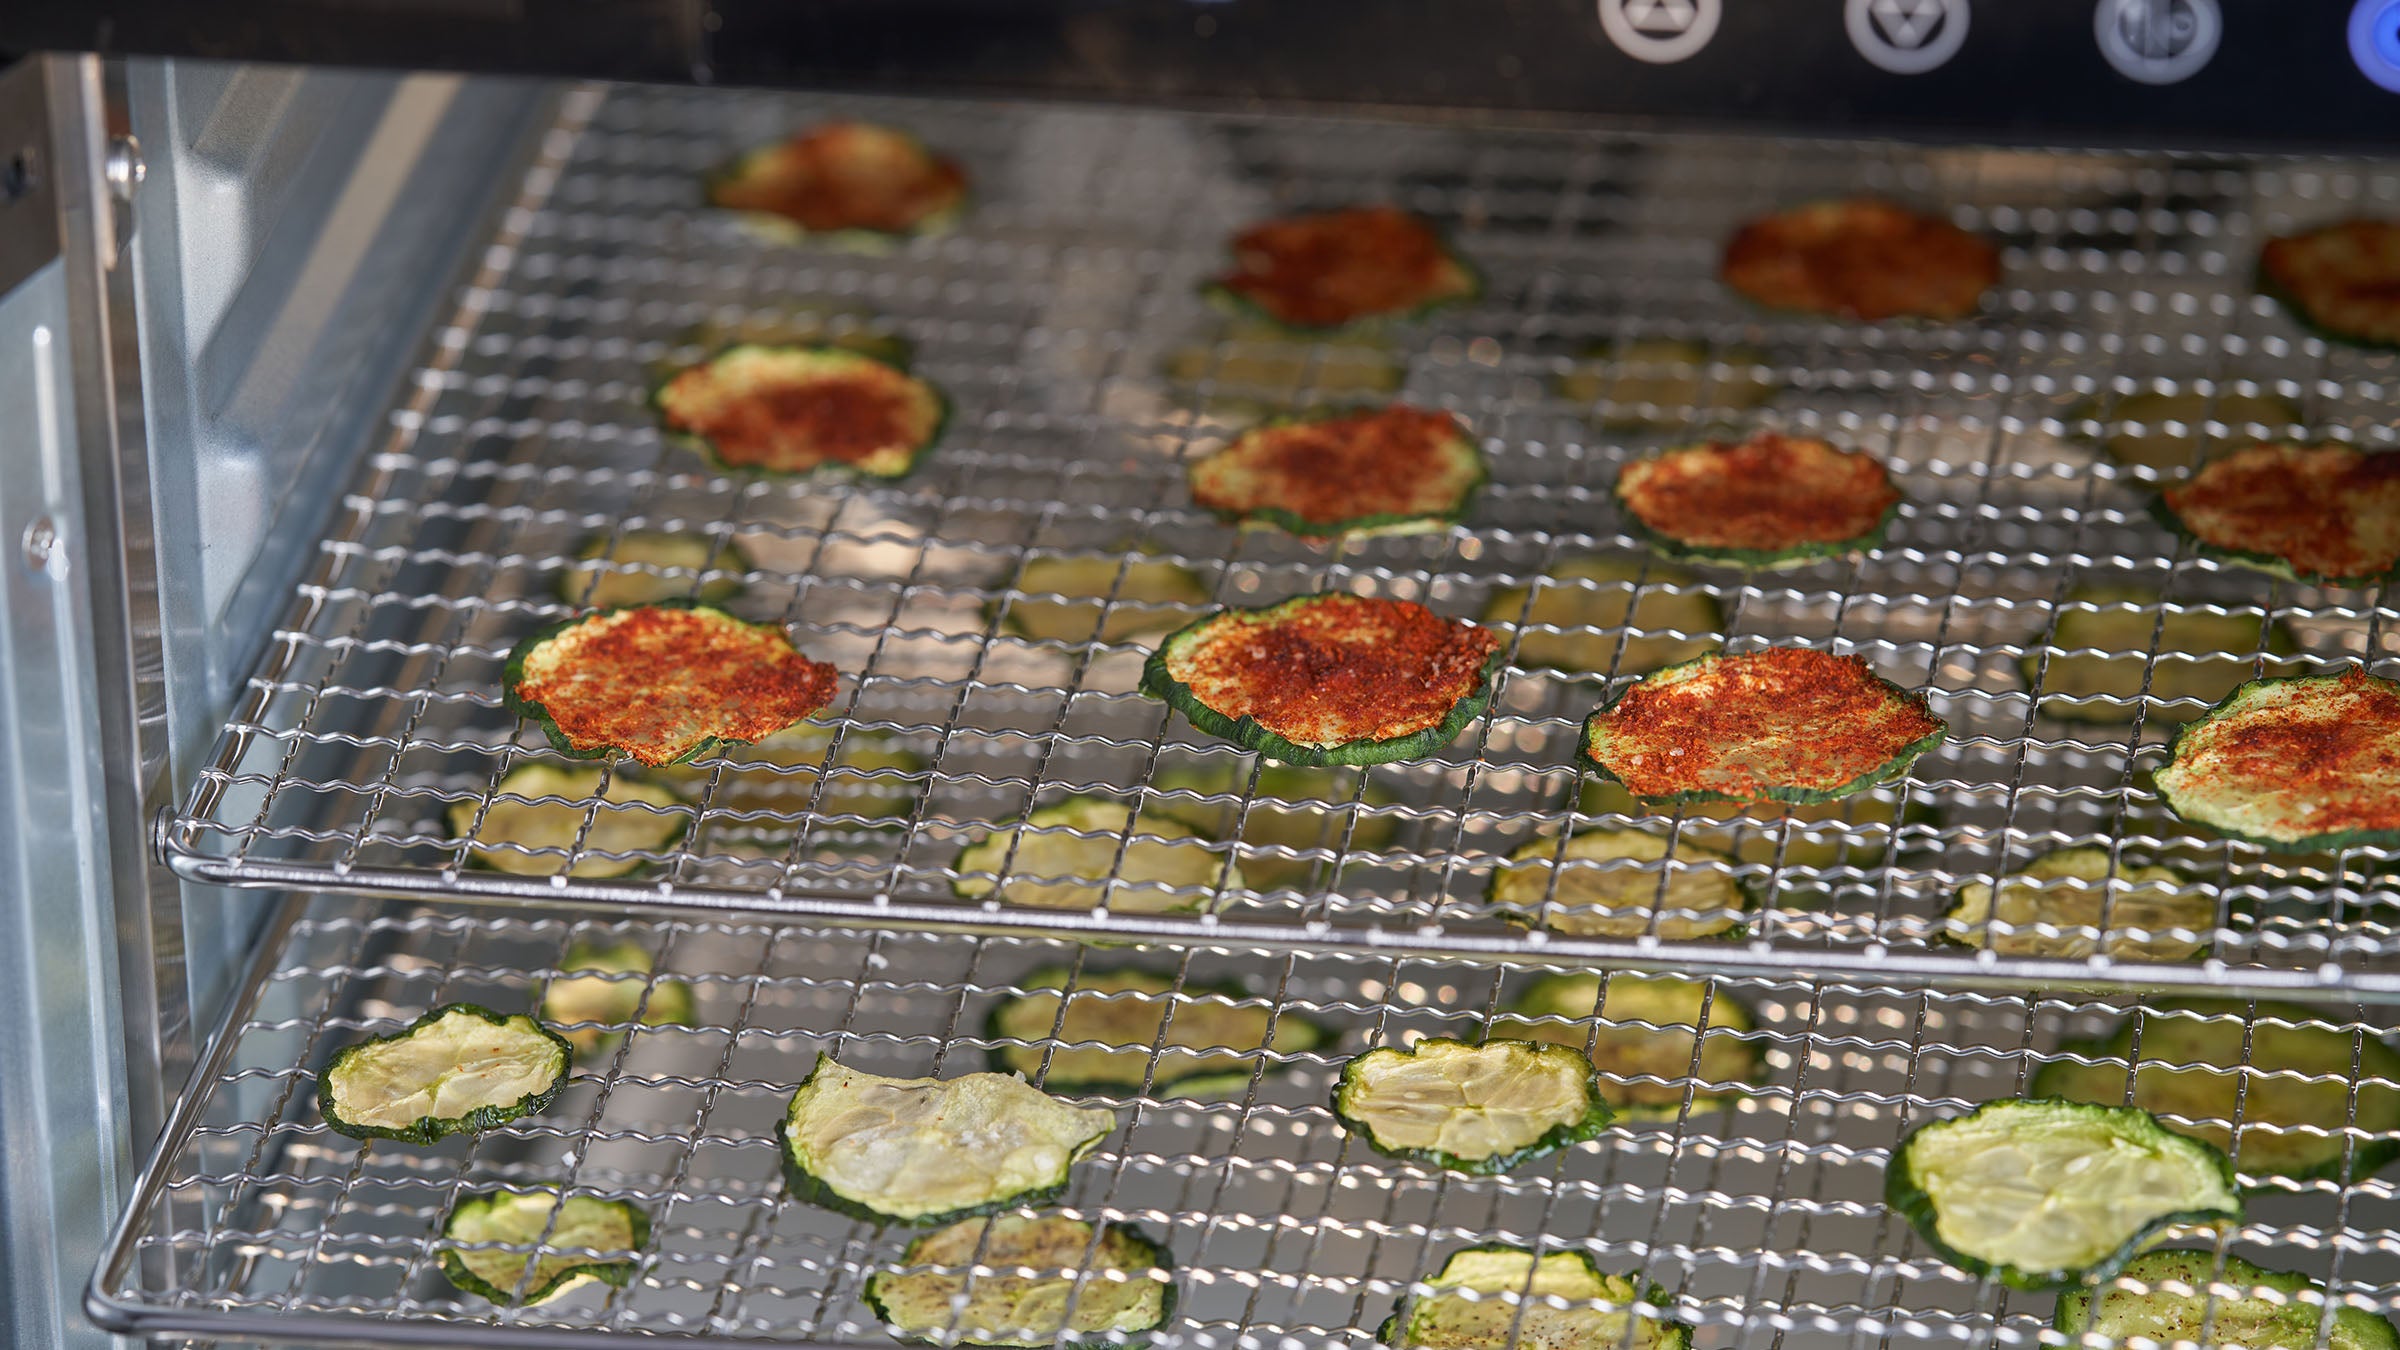
Cucumbers in a dehydrator (Photo: annick vanderschelden photography / Moment via Getty)
Backpackers cannot survive on freeze-dried meals alone. OK, you probably can, but if you don’t want to spend every trip picking from someone else’s menu, it’s time to invest in a dehydrator. These devices, which retail from $40 to over $400, help you prepare meals fit for a dinner party, dehydrate them to backpacking weight, and then rehydrate them under the alpenglow in a matter of minutes. There’s no better way to elevate mealtime on the trail.
Dry This at Home
First, the bad news: You can’t dehydrate all food (sorry, bacon). The good news? Using dehydration-friendly ingredients, you can save money and make meals you’ll actually enjoy, with enough meat to satisfy carnivores.
Foods that can be dehydrated:
- Fruits
- Vegetables
- Grains, such as pasta and rice
- Legumes, such as beans and lentils
- Fully cooked meat, such as lean ground beef and chicken
Foods that can’t be dehydrated:
- High-fat and oily foods
- Dairy products or eggs
Can you dehydrate full meals?
Yes! Soups, stews, curries, and casseroles are good candidates for drying. When cooking, use minimal amounts of fat and oil. To dehydrate a complete dish, spread the entire meal out in a thin, even layer. Follow the temperature guide on the next page, deferring to the warmest temperature required for your combination of ingredients. For example, dehydrate a stew with beef, beans, and veggies at 145°F.
ADVERTISEMENT
Prep School
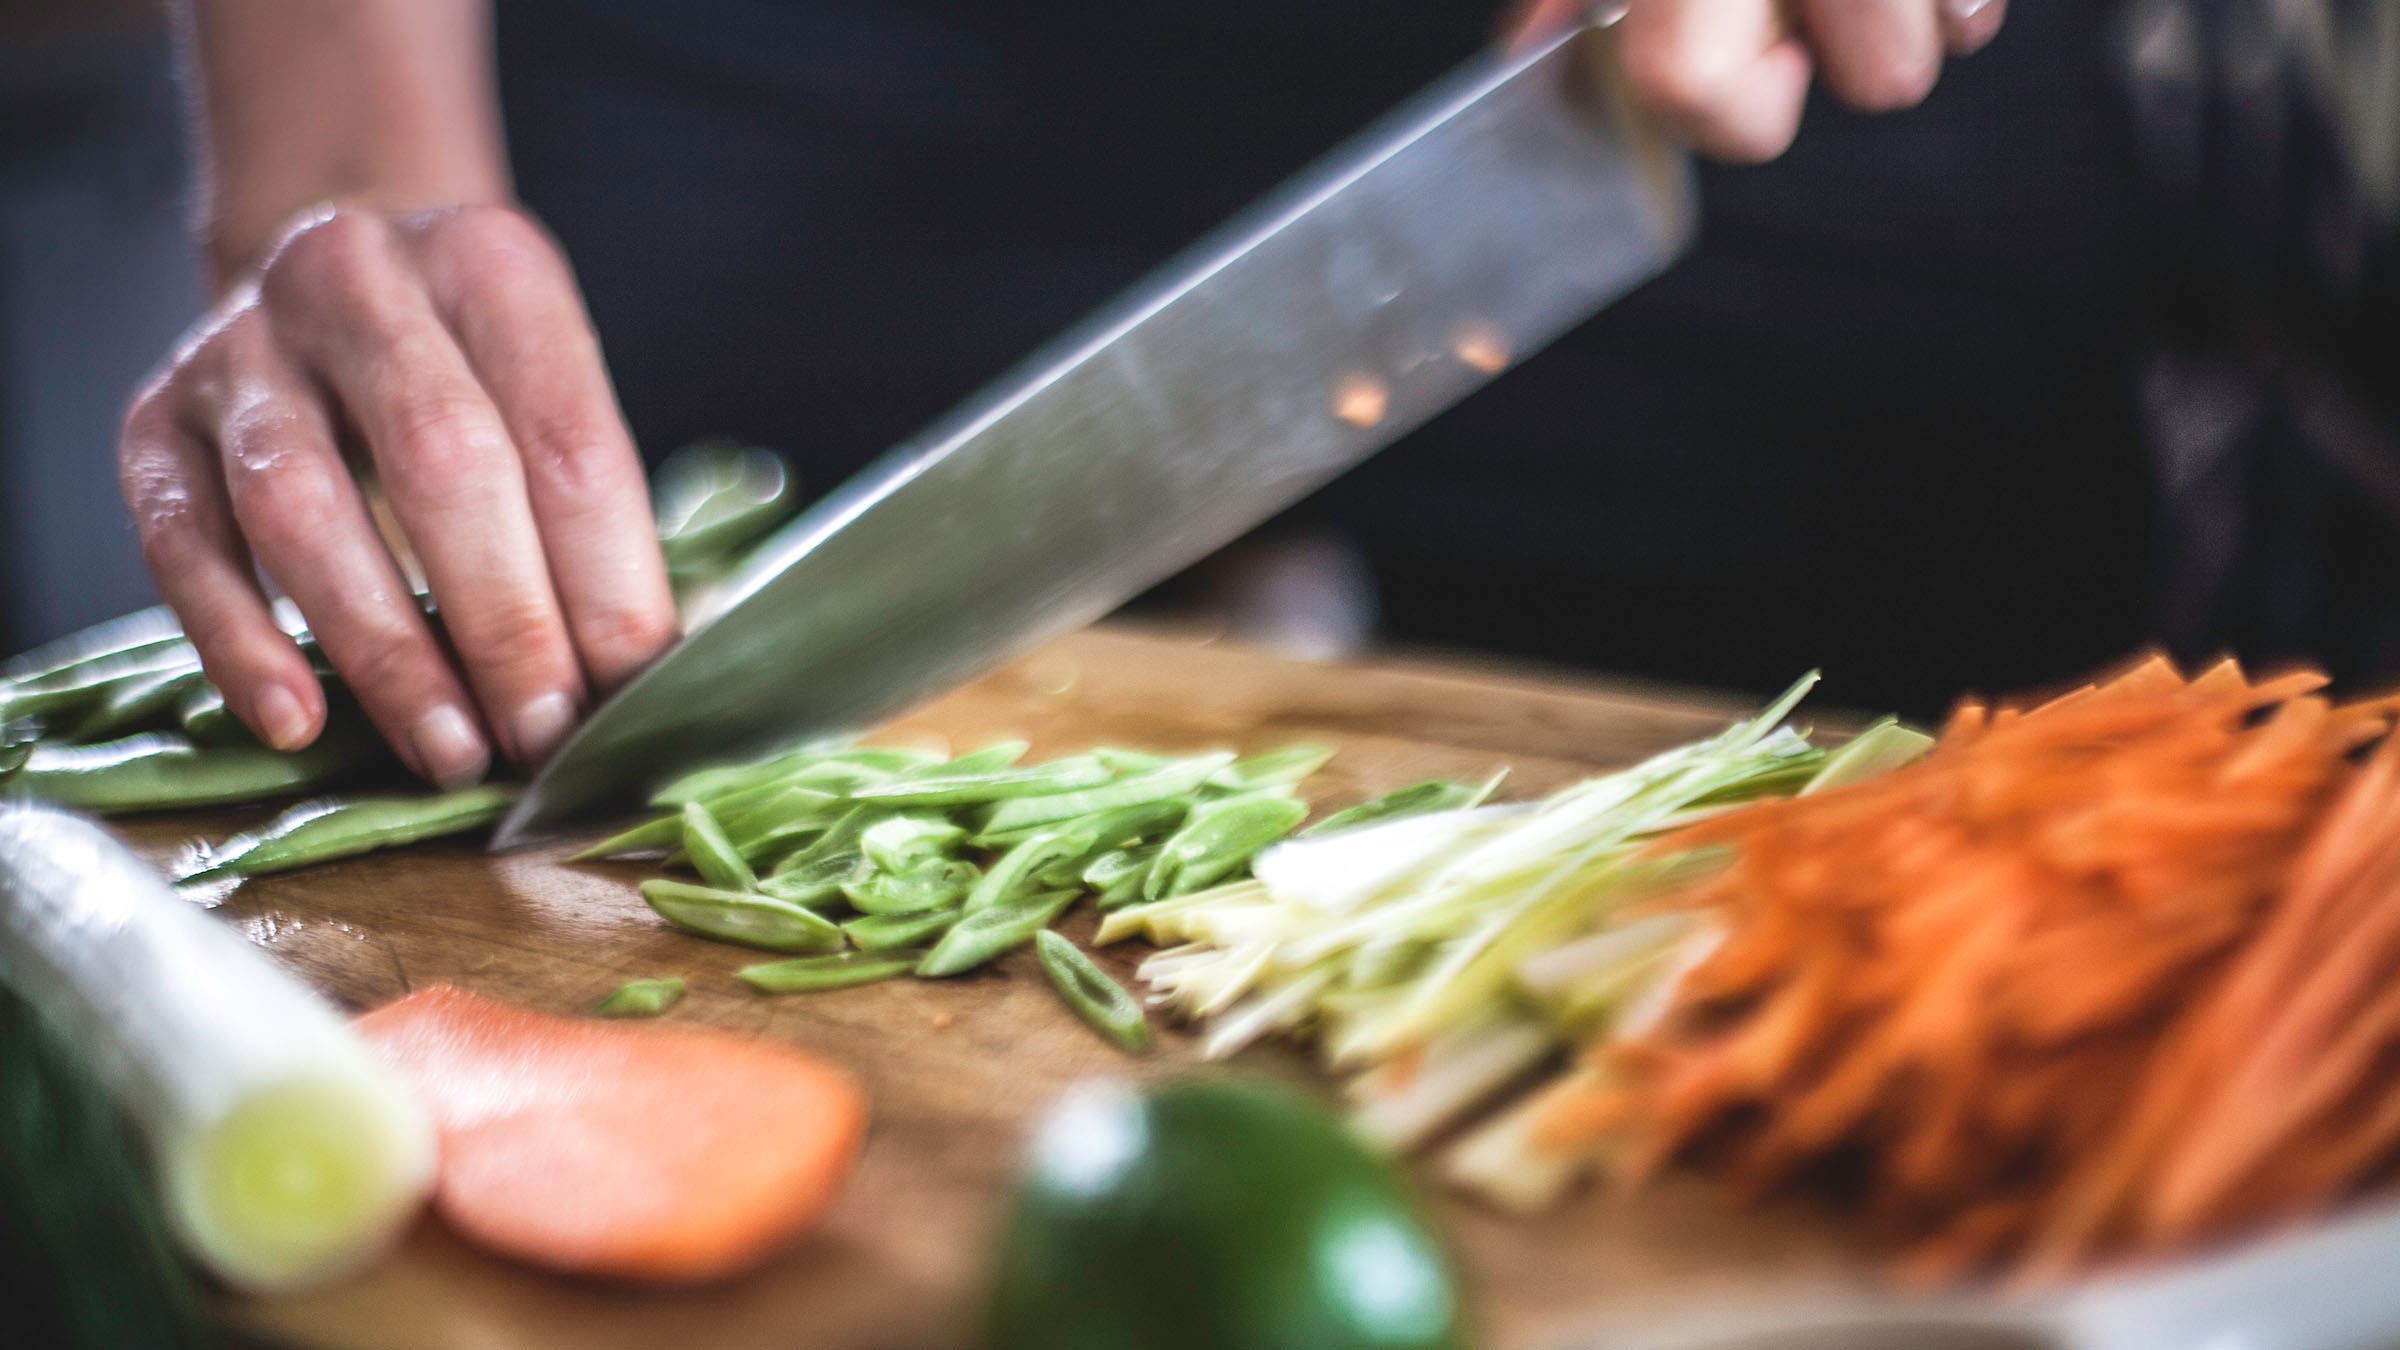
Always start with clean hands, countertops, and equipment. Thoroughly wash all fruits and vegetables.
Slice produce into ¼-inch pieces so everything dries evenly.
ADVERTISEMENT
Precook pasta and rice for quicker rehydration on trail. Cook pasta for one minute less than stated on the package and rinse with cold water before dehydrating.
Cook meat thoroughly before dehydrating: pork to 145°F, beef to 160°F, and poultry to 165°F.
Drying Temperature Guide
- Vegetables: 125°F
- Beans and lentils: 125°F
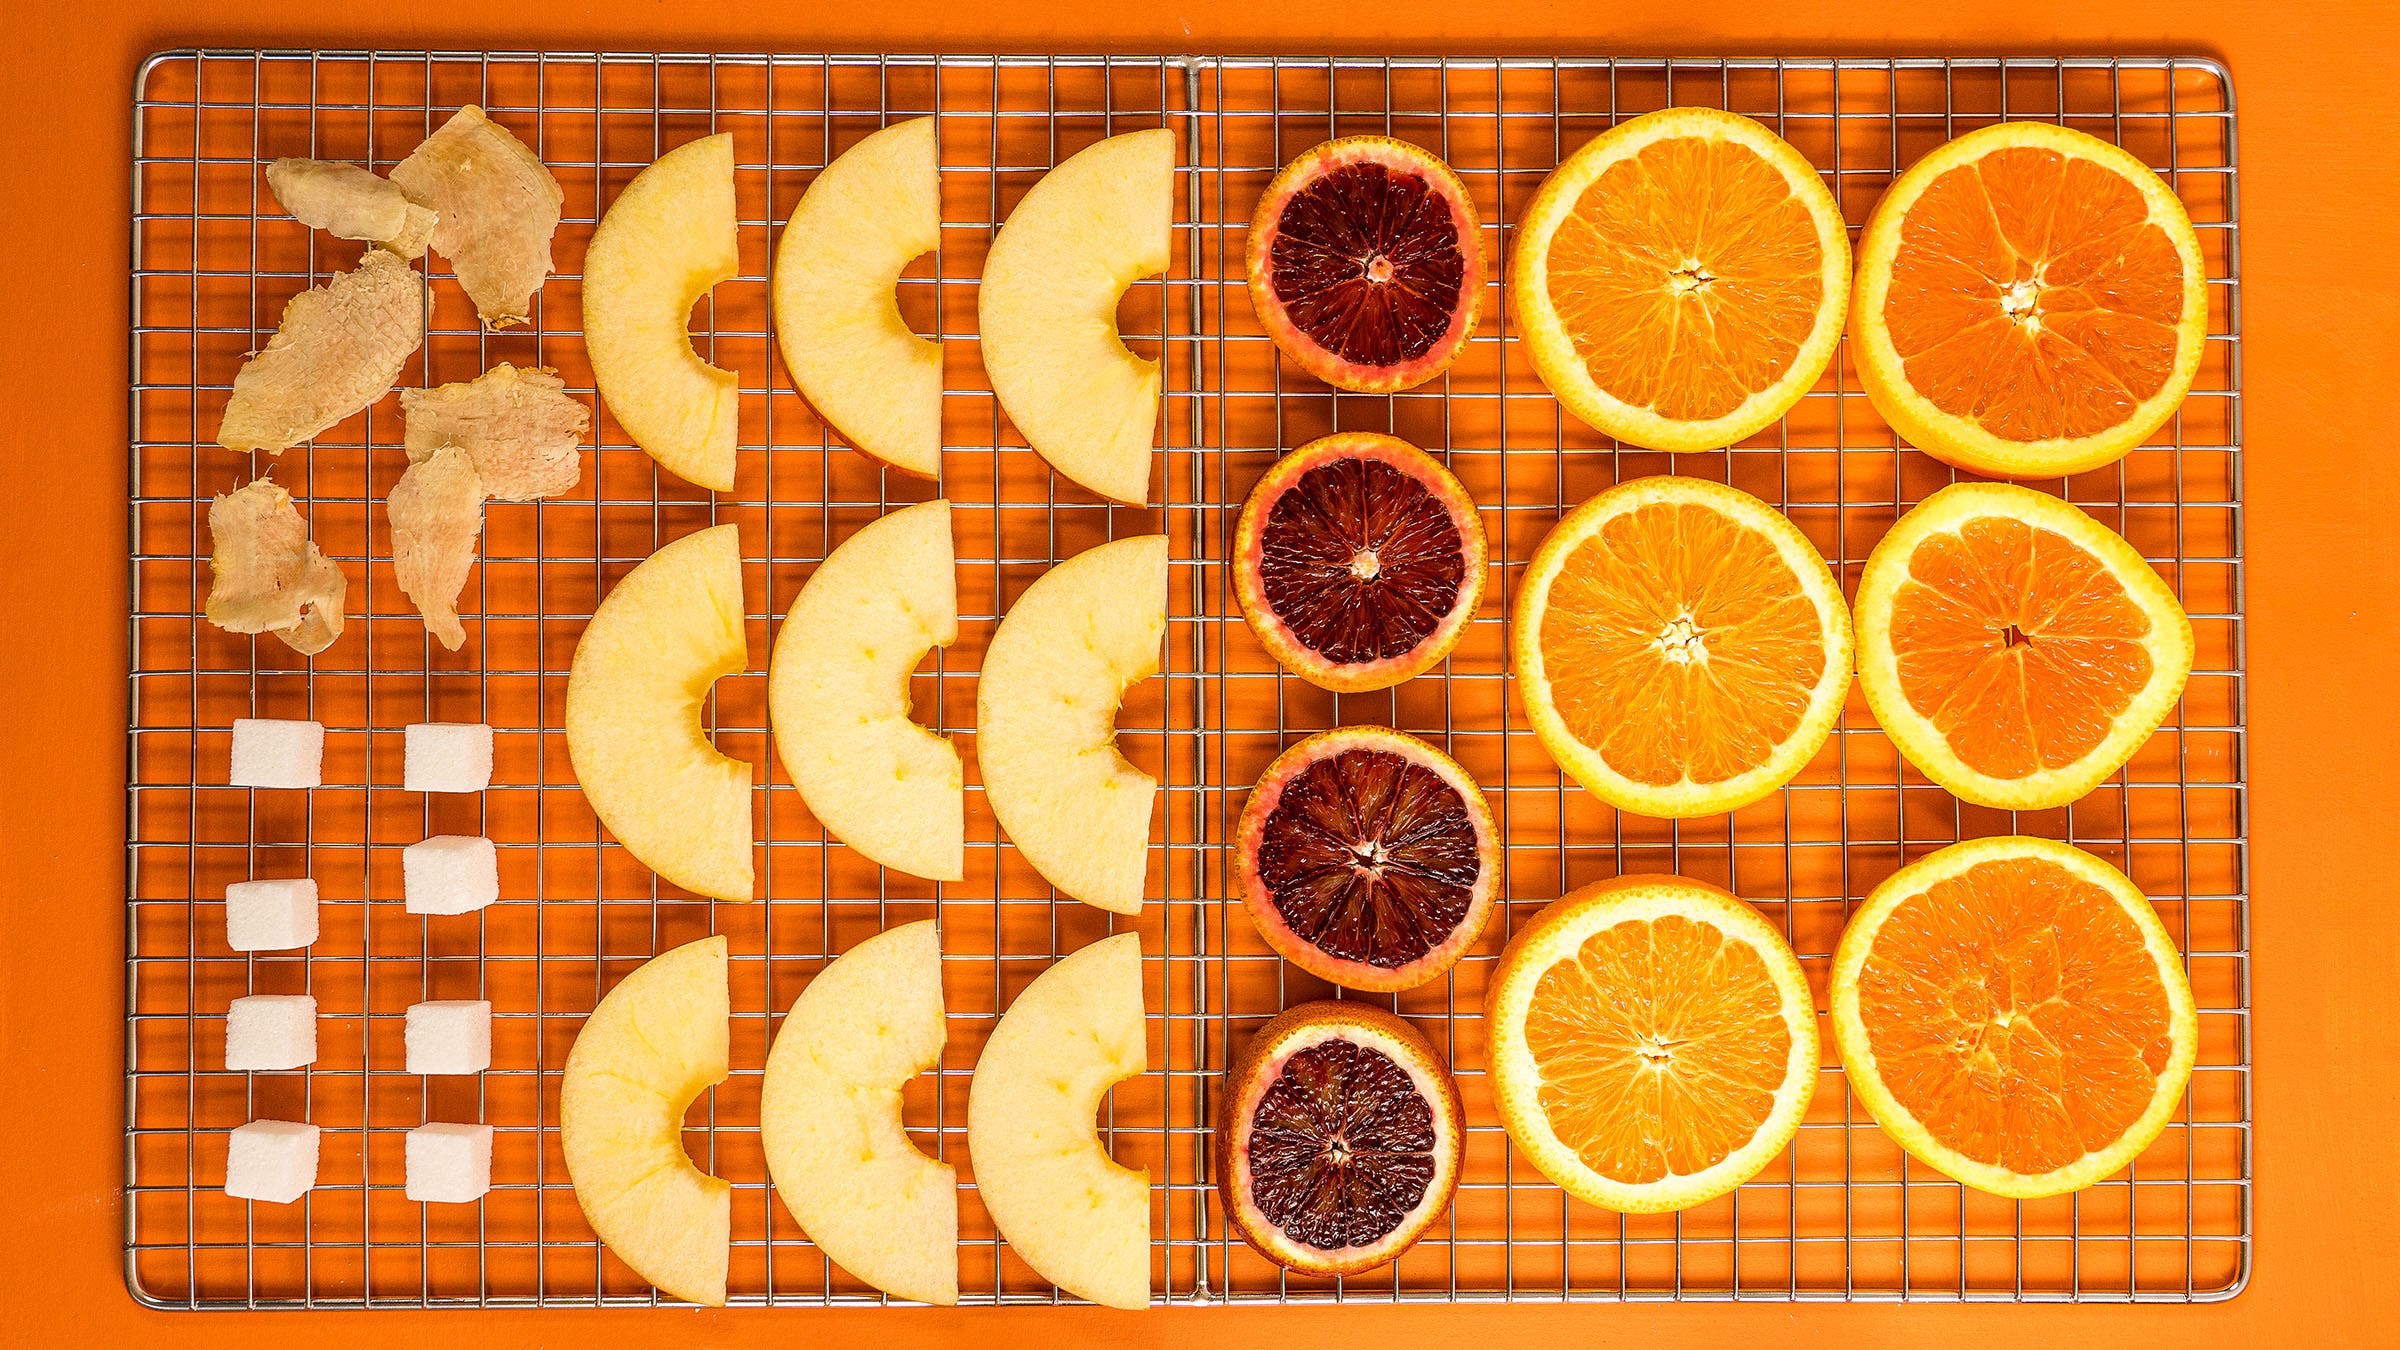
- Fruit: 135°F
- Grains and rice: 145°F
- Pre-cooked meats: 145°F
Dehydrating Time
Several factors affect how long it takes your food to dry: the humidity in your home, dehydrator load, and the specific dehydrator you use. Once your food is visibly dry, give it a check. Remove a few pieces from your dehydrator and let them cool completely. Vegetables should be hard or crisp. Fruits will be pliable but release no visible moisture when cut in half and squeezed. Beans, lentils, grains, and precooked meats will be hard.
Pack it Up
Dehydrated food keeps for up to a few months. Package it in an airtight container and keep it in a cool, dry place. Check for moisture buildup, which can cause mold, and discard any dehydrated food that has spores blooming. Store meals with meat in the freezer and remove them before your trip—they will still be shelf-stable for several weeks. For shorter backpacking trips, store your dehydrated meals in resealable zip-top bags or containers. For longer hikes or thru-hikes where you’ll be mailing food ahead, it’s a good idea to vacuum seal your meals to keep them air-tight.
ADVERTISEMENT
In-Camp Essentials
The equipment you’ll need for camp cooking depends on what you’ll be doing and the number of people you’re feeding. Here are the basic tools of the trade.
1) Stove
An integrated system—fuel that attaches directly to a combined stove and pot, such as the Jetboil Flash, is perfect if you just need to boil water quickly and don’t plan on doing any serious cooking.
An integrated cooking system with a fuel regulator, like the MSR WindBurner, provides the simmer control you need for some light cooking. This is helpful when preparing meals with both dehydrated and fresh ingredients.
If you plan on cooking most of your meals using fresh ingredients, look for a stove with good simmer control and pair it with a wide-bottomed pot or pan.
2) Cooking Pot
Solo backpackers should look for a pot that holds 700 milliliters. For a two-person trip, opt for a 1.2-liter pot.
ADVERTISEMENT
3) Eating Utensil
A spork is a hiking classic, but consider a utensil with a spoon shape that can scrape every last morsel of food out of your pot. This will make cleanup much easier.
Elevate the Basics
Still prefer commercial freeze-dried dishes over playing chef? There’s no shame in that, but some of those meals could use a bit of a flavor upgrade. Here are some simple hacks to make store-bought meals more exciting, especially if you’re eating the same one every night on the trail.
- Condiments: Pack small sealed containers of flavor-boosters like hot sauce, soy sauce, or infused oils. You don’t have to raid the mall food court for single-serving packets, though: Websites such as minimus.biz sell all your favorites in bulk.
- Spices: Think beyond salt and pepper. Try Cajun spice in mac and cheese, Italian herb blend in fettuccine Alfredo, Ras el Hanout with couscous and dried apricots, and taco seasoning with rice and beans.
- Veggies: A handful of additional ingredients can elevate the nutrition, texture, and flavor of your meal. Dehydrate veggies at home, or look for dried options like mushrooms at the store. Add dehydrated or freeze-dried vegetables to your food before you add the boiling water.
The Secret to a Great Backcountry Cocktail? Your Dehydrator.
Backpacking is work—fun work, but you still might want a drink when you’re done. A dehydrator isn’t just for meals; it allows for mixologist-level cocktails with unexpected ingredients that don’t compromise pack weight. Dehydrate berries and citrus for sunset sangria or limes for margaritas. Experiment with your favorite flavors or try this recipe on your next trip.
ADVERTISEMENT
Backcountry Old Fashioned
Makes 2 servings
- A few drops of bitters
- 2 sugar cubes
- 4 orange slices
- 4 Bing cherries
- 100 mL bourbon
At home:
- Add a few drops of bitters to two sugar cubes (enough to saturate but not disintegrate them).
- Dehydrate the sugar cubes, orange slices, and cherries at 135°F.
- Pack your cocktail ingredients with two 50-mL nips of bourbon.
At camp:
- Divide the ingredients into two cups and add one serving of bourbon to each.
- Stir vigorously until the sugar mix dissolves, and enjoy.
ADVERTISEMENT
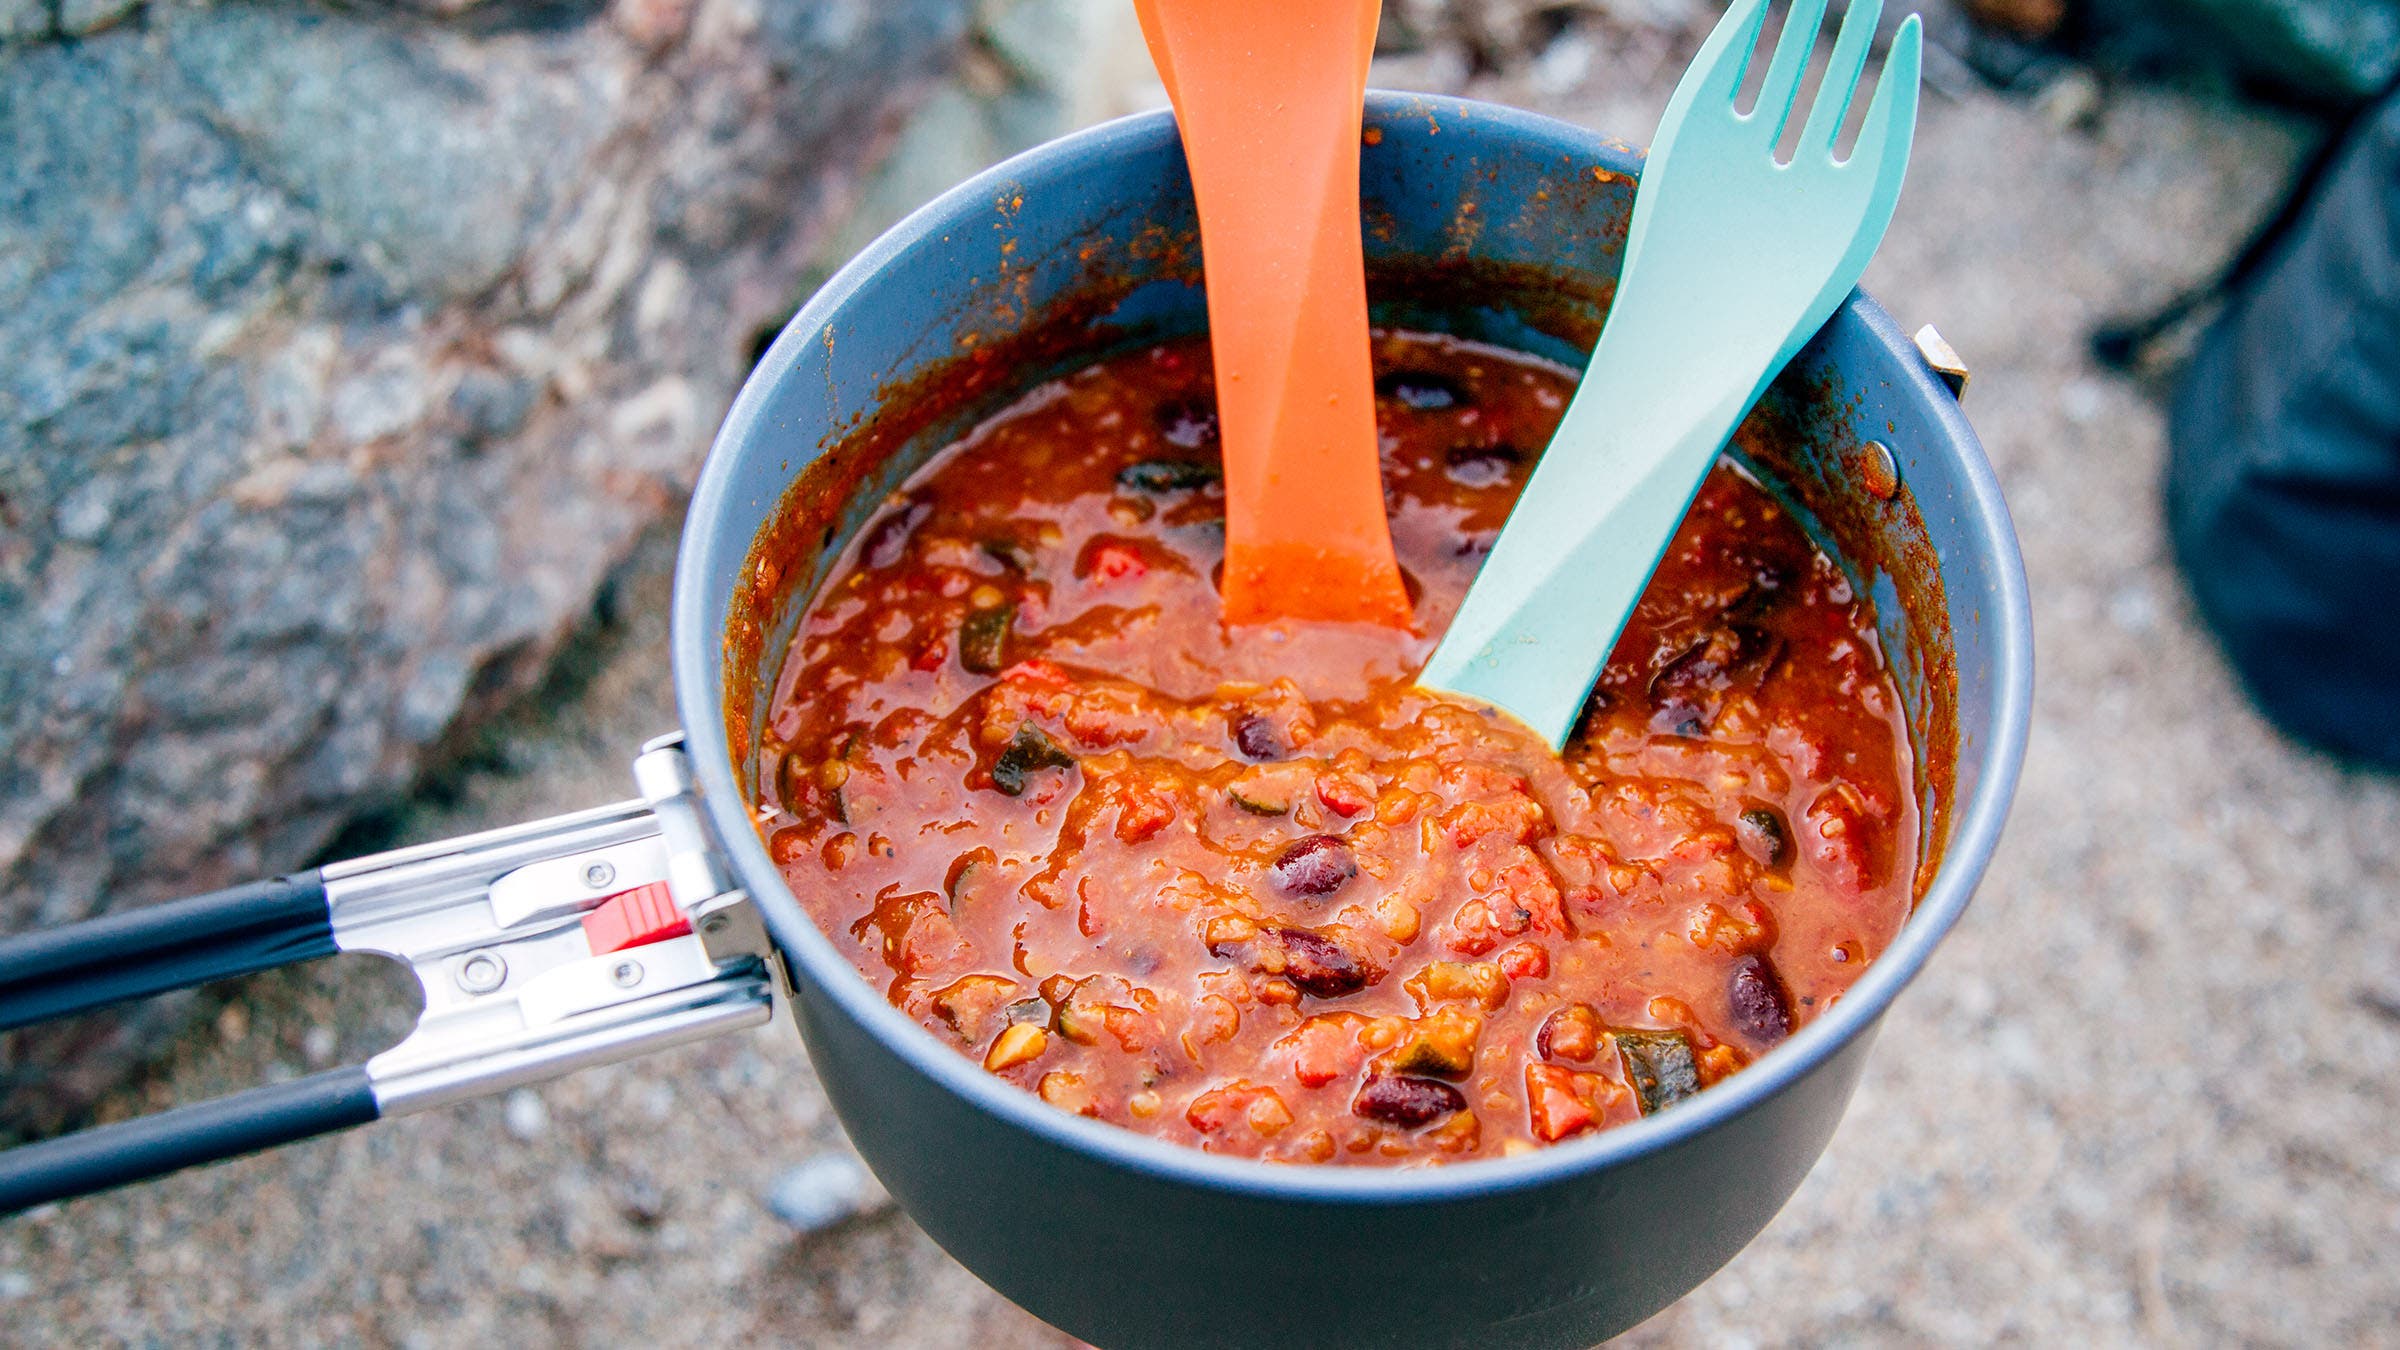
Put Your New Skills to the Test: Red Lentil and Bean Chili
Makes two servings
This dehydrated chili is loaded with plant-based protein to stay fueled on the trail. It’s cheap to make, quick to cook, and guaranteed to fill you up.
- ½ Tbsp. oil
- ½ cup diced onion
- ½ cup diced bell pepper
- ½ tsp. salt, plus more to taste
- 1 cup sliced zucchini
- 3 cloves garlic, minced
- ½ Tbsp. ground cumin
- 2 Tbsp. chili powder
- ¾ cup fire-roasted diced tomatoes
- ¾ cup kidney beans, drained
- 1 Tbsp. tomato paste
- 1 cup vegetable broth or water
- ½ cup red lentils
- ½ tsp. sugar
- ½ tsp. salt, plus more to taste
- 2 Tbsp. olive oil
At Home:
- Heat the oil in a large pot over medium heat. Once the oil is hot, add the onions, peppers, and salt. Sauté until the veggies begin to soften.
- Add the zucchini and cook until the vegetables begin to turn golden in spots.
- Stir in the garlic, cumin, and chili powder and sauté until fragrant (about 30 seconds).
- Add the tomatoes, beans, tomato paste, and broth. Stir to combine.
- Bring to a simmer, then add the lentils. Simmer for 20 minutes, stirring occasionally, until the lentils are tender, adding more water if needed.
- Stir in the sugar and adjust seasoning to taste.
- Remove from heat.
- Spread the chili in a thin, even layer onto dehydrator trays lined with solid fruit leather sheets.
- Dehydrate at 135°F for 8 to 12 hours, until the chili is dry and crumbly.
- Pack in sealable bags and store in a cool, dark place or your freezer.
- Pack the dehydrated chili and olive oil separately.
In Camp:
- Place chili, 2 cups of water, and oil in a cookpot.
- Bring to a boil, reduce to a simmer, and cook for about 10 minutes, stirring frequently, until the beans and lentils are tender.
ADVERTISEMENT
Everybody Do Your Share
Improper cleanup can attract wild animals to your camp. Here’s how to wash up the right way.
- Do your cleaning 200 feet from water sources. Biodegradable soap needs the microorganisms in soils to break down; it doesn’t degrade in lakes or streams.
- Use your spoon to scrape away any remaining crumbs or grease. Pack out the food remnants, or, better yet, lick your spoon clean. Scrub your cookpot with a minimal amount of biodegradable soap and warm water. Rinse and scrub your spoon with the soapy water in your cookpot.
- Dig a 6-inch-deep cathole and pour your dishwater into it. If that’s not an option, broadcast spray the dishwater across a wide area.