Summer might be the busiest hiking season, but not on my calendar. For three years running, I’ve done my biggest trips in the fall and winter. Maybe it’s the brisk air, crunchy leaves, and frosty mornings that draw me outside Or, I’m just too busy earlier in the year. Either way, I love the challenges and rewards of winter camping. If you’re a summer-only hiker, maybe it’s time to venture into the cool.
The biggest misconception about wintry hiking is that the negatives outweigh the positives. That’s just not true. First, chilly temperatures cause mosquitoes, ticks, chiggers, and other biting bugs to go dormant. Second, the cold deters more than skeeters; it keeps people away, too, making choice campsites and trails less crowded if not empty. Two years ago I saw more black bears than people on a popular loop trail in Shenandoah. Third, less foliage means better views. And when the leaves change color, the formerly monochrome green forest comes alive. Yes, thanks to Earth’s 23-degree axial tilt, it does get colder in October and November. But adapting your clothing, shelter, and food to the chill is easier than you think. Here’s a three-step primer on how to prepare for fall and winter campinh
What to Wear for Winter Camping and Hiking
If you dislike heat, you’ll love shoulder-season and winter temperatures. The key to staying warm is adding more layers, especially when you stop moving during rest breaks and at camp, and shedding layers when you start to sweat.
ADVERTISEMENT
For maximum warmth, try this layering system. Closest to your skin should be a long-sleeve synthetic top (polyester long underwear is ideal), followed by an insulating fleece vest or pullover, and topped by a fluffy down jacket. If the weather is rainy or damp, I replace the down jacket with a rain shell, or layer a shell over top. I normally shed the last two layers (down and fleece) when I’m moving, and add them back when I stop. Because you’ll change in and out of your rain shell and down puffy a dozen times during a typical day, keep them accessible on the outside of your pack.
For micro temperature adjustments (like when the wind suddenly picks up), you can add or subtract a hat and gloves without removing your backpack. Put on thick wool socks when hiking in cooler temps, and pack an extra pair to wear in your sleeping bag at night, along with long-underwear bottoms (or fleece pants for extra warmth) and a wool hat. Always change into dry clothing before going to bed, and stuff damp clothes at the bottom of the bag to warm up by morning.
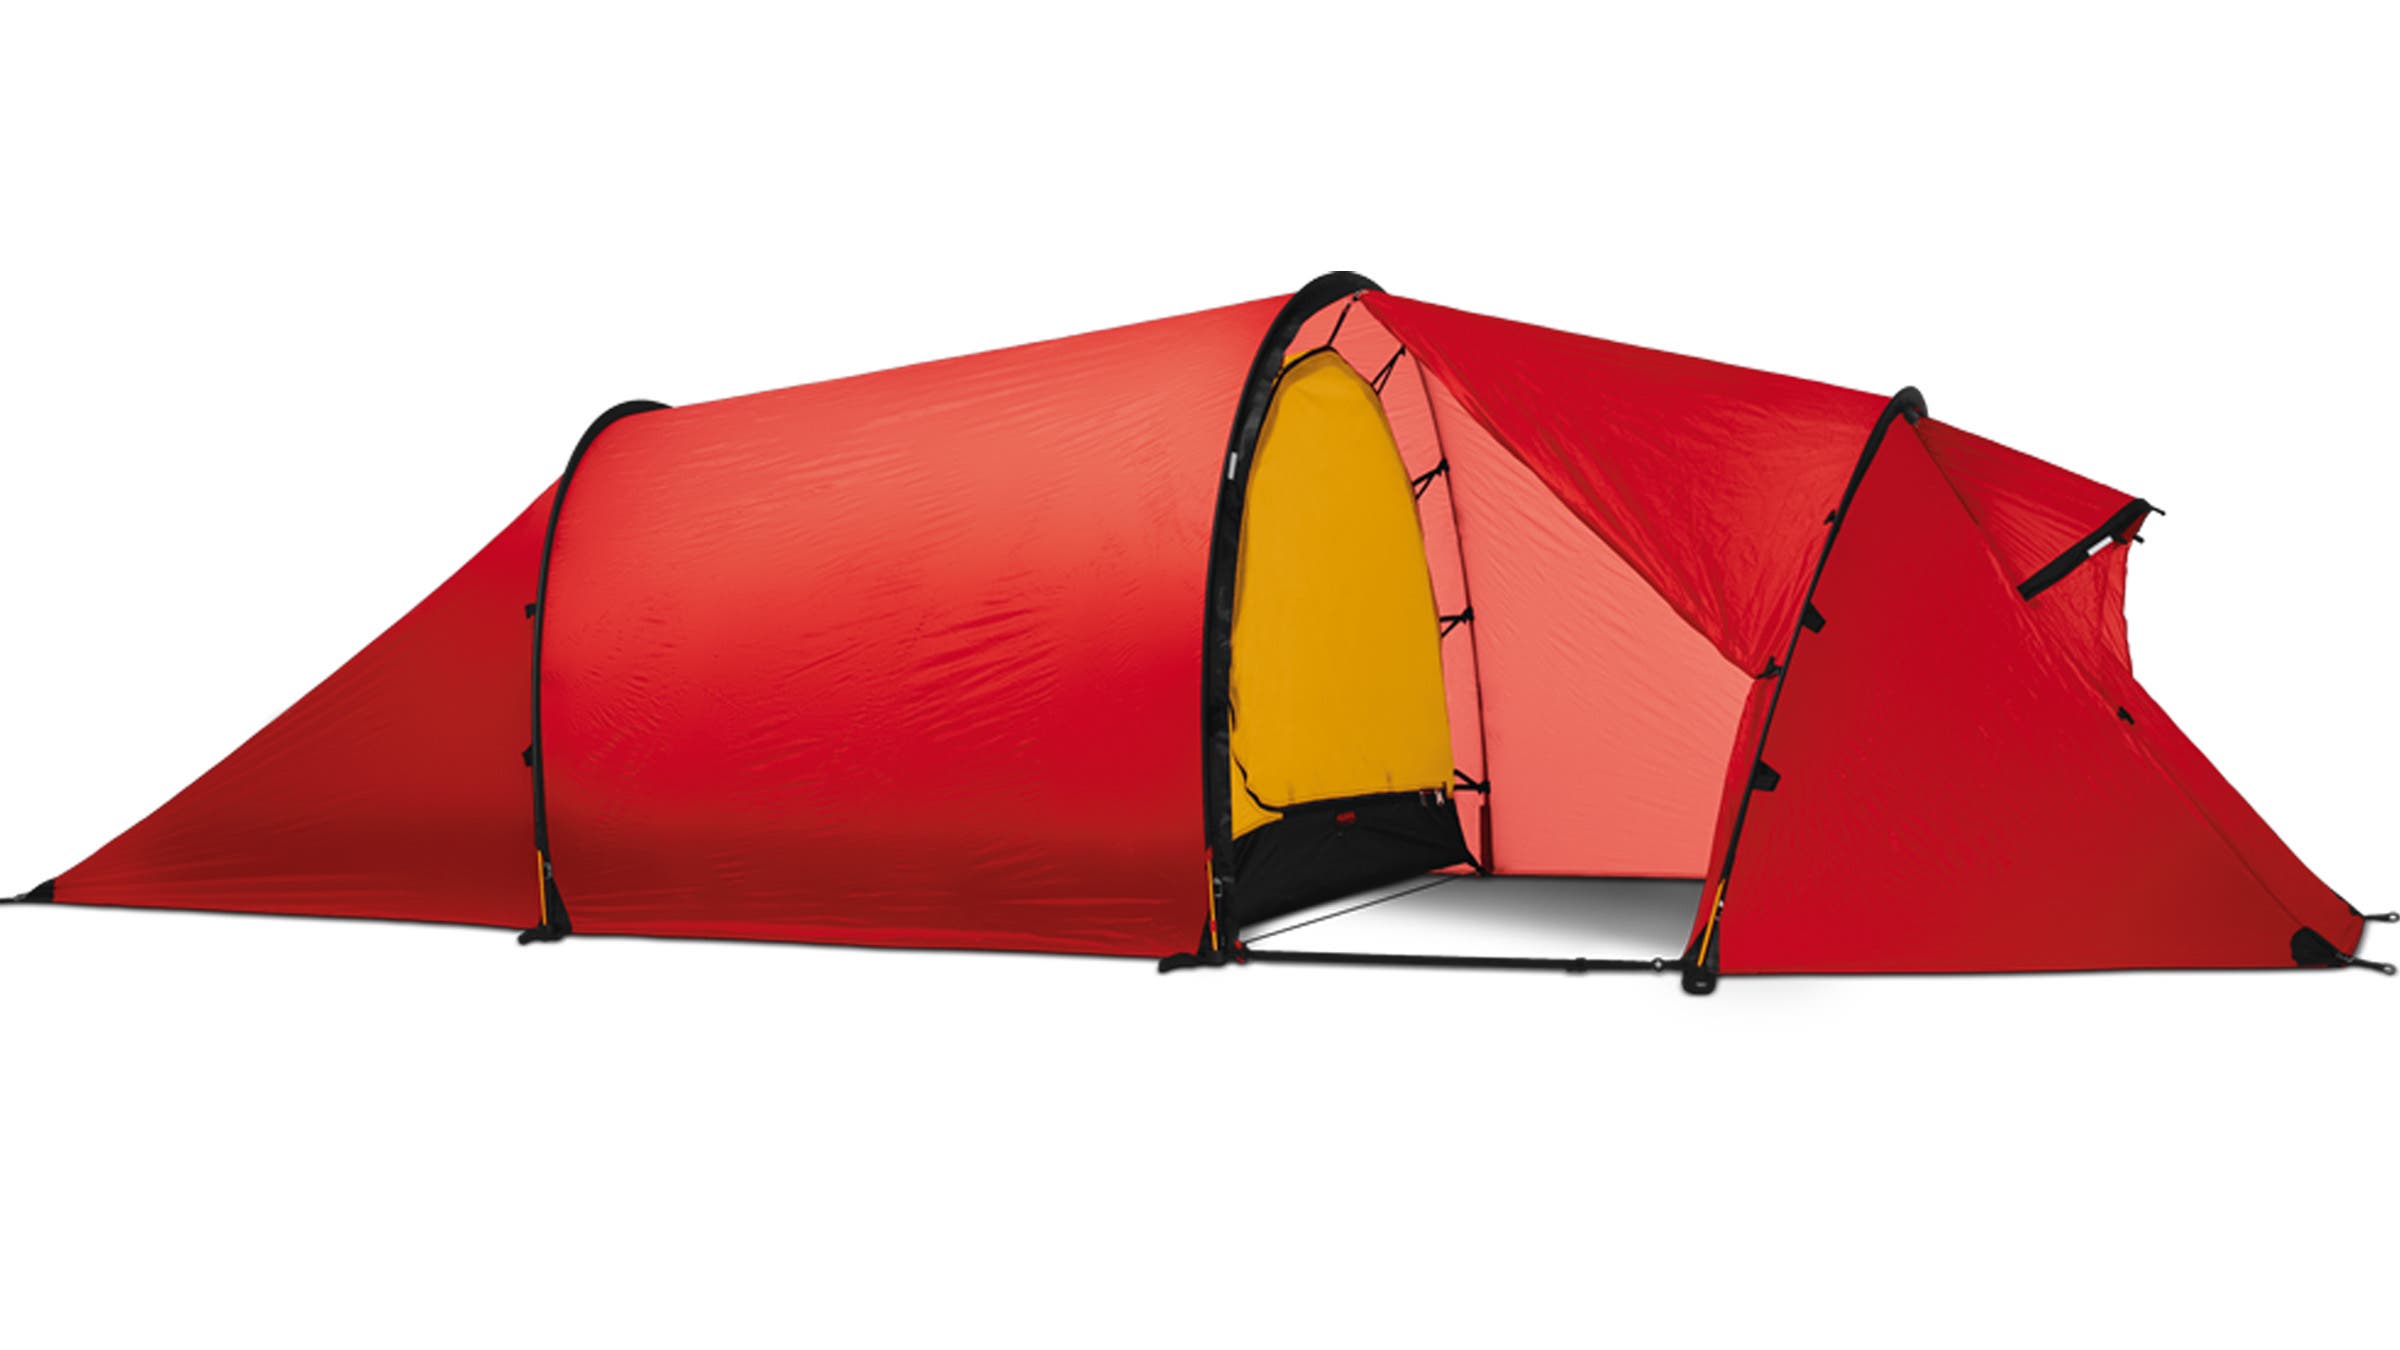
Hilleberg Nallo 2 GT (Photo: Courtesy Hilleberg)
Where to Sleep on a Winter Camping Trip
On fall and winter backpacking trips, the setting sun will regulate your daily schedule. After it disappears below the horizon, the temperature will drop and so will your incentive to remain outside your tent (unless you can build a campfire). For this reason, you should pay close attention to the heat-retaining trifecta of your tent, sleeping bag, and ground pad. First, a smaller tent is a better tent when it’s cold outside. It sounds counterintuitive, but your body can heat up a smaller space more rapidly than a larger one. When I camped at 9,000 feet in the Sierras, I boosted the thermostat of my tiny backpacking tent to 50°F on a 26°F night.
ADVERTISEMENT
Can you bring a three-season tent on a winter (i.e., fourth season) trip? Yes, but not if you expect extremely low temperatures and/or a big dump of snow. Four-season tents keep you warmer and safer (at the expense of extra weight) by replacing venting mesh panels with solid fabric and incorporating stronger, crisscrossing poles to withstand high winds and heavy snow. Bridging the gap between three- and four-season shelters are convertible tents, which feature mesh panels backed up by fabric “storm shutters” that can be zipped up or down depending on weather conditions. For more details on various tent types, check out our Tents 101 overview.
Second, don’t assume sleeping bags’ temperature ratings are designed exactly for you. Everyone has a different slumber comfort zone. If you’re a cold sleeper (i.e., you keep a comforter on your bed until May), use a bag rated at least 10°F below the nighttime low. Plus, older sleeping bags gradually lose their insulating properties due to reduced loft. A decade-old 30°F bag might only work to 45°F. Proper storage (loose in a pillowcase) and cleaning (warm water in a front-loading washing machine) of bags can prolong their insulating lifespan. Check out more sleeping bag tips from gear editor Kristin Hostetter here, as well as a video from editor-in-chief Jon Dorn on how to wash your bag.
Third, sliding a pad underneath your sleeping bag doesn’t just smooth out rocks and roots. Thanks to the laws of heat transfer, the cold ground is quite adept at stealing (the fancier word is “conducting”) your body heat during the night. A thick sleeping bad—inflated with air or made with closed-cell foam—insulates against conduction to keep you warmer. When camping in winter, opt for the fattest pad possible—at least an inch thick—or use two pads. The trade-off between a 1-inch pad and a 2.5-inch pad can be the difference between a restless night and pleasant dreams.
Soups and stews are an excellent choice on winter trips.
What to Eat and Drink on a Winter Camping Trip
Appetizers aren’t just for first dates at a fancy restaurant. On cold-weather trips, you need tasty starters to overcome the hunger gap between arriving to camp and preparing your dinner. A basic pre-meal hit can be as simple (and delicious) as wheat crackers topped with salami slices and cheese. For more adventurous offerings like Cheesy Leek and Bacon Mashed Potatoes and Asian Peanut Dip, check out Backpacker’s dozens of meal suggestions. Soups of all kinds are also excellent starters. And since appetizers are so good, why not make them the entire meal. Last winter I went to bed happy and full after an amazing feast of 20 feta-cheese-stuffed olives wrapped in sizzling bacon.
ADVERTISEMENT
Now, a quick quiz: On a winter hike should you drink more, less or about the same as on a summer hike? The right answer is “more” because your body uses liquids to regulate core temperature in cold climates as much as warm ones. Plus, dehydration is a bigger concern in winter because your body receives fewer clues like sweat and thirst to replenish your fluids.
Since warm liquids increase your incentive to drink and boost your morale, insulating hot drinks is key. On my first winter hike in New Hampshire, I carried my Boy Scout-issue metal sierra cup, not realizing it has the thermal qualities of two-ply tissue. My cocoa went from steaming to freezing in less than a minute. Now I bring an insulated mug—like a commuter’s coffee mug—with a snap-tight lid. On trips when temps dip below freezing, I’ll pack an insulated thermos to enjoy hot cocoa throughout the day. To keep the mouths of my water bottles from icing over, I store them upside down (the water in contact with air freezes first). On sub-32°F days I stuff the bottles in my pack for added insulation.
Freeze-prone hydration tubes are more difficult to protect. Start by clearing the tube of water after each drink by blowing it back into the hydration bladder. Other techniques include stuffing the tube inside your clothes, buying a $20 custom insulator kit, or—if you have a penchant for DIY—spending $6 at Home Depot on a ½-inch diameter piece of foam pipe insulation to slip over the tube.