Updated July 1, 2025 05:29PM
Level Up From Scenic Dayhikes to Awe-Inspiring Overnight Adventures
Ready to spend your first night out but don’t know where to start? We've got you covered.
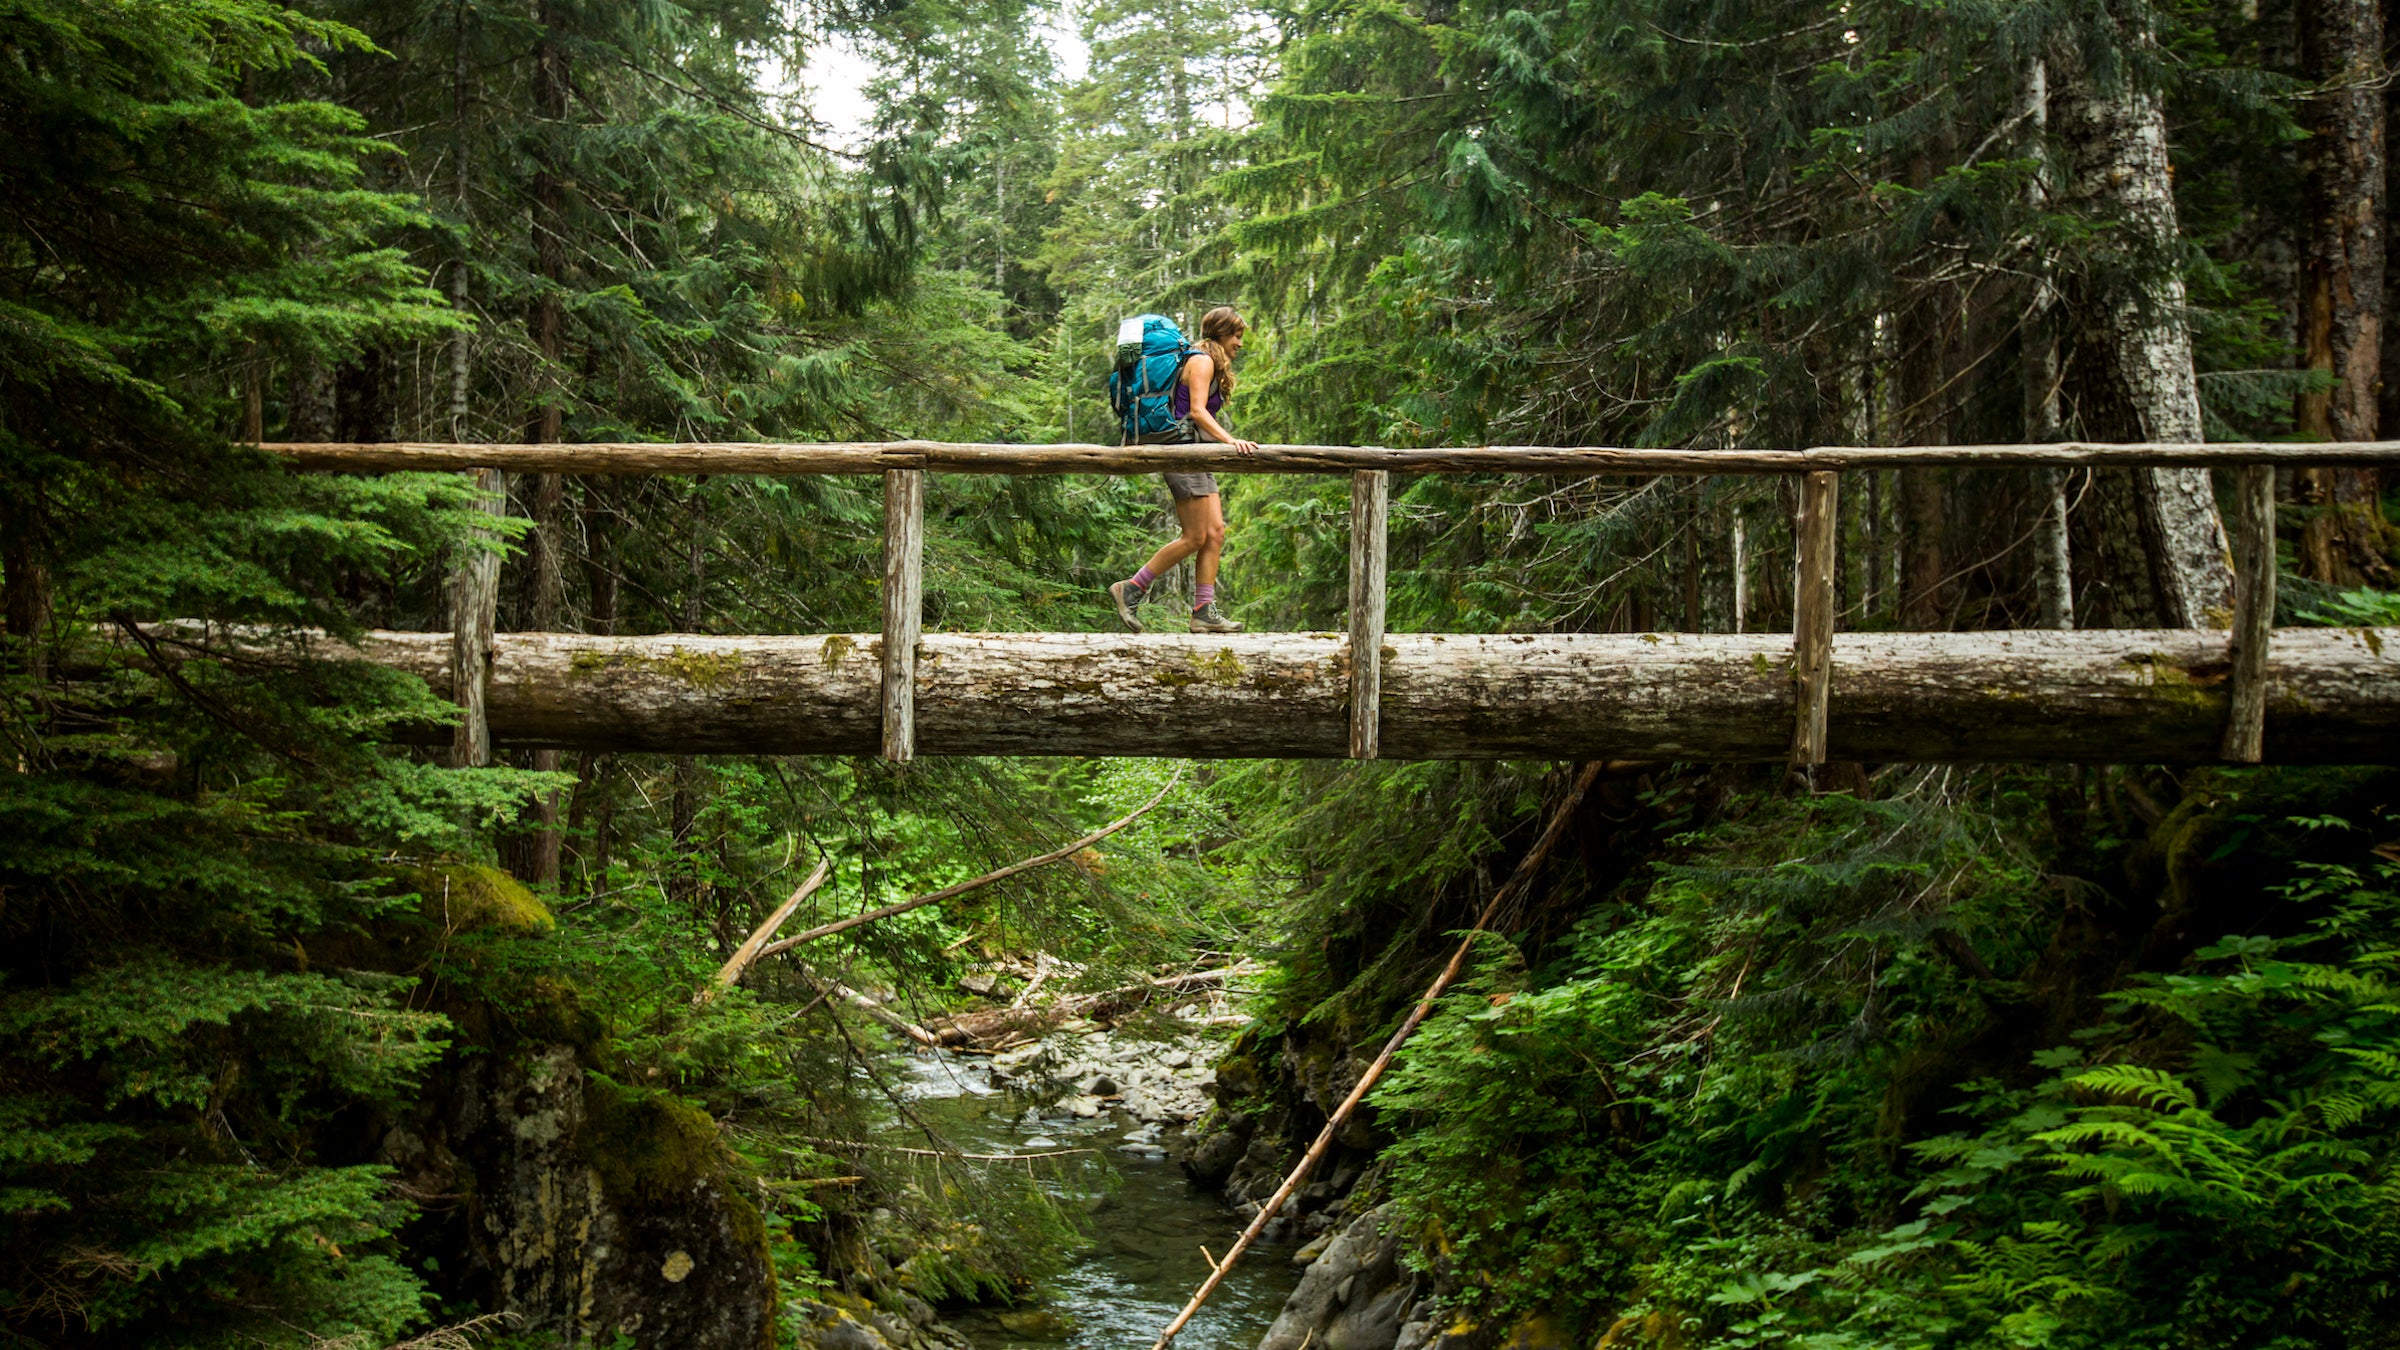
(Photo: Jordan Siemens/DigitalVision via Getty Images)
Backpacker wants to be your guide to the wilderness: Join Outside+ today and get access to all of our skills stories, gear reviews, hike reports, and much more.
Dayhiking is a marvelous way to experience nature; it’s approachable, a low time commitment, and easy to get into with little gear or experience. If you’re an avid dayhiker, you may be curious about taking the next step into overnight hikes. You should: Backpacking takes all the joys of dayhiking to the next level. You can go further, see more, and test your limits while connecting with yourself and your hiking partners off the grid.
Spending your first night in the backcountry can be intimidating. If you’re nervous, try car camping first—you’ll be able to practice using all of your gear, but can easily bail if you become uncomfortable. Then, level up to a short overnight, starting with just a couple of miles. Backpacking requires more planning than a dayhike, but fear not—here’s everything you need to know to make the leap.
Gear
A lot of your dayhiking gear will be useful for backpacking, too: your boots, navigation tools, hiking clothes, first aid kit, and more. You will need additional equipment for sleeping and feeding yourself in the backcountry. But you don’t have to shell out: First-timers should consider renting overnight gear such as a tent, backpack, and sleeping bag before making big purchases, or borrowing from a friend. For hikers who only backpack a few times a year, rented gear can be more economical than owning gear, and doesn’t require storage space. In addition to your regular hiking kit, here’s what you’ll need:
ADVERTISEMENT
Backpack
You’ll be carrying more gear than usual, so you need an appropriately sized pack. For one-night trips, look for a 40 to 60 liter pack, and make sure it’s sized for you. If you’re just starting out, prioritize comfort and support over weight. Sales associates at rental or retail stores can help fit a pack to your body. Ready to buy your own? Here’s how to choose the right one.
Tent
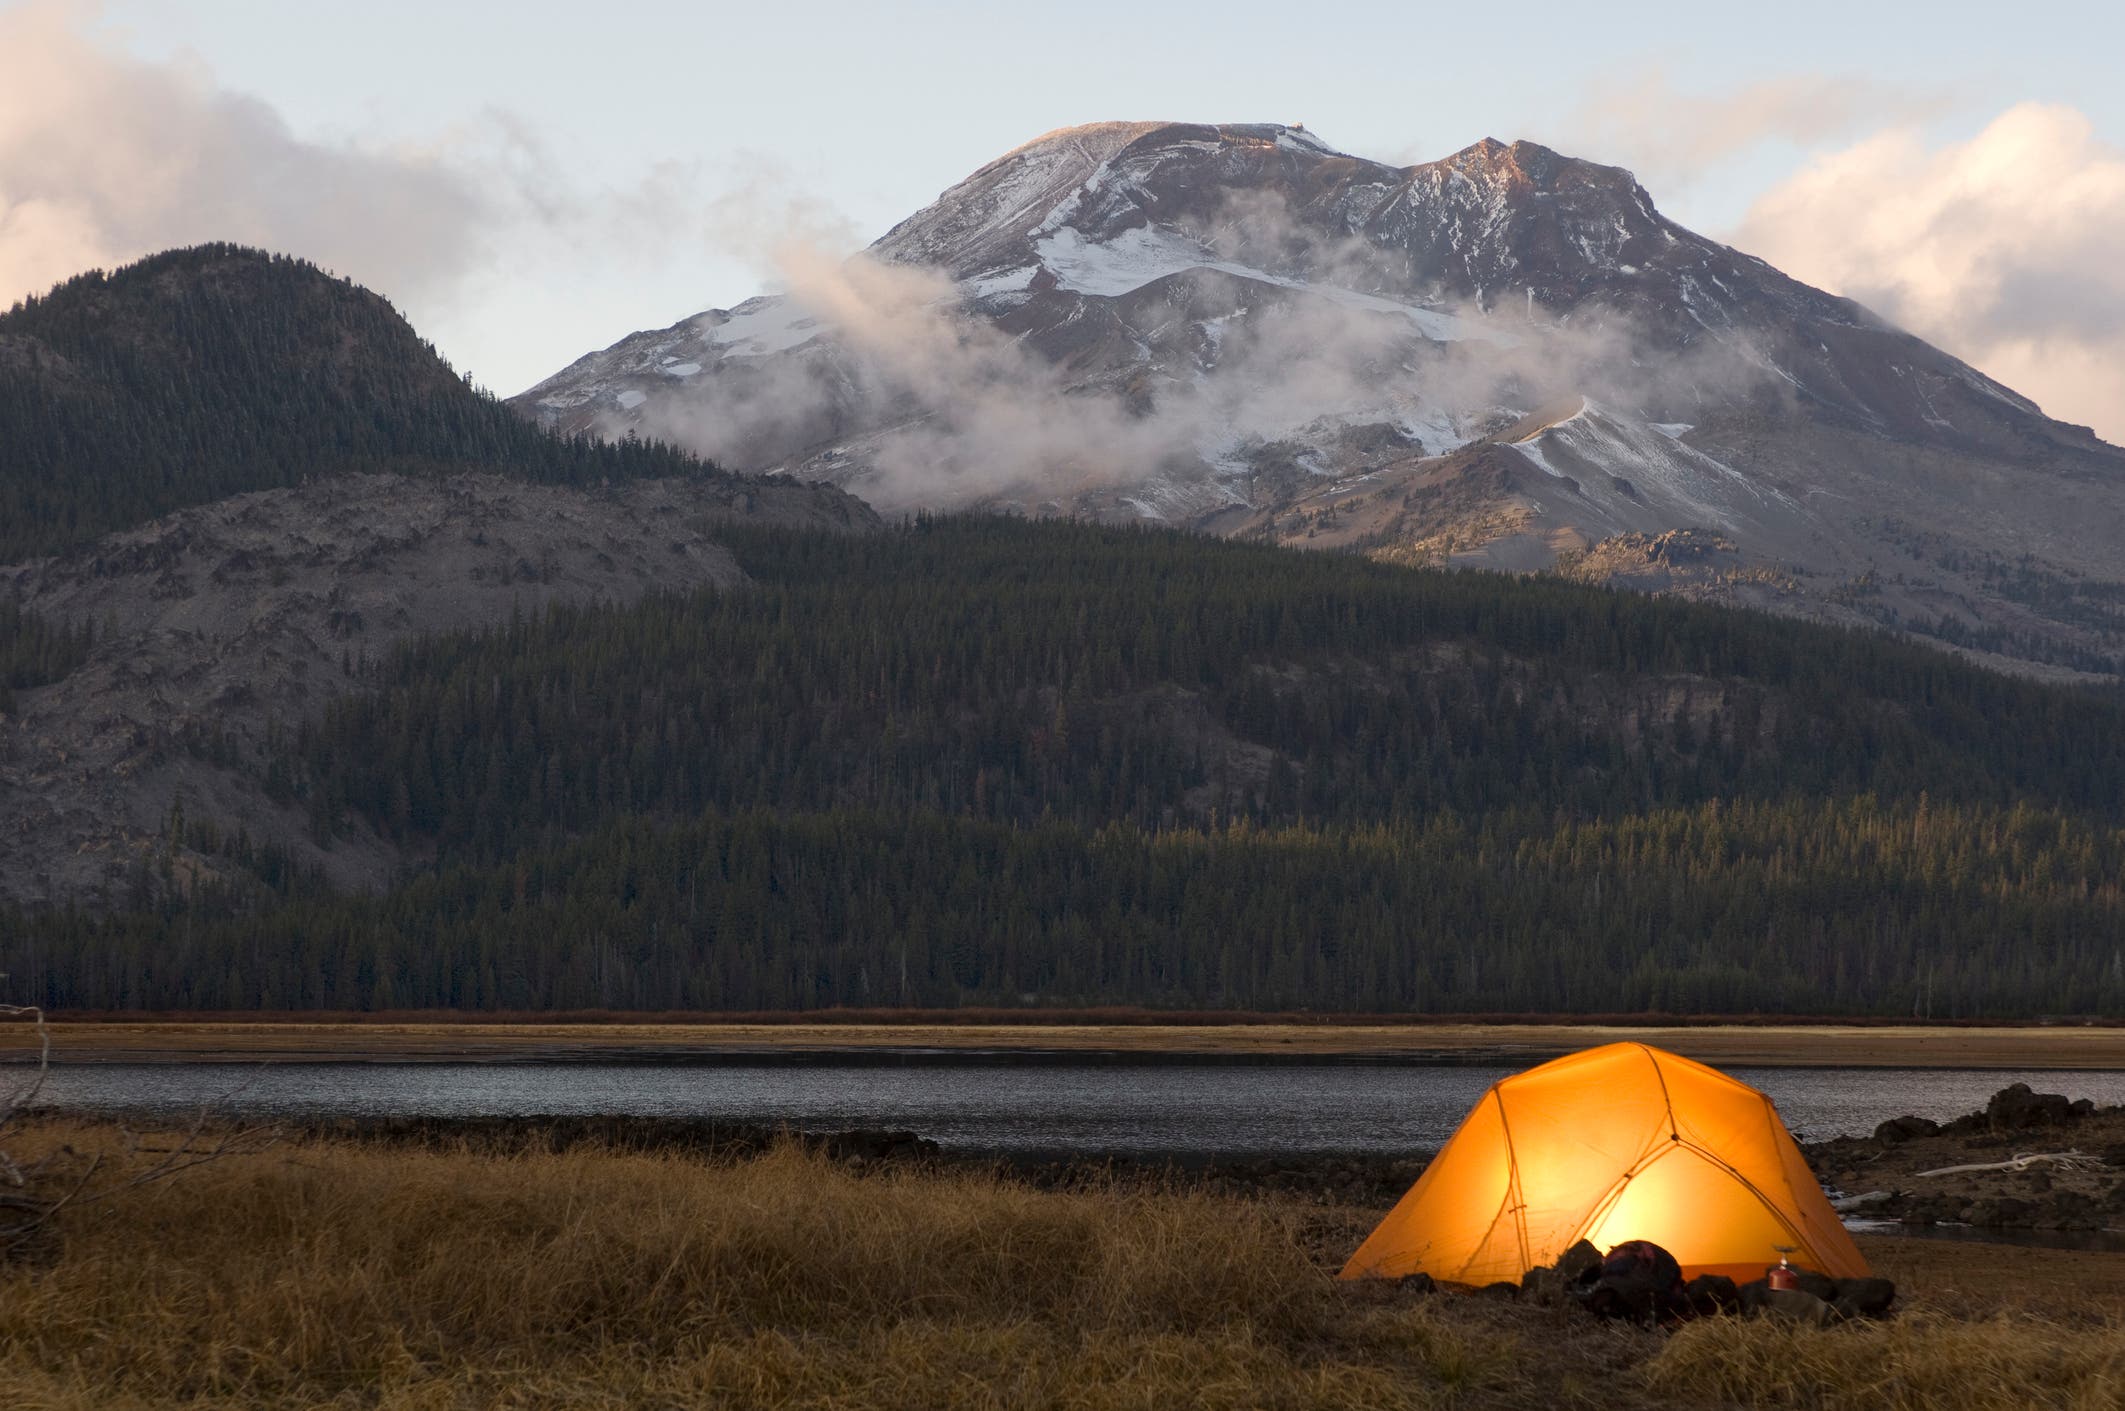
Your shelter is your home away from home when you’re on the trail. Keep in mind that tents made for car camping are often too heavy and bulky to carry on longer backpacking trips: you may be able to press your car camping gear into service for short overnights, but if you’re buying a tent, spend the extra money to get one that’s light enough to carry, preferably no more than 3 lbs. per person. Consider how many people will sleep inside the tent, and what kind of weather you might encounter. Purchasing your first tent can be overwhelming; we broke it down for you.
Sleep System
Your sleeping bag and pad are essential to your comfort and safety while backpacking. No matter what, you won’t have a good time if you don’t have a good night’s sleep. Just like tents, sleeping bags designed for frontcountry use (think the one you used to take to middle school sleepovers) aren’t always suitable for backcountry camping. You’ll need a bag whose temperature rating matches the kind of weather you’ll encounter. Take a 40° summer-weight bag for a 30° night, and you’ll be miserable. Unless you get claustrophobic easily, your best bet is probably a mummy bag—the narrow cut will help trap heat and keep you toasty all night long, and takes up less pack space. There are many other considerations when it comes to choosing a bag: synthetic fill versus down, packability, and more. Read more about choosing the right sleeping bag here.
Your sleeping pad is just as important for keeping you warm and comfortable, but is a lot more straightforward. Inflatable pads are comfortable and packable (look for an insulated model for three-season use); foam pads work great for budget-conscious beginners and those wishing to cut pack weight.
ADVERTISEMENT
Extra Clothes
In addition to the layers you normally take hiking, you’ll want extra clothing for around camp or in case of an emergency. Pack a set of baselayers to sleep in, extra socks, and warm layers for hanging around camp at night and in the cool morning. Unless you’re in a hot climate, hat and gloves are never a bad idea, even in summer. On a dayhike, you may be able to get away with mild discomfort, but on an overnight, it’s imperative to be prepared for any weather scenario you may encounter.
Stove and Food
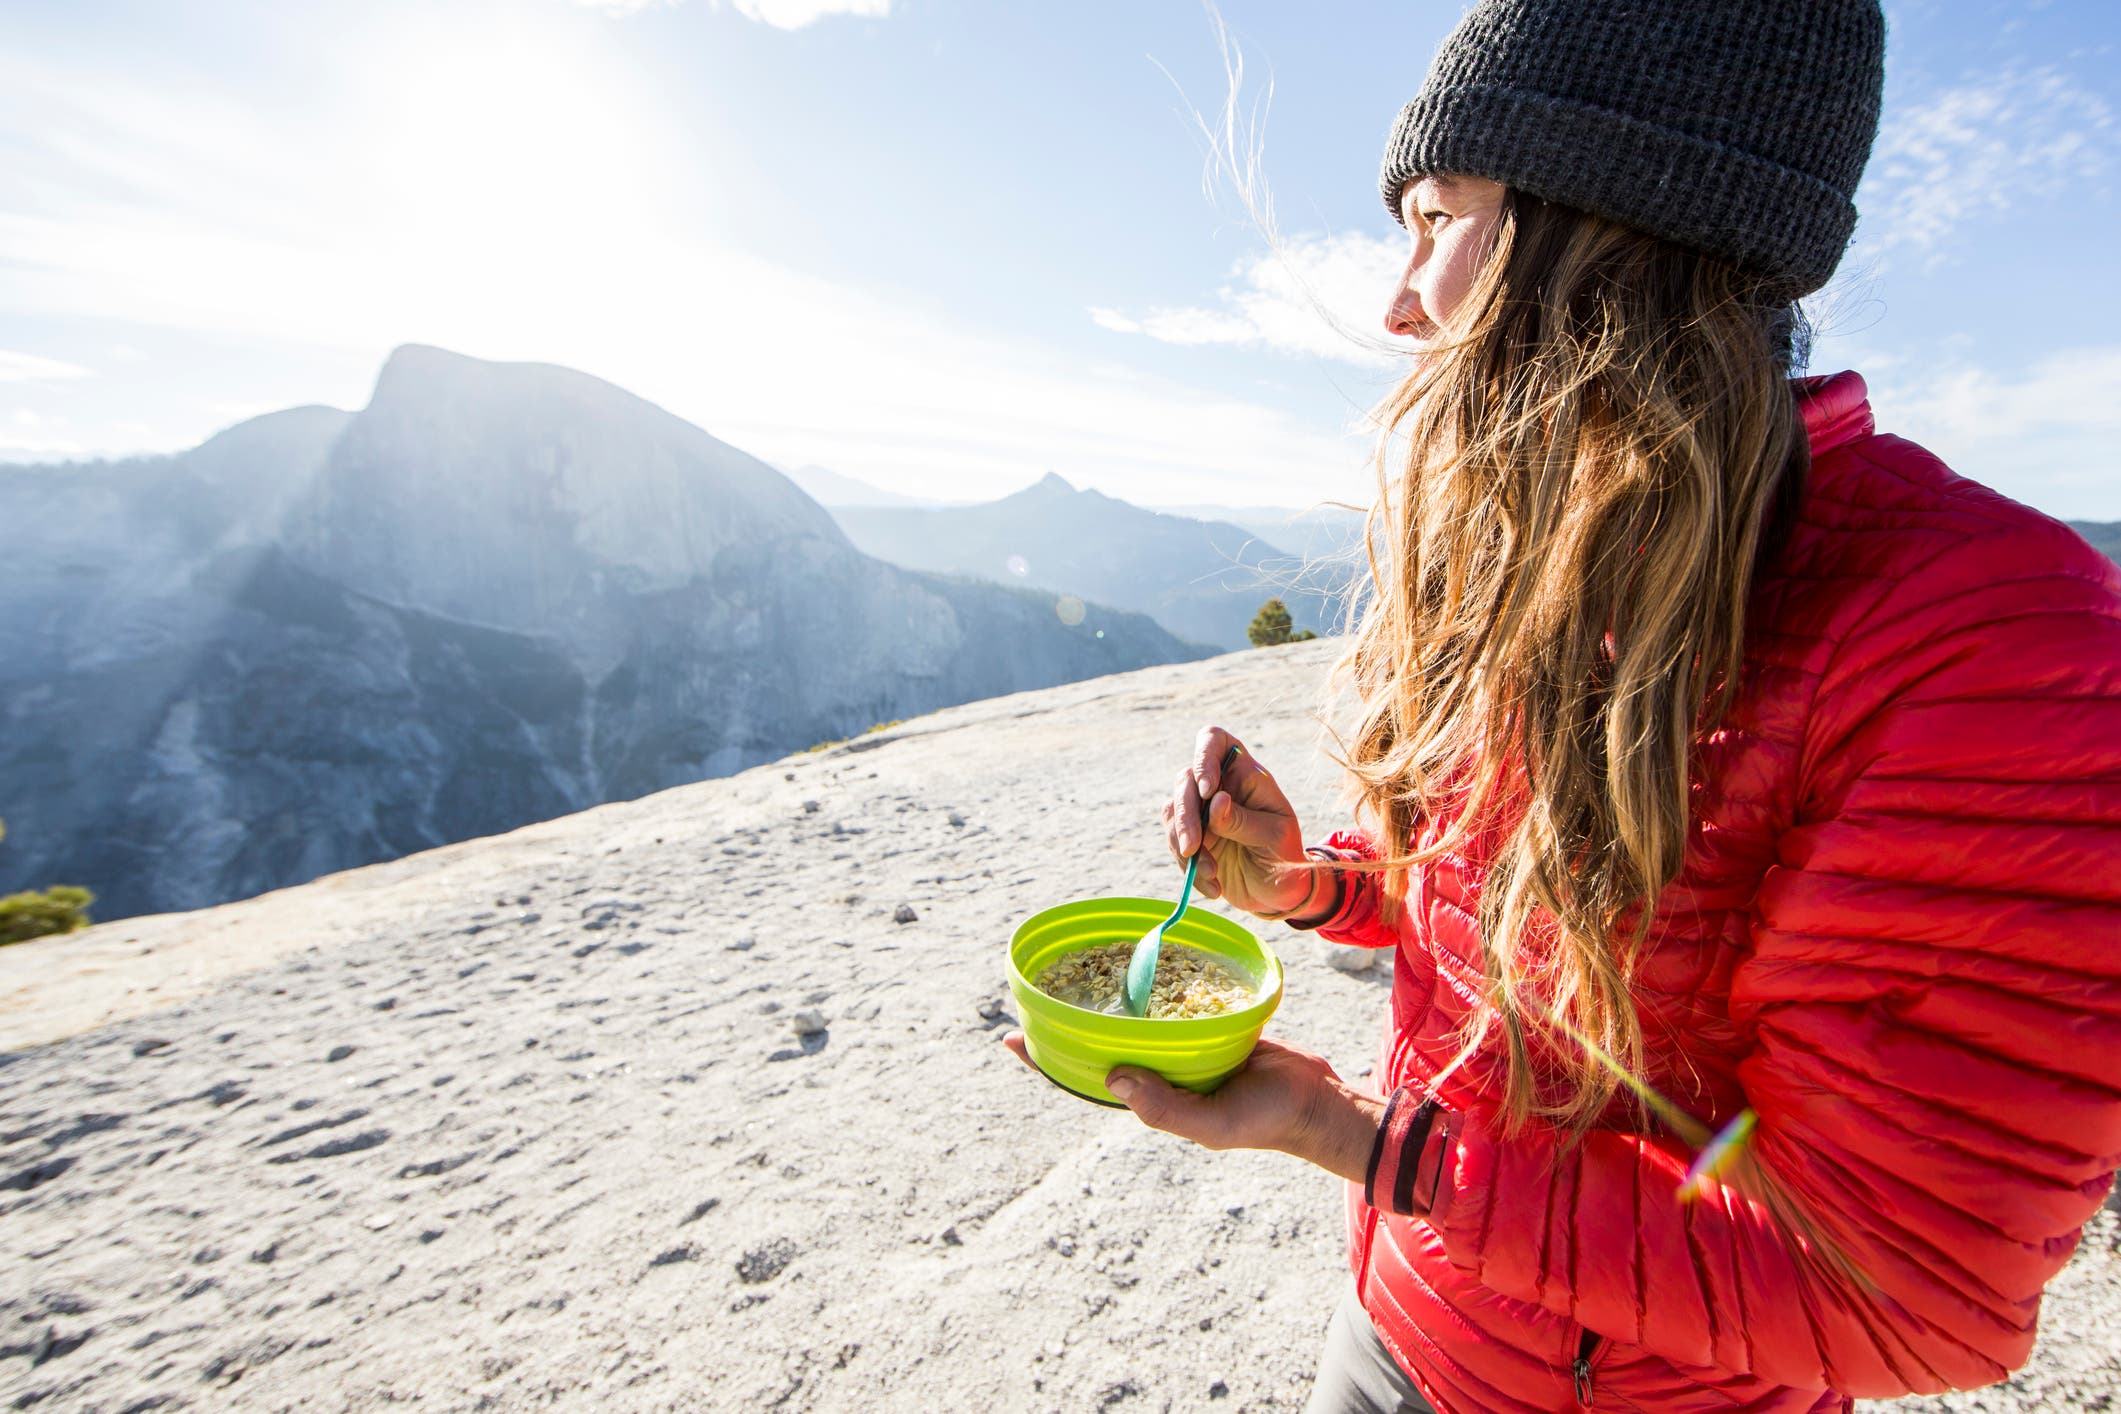
Nothing satisfies like a hot meal at the end of a long day of hiking. You have a couple options here: Freeze-dried backpacking meals are lightweight and only require boiling water to prepare. Alternatively, try cheffing it up. For cooking, a canister stove is your best, cheapest bet: You can grab a decent, direct-from-manufacturer model for less than $30 on Amazon. Practice operating your stove at home before bringing it into the backcountry, and make sure you have plenty of fuel.
The number of calories you need to consume each day of your trip depends on a number of factors: pack weight, bodyweight, altitude, how strenuous the hiking is, temperature and more. For a hard day of hiking, use this as a general rule of thumb: 25 to 30 calories per pound of bodyweight. It’s also never a bad idea to pack extra food for an overnight trip. Don’t forget the spork!
ADVERTISEMENT
Water Treatment
If you’re experienced with long dayhikes in hot weather, you may already have your water filtration system dialed. Instead of chemical treatments or UV light, most beginner backpackers will be best off with a lightweight filter like a Sawyer Squeeze or Katadyn BeFree. Any of these can take care of bacteria and other common backcountry contaminants; purifiers, which also filter out viruses and heavy metals, will be overkill for most hikers in North America. Need to learn more? Read up on what type of water purification is right for you.
Additional Gear
A headlamp, trowel and TP or WAG bags, bear canister or bear bag, toiletries, and a repair kit should also be in your overnight kit. Make sure you always carry the ten essentials on a backpacking trip. Some additional items might help you enjoy your time in the backcountry. Consider packing a camping pillow, book or journal, deck of cards, camp chair, and comfy shoes to wear around camp.
Packing
Now that you’ve assembled all of your gear, it’s time to get it all on your back. Packing your backpack might seem straightforward, but a proper pack job can make the difference between a comfortable hike and a sore back, misplaced gear, and a general bad time. When packing your backpack, think about keeping your essential gear, like your sleeping bag, dry; filling dead space; prioritizing balance and access to items you’ll need while hiking; and weight distribution. Read our comprehensive guide to packing your bag here.
ADVERTISEMENT
Trip Planning

For your first overnight, choose an easy route with low mileage and manageable elevation gain. Remember, you’ll hike slower with a full pack than you might on a regular dayhike. Apps like Gaia GPS are useful for finding route suggestions, trail info, and maps. Scope out camping spots ahead of time by talking to friends or rangers, reading online, or making a campsite reservation. Check before setting out that camping is permitted in the area you’re going to, and secure any necessary permits through the appropriate land management office.
Always leave a copy of your itinerary with a friend or family member at home, along with your expected return time. Let that person know when they should call for help if you haven’t come home.
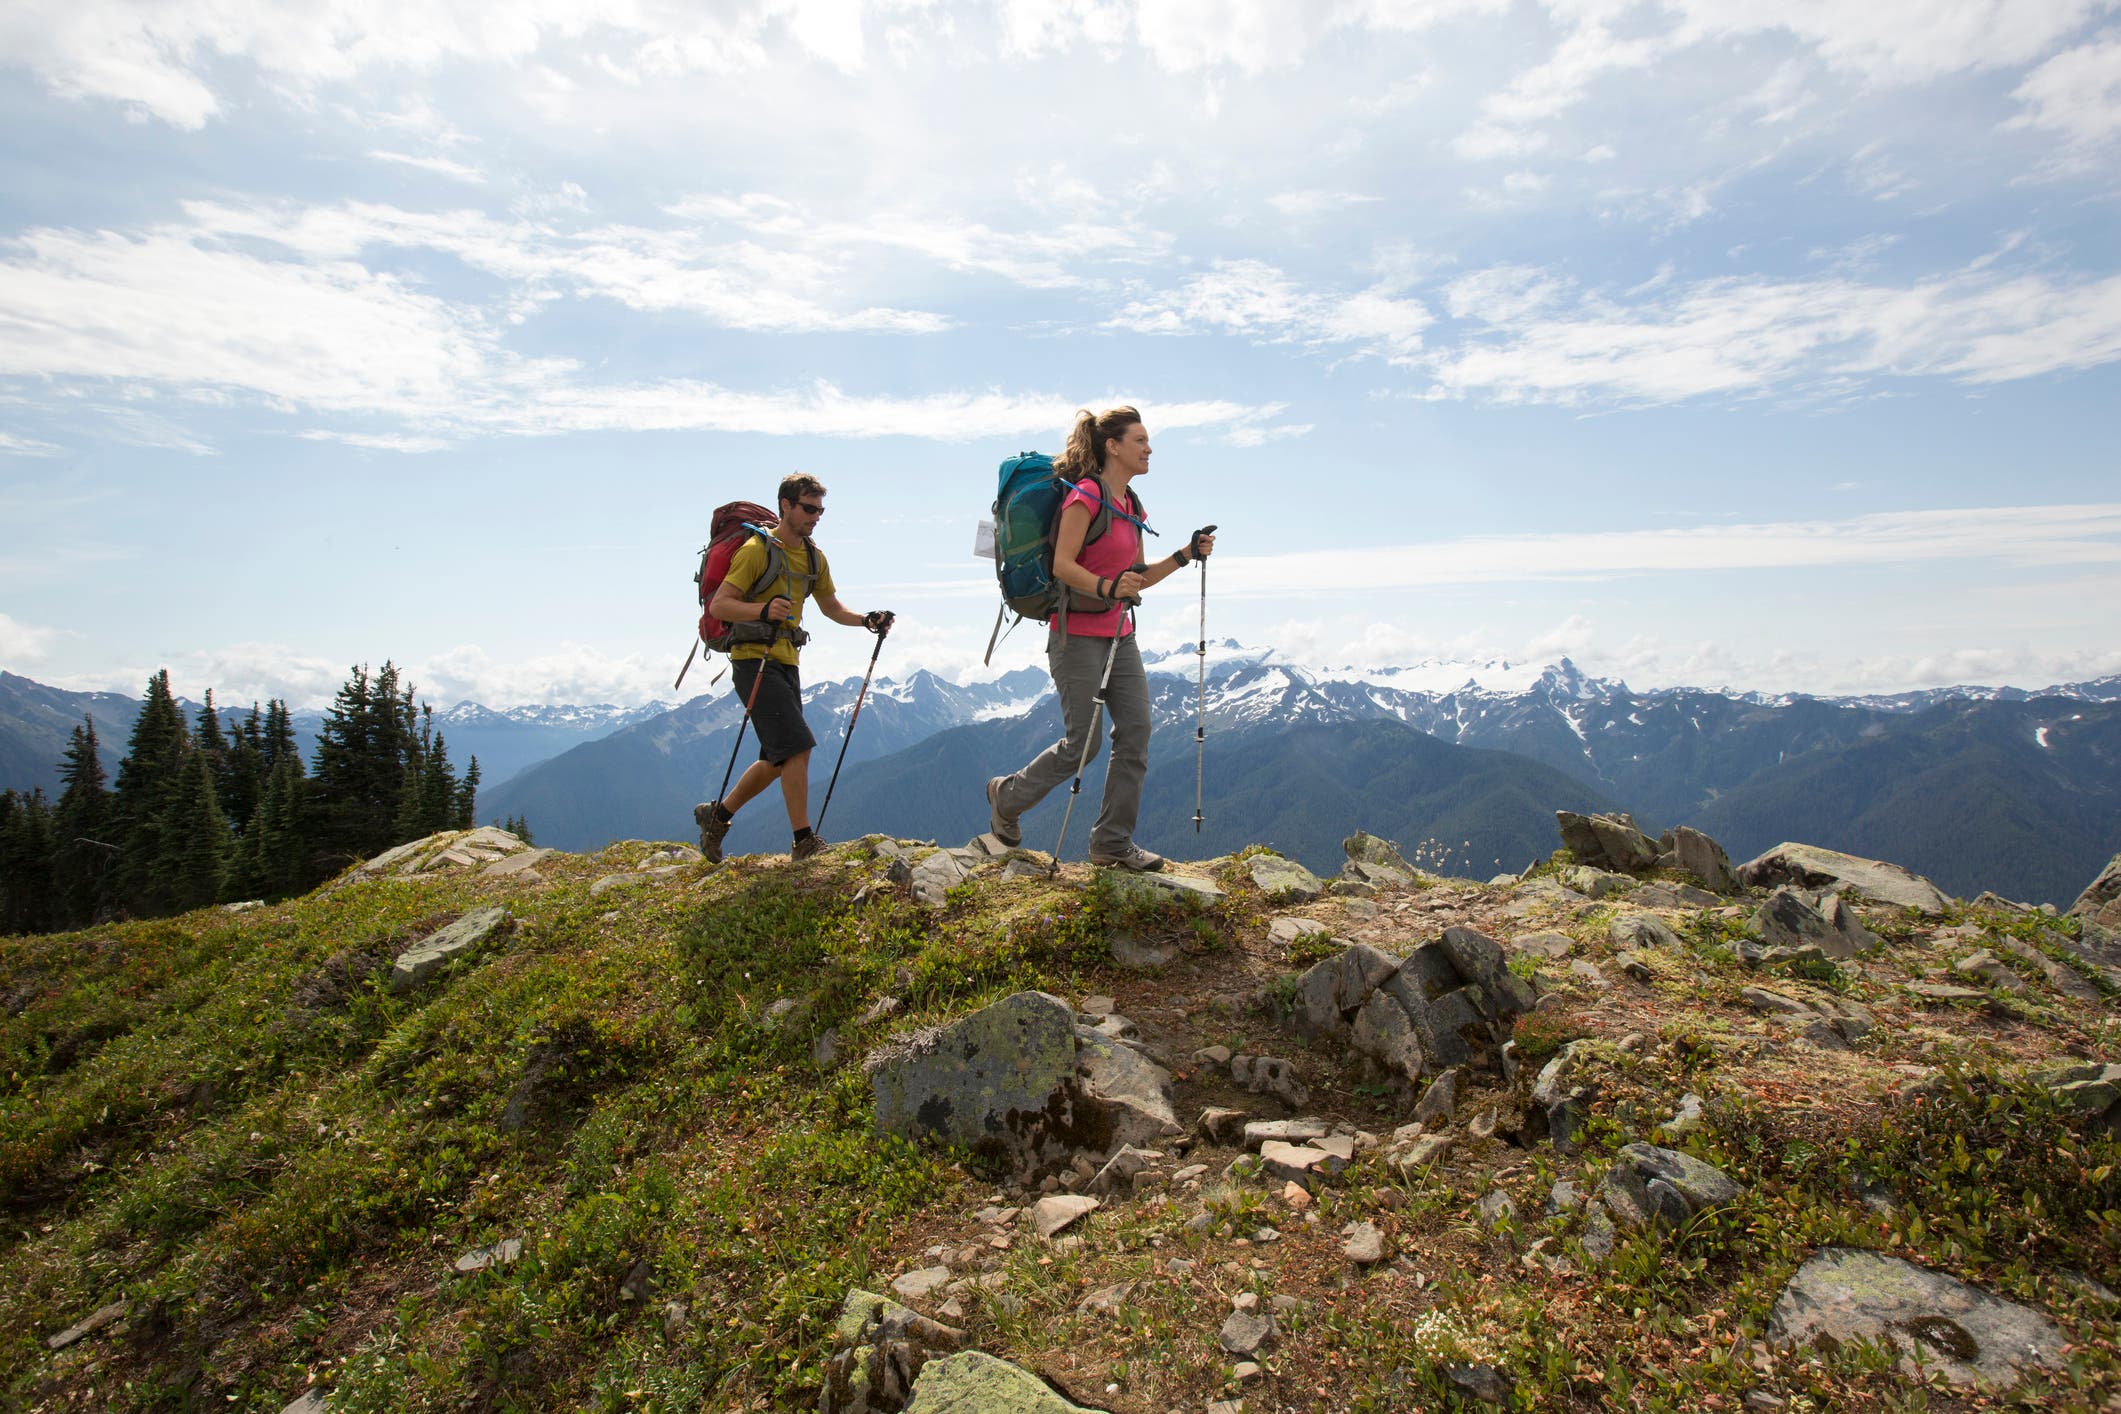
On The Trail
Pace Yourself
When you’re carrying your entire home, wardrobe, and pantry on your back, you’re going to get tired. Take lots of breaks, and remember to refuel with plenty of water and snacks (200 calories per hour is a good baseline).
ADVERTISEMENT
Navigation
You may have been able to get away with minimal navigation on well-marked, shorter dayhikes, but staying on route is all the more important the further you hike. Keep in mind that as you progress deeper in to the backcountry, it will take longer for help to reach you in case of an emergency. Brush up on your map and compass and GPS skills before setting out, and carry a map of the area where you’ll be hiking. For your first overnight, it’s a good idea to choose a well-established trail where other hikers may be present.
Finding Water
You’ll need about a gallon of water per person per day, more in extremely hot weather. It’s unrealistic to assume you’ll carry all of the water you need for an overnight or multiday trip. Most backpackers carry one to three liters and refill throughout the day. For beginners, picking a trail that goes alongside a river or encounters lakes makes refilling water a cinch. In areas where water is more scarce, scope out sources on a map beforehand, and check in with local rangers or guiding services to ensure they’re currently available (some water sources are seasonal). It’s a good idea to choose a campsite with easy access to water.
Campsite Selection
As noted before, scoping out campsites ahead of time helps make for a stress-free experience your first time on the trail. If you’re looking out for campsites as you hike, keep the following in mind: An ideal campsite is sheltered from the wind and elements. Look for a stand of trees or a flat spot in the lee of a hill or some boulders. Easy access to water is useful, but make sure to pitch your tent at least 200 feet from the shore. Good campsites are well off the trail, both for your own privacy and for the experience of other hikers. Look for a flat spot where water won’t pool in case of a rainstorm. Before pitching your tent, always look up for dead branches that could crash down on your shelter during the night.
It’s always best to camp in impacted campsites—that is, where someone else has camped before. Look out for packed dirt, areas where the vegetation is visibly cleared, and established fire rings. Only camp where permitted, and avoid trampling plants (see Leave No Trace, below).
ADVERTISEMENT
Backcountry Bathroom
If you’re spending a night or two outdoors, you’re gonna have to go at some point. With a little practice, pooping in the woods can be quite pleasant. Read up on the area you’re visiting—some wilderness zones require you to pack out all waste in WAG bags, while others allow you to bury it in a cathole. If you’re using toilet paper, you’ll either need to bury it or carry it out, depending on how dry the climate is; alternatively, leave it at home and use leaves (check to make sure they’re not poison ivy), smooth sticks, rocks, or snowballs instead.
Always go to the bathroom at least 200 feet from water sources and away from the trail. Many backpackers carry a pee cloth to stay clean on the trail.
Food Storage
When it’s time to rest your head, you’ll want to protect your food from hungry critters who might sniff out your extra trail mix. Some areas, like Yellowstone National Park, require you to store food overnight in bear canisters. In others, where trees are abundant, you can hang your food. It’s a good idea to practice this skill ahead of time and determine which food storage method is best for you and your destination.
ADVERTISEMENT
Leave No Trace
When traveling in the backcountry, it’s important to minimize impact on the land. Read up on the 7 principles of Leave No Trace and make a plan for packing out trash, reducing your footprint, and being a good steward of the trail.
Remember that a lot of learning will occur on the trail. The more you get out, the more comfortable you’ll become with your overnight gear and systems, your individual backpacking style, and enjoying life in the backcountry. You’re likely to make some mistakes on your first overnight; consider your own safety, always have a bailout plan, and remember that it only gets more fun with practice. There’s nothing more satisfying than becoming self-sufficient in the outdoors for extended periods of time.
Want to learn more about getting into backpacking? Sign up for our Backpacking 101 online course, where you’ll learn everything from navigation to backcountry cooking.