Published January 27, 2010 12:56PM
Beginner's Guide to Winter Camping, Part III: Planning Your First Winter Campout
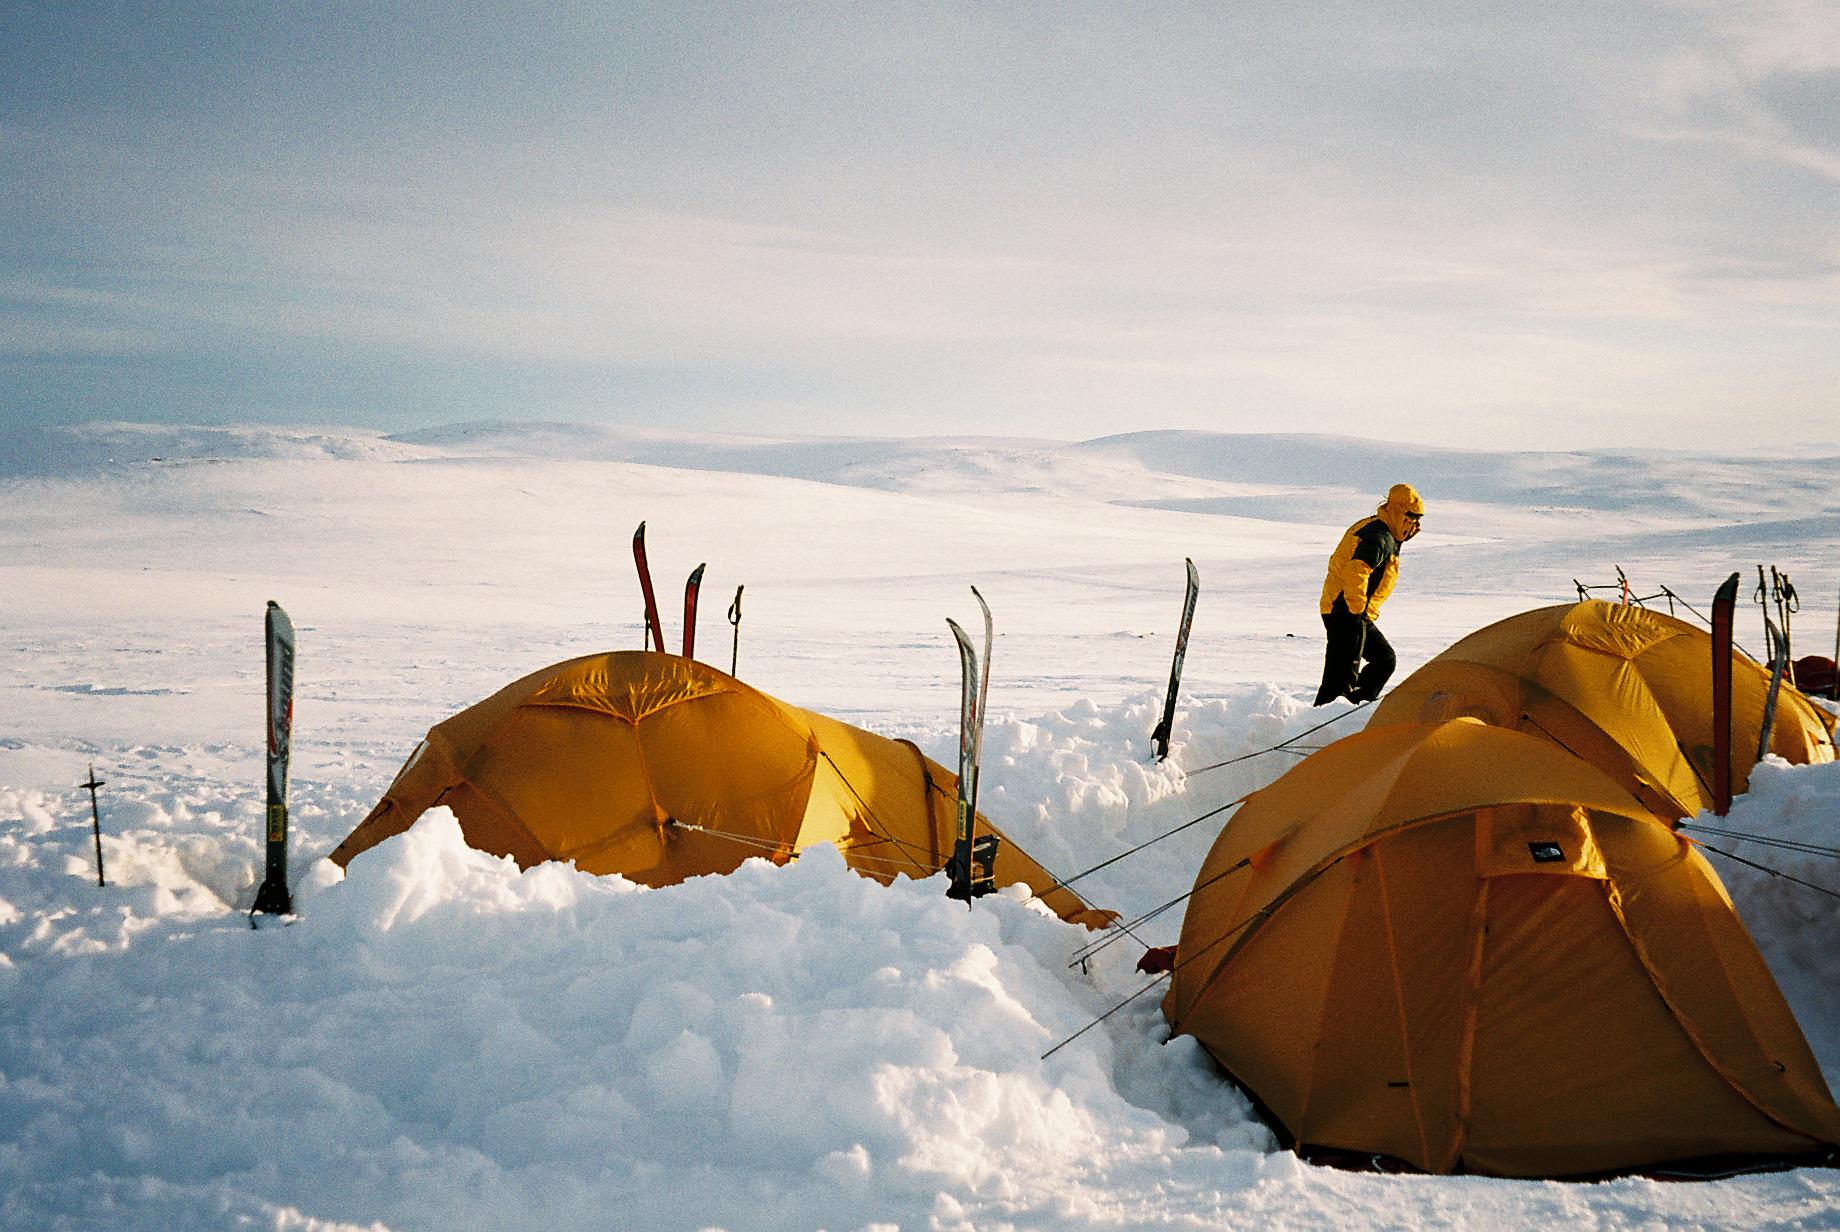
Plan right and you're bound for the best winter camping experience possible.
'Kitty Terwoelbeck'
Smart backpacking always involves planning, and in winter this becomes doubly important simply because cold temperatures are less forgiving of mistakes than most summer environments (outside of Death Valley, anyway). In fact, winter is an excellent time to get into the habit of good trip planning, and organize your information resources so you can carry those safe habits into summer. So, class, in preparing for your first winter camping trip, here are your assignments. Suggestions in the comments section below get extra credit:
Pick your area: Choose a destination you’re familiar with, or at least one where trailhead access is simple and routefinding is straightforward. Stay close in to trailhead, you don’t need to go any farther than required for solitude, quiet, and land management regulations. If you need exercise, you can always explore around camp. If you really want a longer trip that gives you a goal and keeps you busy, plan for no more than half the mileage you would normally make in summer conditions. Stick to out-and-back trips you can easily retreat from. Avoid committing yourself to a one-way traverse you might not pull off.
Avoid hazardous access routes: Swamps and stream crossings can become dangerous in winter. Stay off frozen lakes lest you fall through the ice – a common and deadly winter rescue scenario. If you’re heading into a snowy area, avoid trails or routes that involve steep slopes which could avalanche (more on that below), and trail ‘dugways’ that are cut deeply into side hills, since these often drift in with snow and become difficult traverses. In short, look for a route that would be an easy stroll in summer.
Plan your campsite: Shoot for a spot near a stream where you can access liquid water so you don’t have to constantly melt snow, burning tons of fuel to get over water’s ‘heat of fusion’ – the 80 calories per gram required to turn frozen water into liquid at the 0 centigrade/32 Fahrenheit mark. Snow melting is an important part of winter camping, and you may get to learn that anyway if you can’t safely access your planned stream, but try for liquid water on your first outing. You also want a spot with available firewood. Even if you don’t plan to build a campfire, you should have it as a safety back-up on your first overnight forays. Plan for a site with open sky to the east. That way, the sun will hit your camp early in the morning, when warming rays are most welcome.
Pick your weather: Watch the weather reports and choose a time when storms aren’t approaching, temperatures will be reasonable, and high winds aren’t forecast. Basic TV weather reports are always a good place to start, but be aware that these forecasts are tailored to urban conditions. Nearby wildlands can see significantly different meteorology. Some of the best weather information resources are: Weather Underground, for general forecasts broken down hourly. NOAA National Weather Service forecast site, for more detailed estimates of predicted snowfall. (Note how the forecasts are often different between the WU and NWS.) The National Weather Service Doppler Radar Site is very useful to gauge approaching storm and wind patterns (activate the “base reflectivity” animation loop to see cloud movement). Choose your locale based on the nearest town or zip code.
Research the on-site conditions: Find out about destination details like snow depth and seasonal road closings. Creativity and persistence pay off here, because getting an accurate assessment of distant locations is often difficult. Call or Google up the relevant land managers (Forest Service, Bureau of Land Management, National, or State Parks) to get current conditions reports and detailed local weather forecasts. The availability and quality of this information varies widely from place to place. Many National Park websites have excellent conditions information, right down to live weather cams, while others go dormant in off-season. Outfitter stores, restaurants, gas stations and nearby ski areas can all be good sources for current conditions.
It pays to keep digging. For example, on remote Boulder Mountain near my Utah home, there’s now a real-time weather cam I can look at to see snow depth atop the mountain, 2,000 feet above me and 25 miles away. But it took a lot of phone calls to find out how to access that information. When I first saw the tower this autumn- replete with solar panel and satellite uplink- I assumed it was a National Weather Service station, but I couldn’t find it listed anywhere. I called several Forest Service district offices and they had no idea what it was either, but eventually one ranger, curious on his own, discovered it was a Utah Department of Transportation “Commuter Link” traffic camera, which is amusing because I doubt that 20 people a day commute over that summit. The tower has a wind speed anemometer too, but I still haven’t found out how to get that data, just the imagery. This is typical of the hassle factor in sourcing accurate conditions reports for remote areas, but the advance effort can save you a lot of unpleasant surprises.
ADVERTISEMENT
The avalanche thing: If you’re heading into mountainous regions or steep terrain that’s deeply covered in snow, you should have a basic understanding of what avalanches are and how they happen. Avalanche.org is a superb online portal for basic avalanche information, and hazard forecasts in those few parts of North America where forecasts are actually available. For a basic primer book, you can’t beat Snow Sense; A Guide to Evaluating Snow Avalanche Hazard, by Jill Fredston and Doug Fessler. However, for purposes of simple winter camping, you can avoid avalanches entirely by staying off, and out from underneath, slopes (even small slopes ) of 25 degrees and steeper. Where snowpacks are thin, forests are thick, or terrain is gentle, avalanches are not an issue. For your first winter camp-outs, stick to such places.
Do a trip plan: Buy or print the maps you need. Plot out your route. Estimate the time it will take to reach your camp. Know what time the sun rises and sets, and when actual darkness falls. Find out the emergency phone numbers in your destination area. Make a copy of your itinerary, the emergency numbers, and your route map, and leave it with a trusted friend or relative who can contact authorities should you not return on time. You should always do this when hiking or backpacking, especially if you’re solo. Winter is a perfect time to develop and practice the habit.
Plan a Menu: Food is a personal subject, and most people have strong opinions about favored dishes or proper nutrition, so we’ll restrict this to basic guidelines. As I mentioned in the last installment, if you’ll be melting snow for all your water needs, you’ll want a large pot to handle the snow volume, and at least three times the amount of fuel you’d use in summer. A second pot for cooking keeps your water cleaner by avoiding macaroni floaters and burnt tastes in your drinks. Keep both food and cooking preparations simple, emphasizing one-pot meals and lots of hot drinks to help keep you hydrated and warm. I prefer breakfasts like oatmeal, hot drinks, and perhaps bagels with cream cheese (you can warm small Kraft packets against your body). For lunch, snacks, and lots of them, are best. I prefer things you can eat with gloves on, like energy bars and gorp poured out of the bag. Nuts provide enough fat to keep you warm towards evening, without piling on the butter. For dinner, one-pot goulashes work well, but be careful not to burn the dinner, or you’ll be chiseling rock hard cheese off your pot until long after dark. Avoid fresh fruit unless you can keep it from freezing. Foods that solidify in cold, like honey and peanut butter, become difficult to deal with.
Contrary to the advice of many winter camping manuals, you don’t need to stuff yourself constantly to survive, unless you’re laboring hard through deep snow on long approaches, but keep a snack handy at night, so you can refuel your metabolism should you wake up cold in the wee hours.
ADVERTISEMENT
Pee Bottles: I never used a pee bottle until I climbed Denali in Alaska. Now, I wouldn’t dream of winter camping without one, because getting up to pee at night is one thing; getting out of a warm sleeping bag to posthole through a subzero snow storm and pee is something else entirely. Men can avoid the problem by using a pee bottle. In most cases this can simply be a liter-ish sized plastic soda bottle with a secure cap, or an old bisphenol Nalgene you don’t want to drink out of anymore (wide mouth is better, trust me on this). You want the bottle large enough so you won’t overfill it on a well-hydrated night, and obviously, the cap should be bomber strong. When using a pee bottle inside your tent or sleeping bag, accuracy and a systematic approach are key. Keep the full bottle in your sleeping bag, or underneath clothing in the tent, so it won’t freeze before you get a chance to empty it in the morning. Women have it somewhat rougher, but with a little (OK, a lot) of skill with female urination devices, you can manage as well.
Assemble and check your clothing, gear and food: Try it all on to make sure layers mesh, everything fits, and it all fits in or on your pack. If your tent is new, pitch it in the yard to become familiar with the set-up. Rig the guylines and figure out how to stake it down in snow or hard-frozen ground. In deep snow conditions, short wooden dowels, or small stuff bags, work well as ‘deadman’ anchors. Don’t forget to pack sunglasses and sunscreen; Sunburn and snowblindness don’t result from heat, they result from ultraviolet light, which is reflected very efficiently by snow (and water, and concrete). Throw in some fun stuff too. Star charts, nature guides, binoculars, books or games can all add to your winter camping experience.