Updated July 7, 2025 05:59PM
Roll Out for Faster Recovery
Recover better with these tips to use a foam roller and give your muscles some TLC.
(Photo: adamkaz / Getty Images)
A foam roller is a remarkable tool for preventing injury and expediting your recovery time after a hard workout or strenuous hike. Use these tips from guide and mountain performance coach Jason Antin to make the most of your roller treat your muscles right.
Include foam rolling as part of your regular cooldown after a workout. Go through the following muscle groups in order, spending more time on especially sore spots.
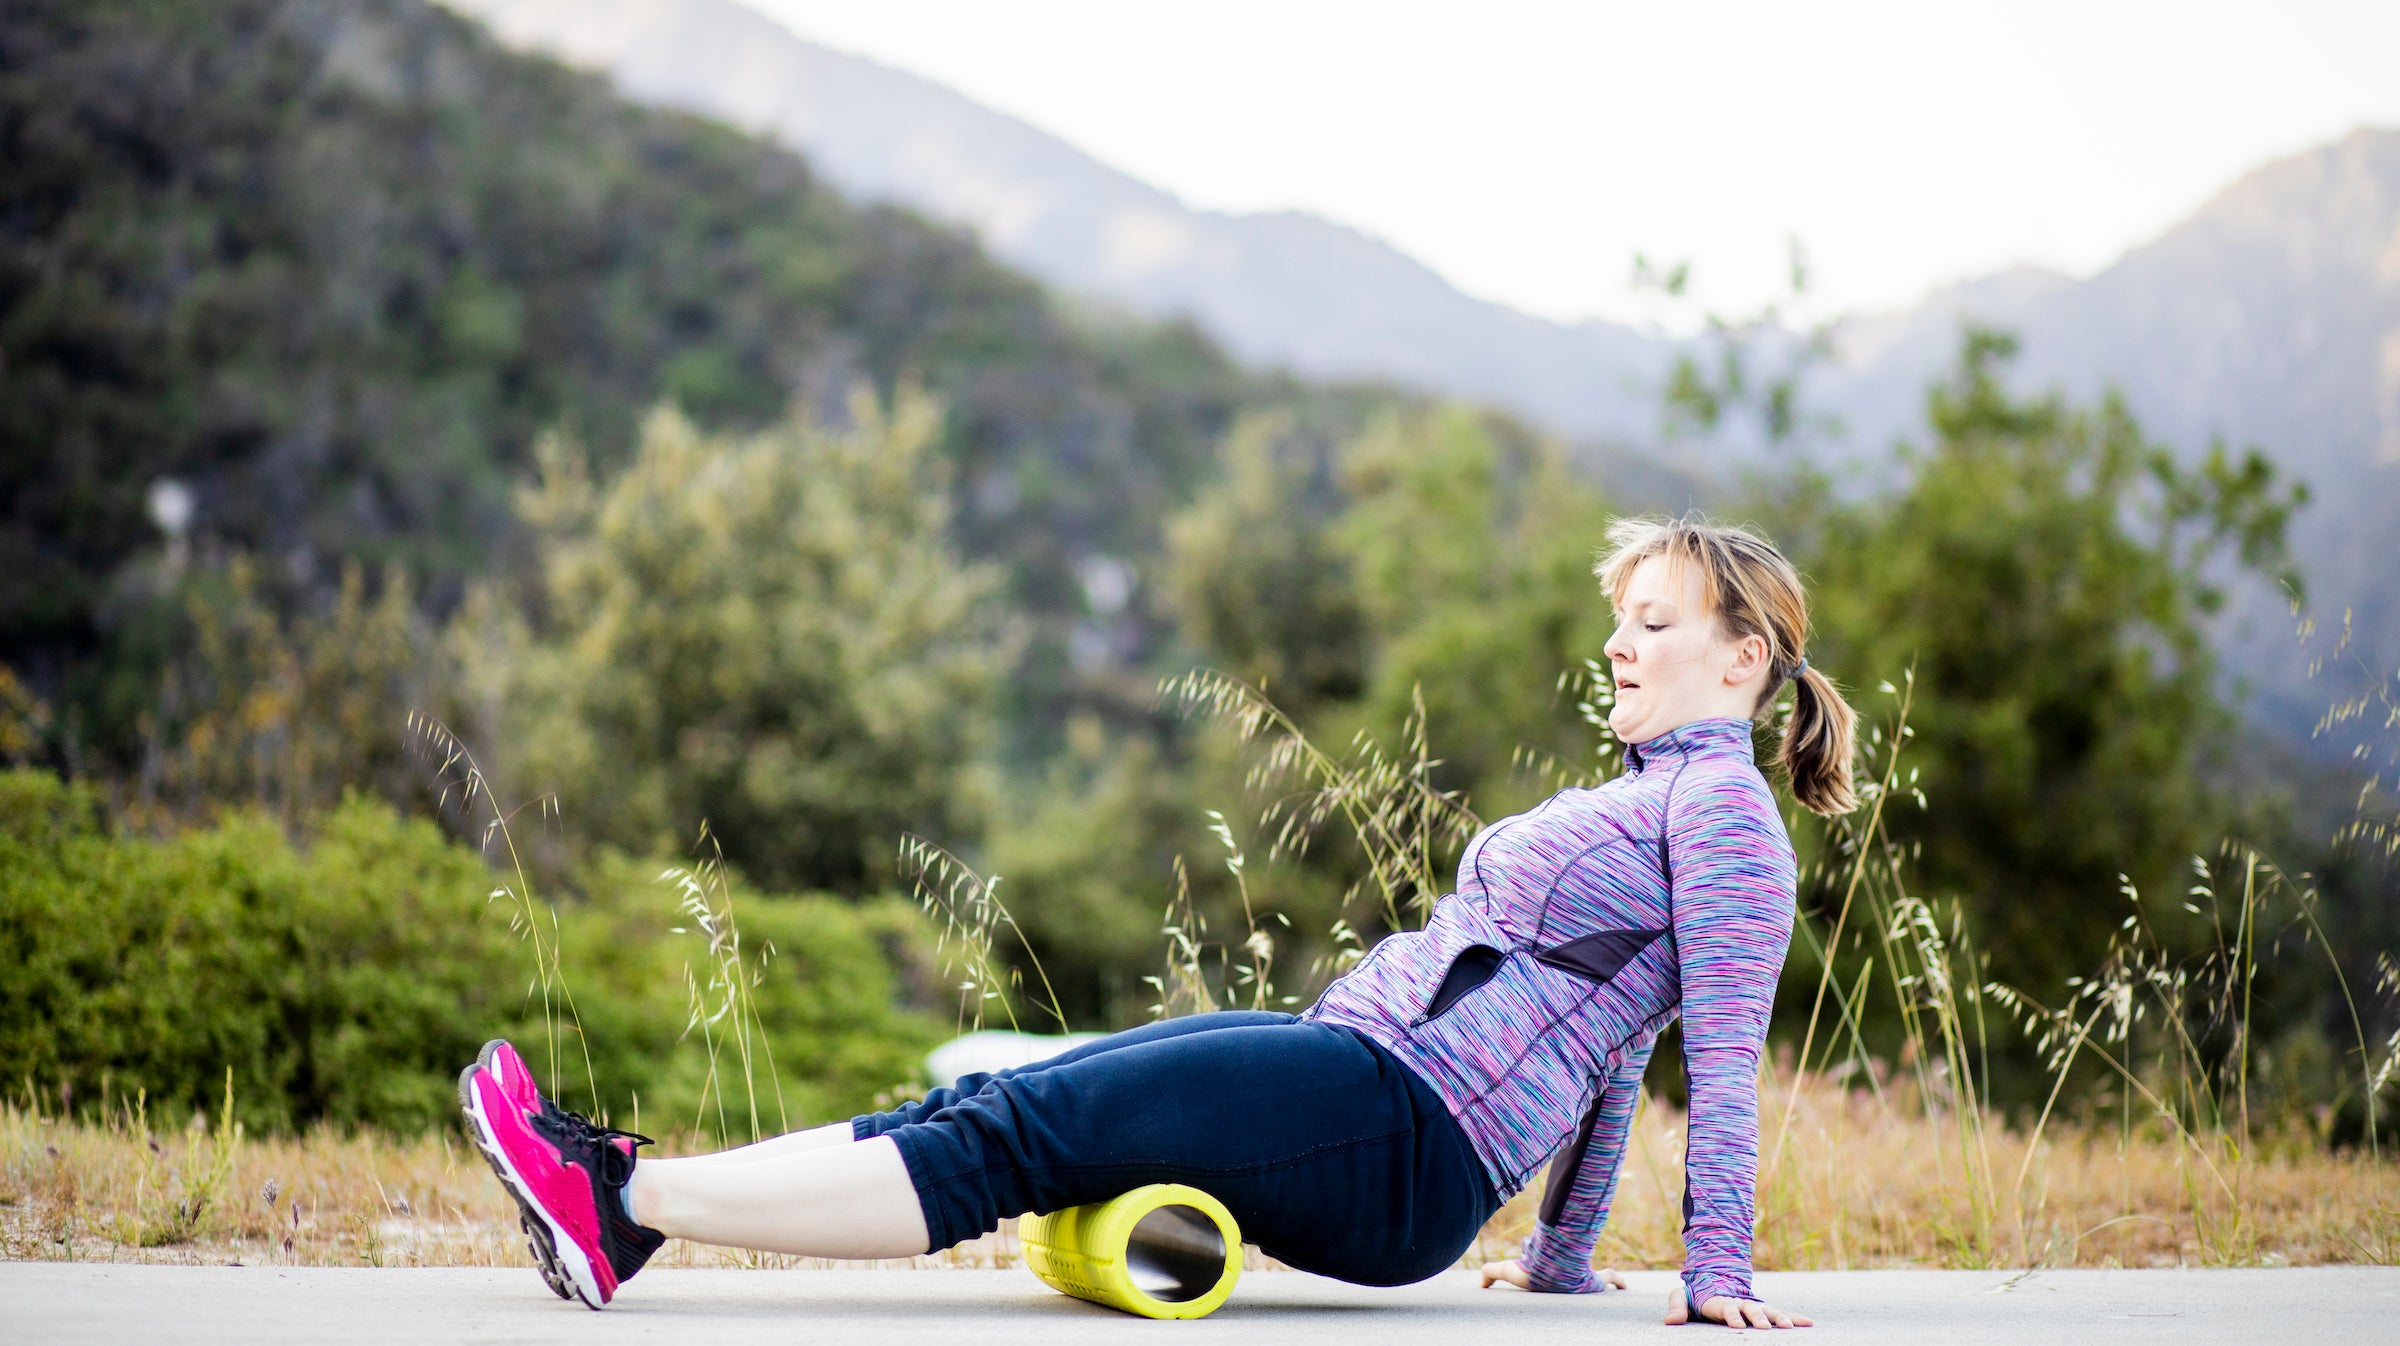
Glutes
- Sit on top of your foam roller with your knees bent and your feet planted in front of you.
- Push with your feet to roll back and forth over your glute muscles until you find a sore spot.
- Hold that position for 5 to 10 seconds, allowing the foam roller to work out the soreness in that spot.
- Continue to roll back and forth, pausing at each sore or tender area, for about a minute.
Hamstrings
- From the position described above, lower your butt to the ground so the roller lies perpendicular underneath your legs.
- With your hands planted on the ground beside your hips, straighten your legs in front of you and use your arms to elevate your lower body, resting the back of your thighs on the roller.
- Use the same strategy as with your glutes; roll back and forth between your upper hamstrings and the top of your knees, pausing for 5 to 10 seconds at any particularly tight spots.
- For a more intense stretch, cross one ankle over the other so only one leg is in contact with the roller. Don’t forget to breathe!
Quads
- Start in a low plank position (elbows on the ground) with the roller placed above your kneecaps. Lift your toes off the ground so your lower body is supported by the foam roller. This will feel intense—use your arms to support some of your weight.
- Rock back and forth, finding and focusing on sore spots. Continue until you’ve worked out every trigger point.
- For a more intense and focused stretch, cross one ankle behind the other, similar to above, so that your weight rests on one thigh.
IT Band
- Position the foam roller under the side of your right thigh, supporting yourself with your right hand and crossing your left leg in front of you for balance. Plant your left foot firmly on the ground so you can use it to alleviate pressure if necessary.
- Focus on the soft tissue between your hip and mid- to upper-thigh—stay 4 to 5 inches above the knee. Again, pause at any trigger points until the soreness dissipates. Switch sides.
Ready to get in the best hiking shape of your life? Take our online course coached by Jason Antin, 6 Weeks to Trail Fit.