Published July 27, 2021 03:30PM
Try These 7 Ways to Relax in Camp and Feel the Work-Week Stress Melt Away
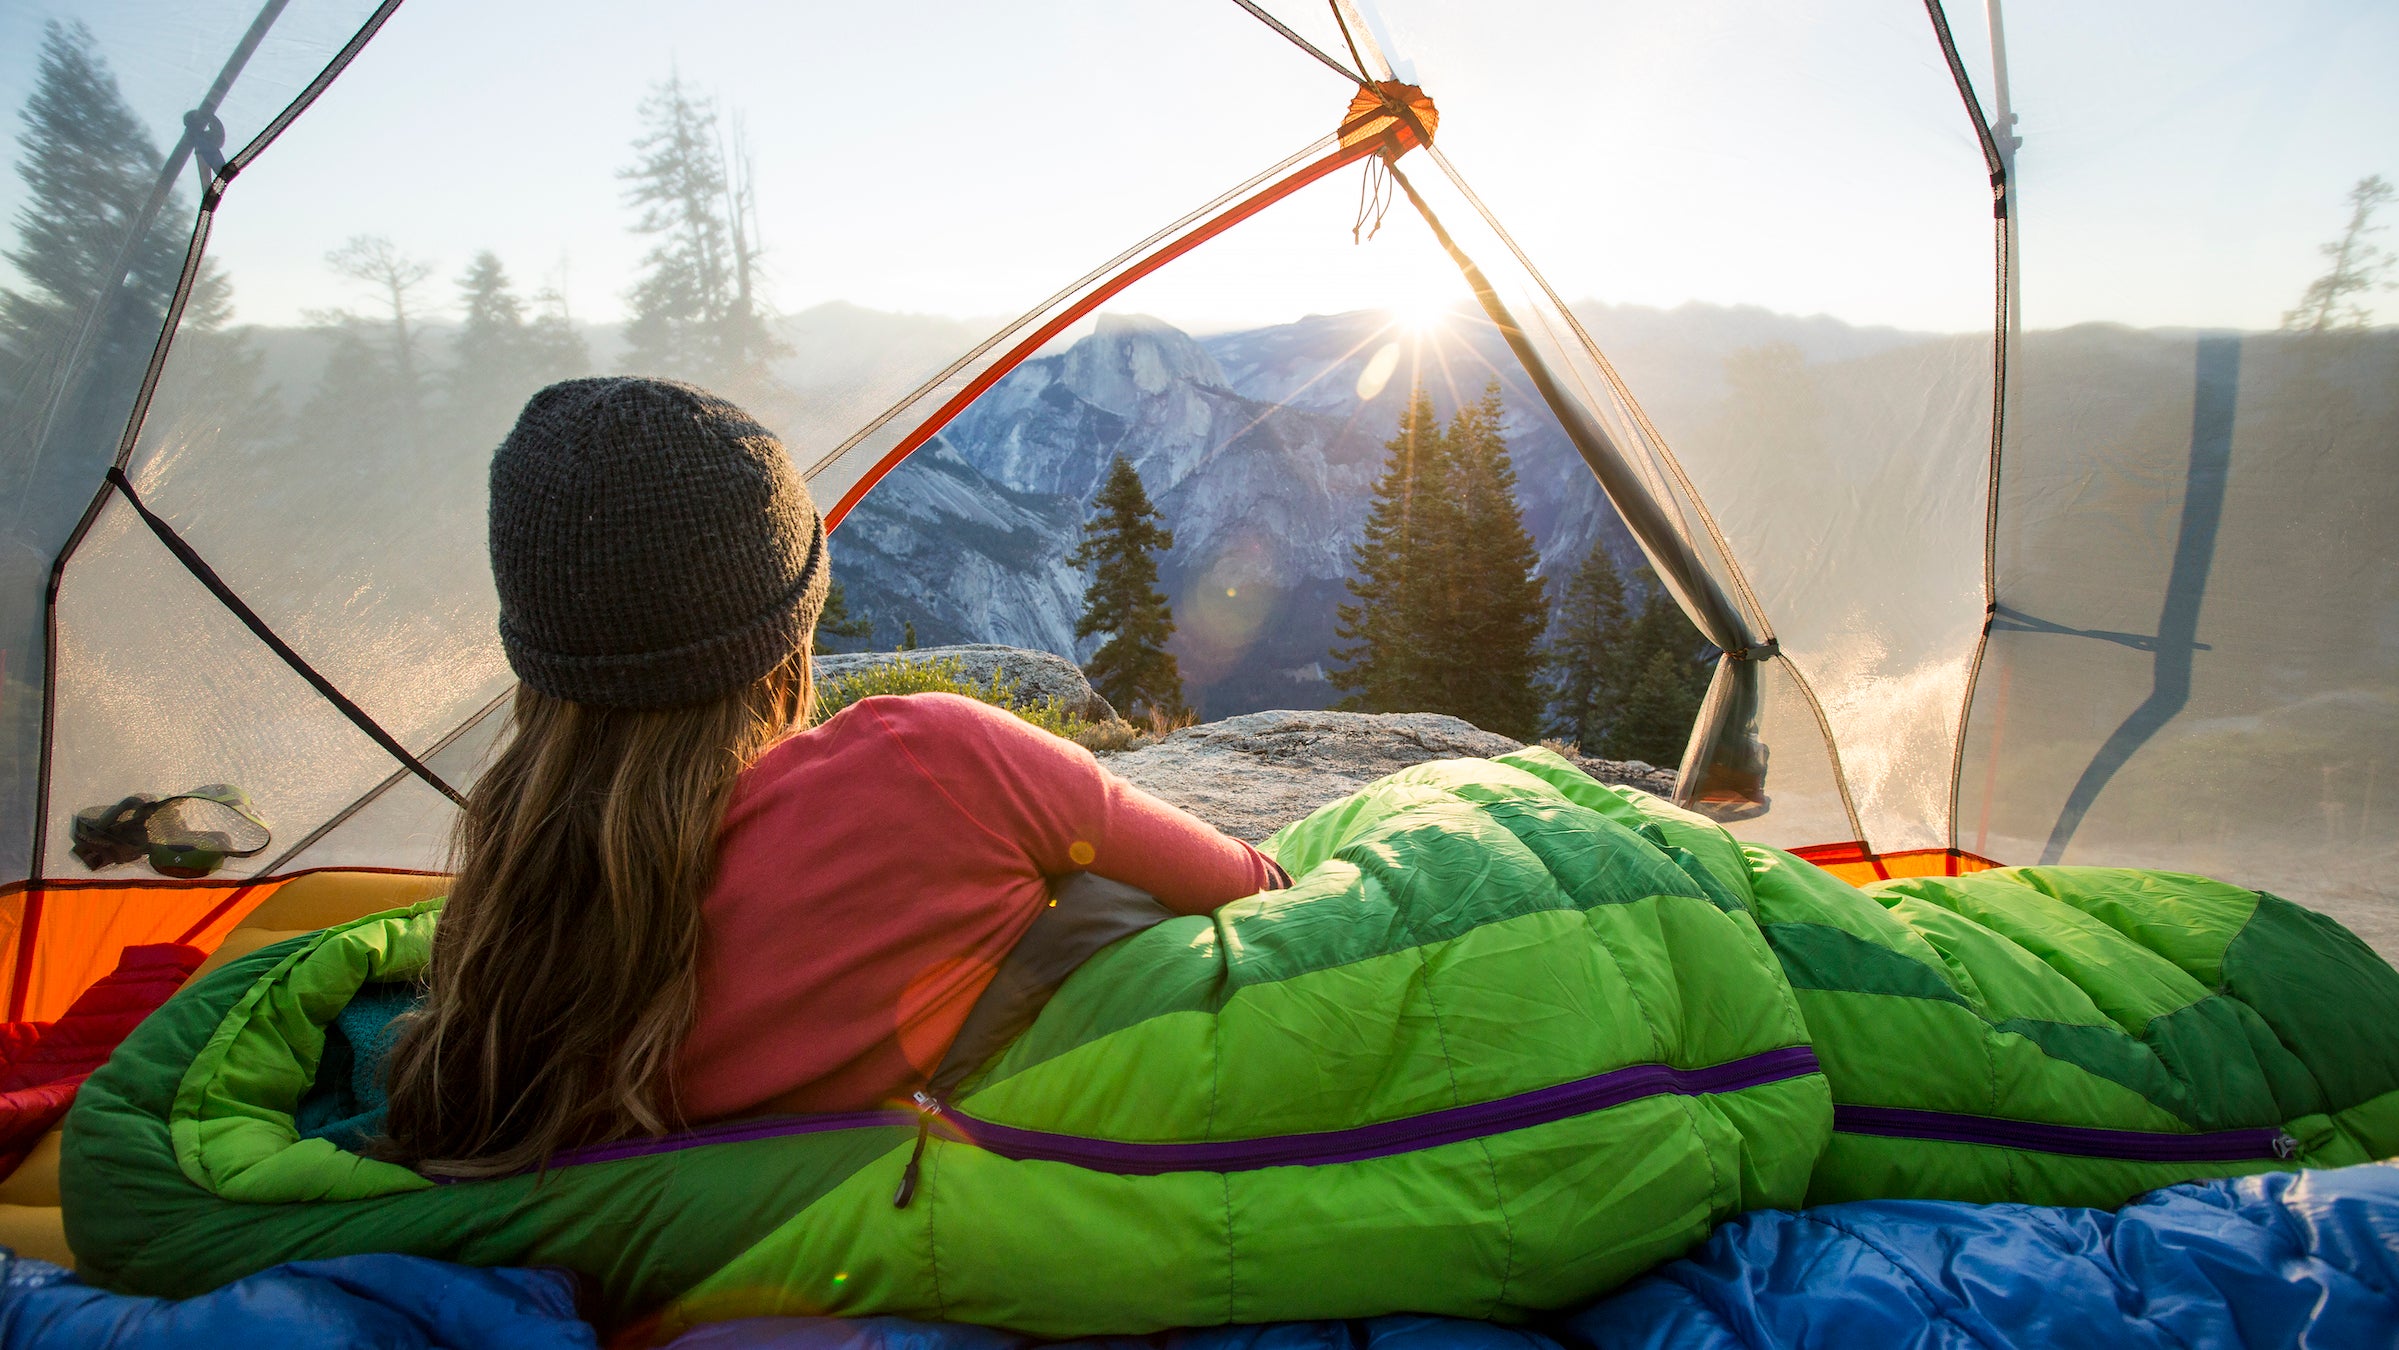
Turn the relaxation up with these activities to help you make the most of downtime in camp.
(Photo: Jordan Siemens / Getty Images)
Hiking is supposed to be relaxing, right? We hit the trail to escape the stress of work and technology and revel in the solitude of nature. But sometimes, finding peace isn’t as easy as just donning your pack and putting one foot in front of the other. Your back hurts, a storm rolls in, or you just aren’t able to turn off your busy brain and be present.
Need a little help dialing down the mental noise? Try a combination of our best exercises for relieving physical and mental stress so you can get back to the fun parts of hiking. Try them in camp, at the trailhead, or on your lunch break.
Self-Massage
On a group backpacking trip, nothing beats a massage circle to work out those knotty shoulders after a day under a heavy pack. But if you’re solo—or your hiking partners aren’t keen to play masseuse—you can work on your own fatigued muscles. Giving muscle aches attention will help you sleep better, and ensure you wake up fresh and ready for more miles.
Water Bottle Leg Rolls
Use a water bottle (or travel foam roller) to target your quads and restore flexibility after a long day on the trail.
- Lay on your stomach with the water bottle or foam roller beneath your left quad. Start with it placed just above the knee.
- Keeping your legs straight, use your feet and arms to roll back and forth over the entire length of the muscle. Keep three points of contact with the ground (where your leg rests on the bottle counts as one). To deepen the stretch, bend your left knee so that your foot is pointing upward.
- Complete 5 rolls, then repeat on the right leg.
—Meg Atteberry
ADVERTISEMENT
Trekking Pole Lower-Leg Massage

Tight calf muscles can lead to knee pain and heel and foot issues such as plantar fasciitis. An effective way to address tight calf muscles is to use a trekking pole as a massage tool.
- Working from about 6 inches above the ankle up to the knee, glide the trekking pole horizontally along the calf. Target the inside and outside of your lower leg and the thicker upper portion of the calf near the knee. Massage your calf for 3 to 5 minutes per leg using a firm yet comfortable pressure.
- Follow this massage with your favorite calf stretch for 20 seconds, repeating three times per side.
- Next, move onto the shins. Use the same gliding technique you used on the calf, applying a firm but comfortable pressure. Move horizontally along the outside of the shin bone from below the knee to above the ankle. Apply consistent pressure as you move the trekking pole along the belly of the tibialis anterior muscle.
- To stretch the shin muscle, kneel on the ground and sit on your heels with your feet pointed straight behind you. Consider using a bolster like a rolled-up jacket to sit on initially, which may help make this stretch easier. Spend 20 seconds in this stretch, then repeat for a total of 3 times.
—Lee Welton
Have an In-Camp Yoga Sesh
Yoga helps your muscles jump-start their recovery after a day of hard work, and can help you limber up once soreness sets in. Roll out your sleeping pad and try these before crawling into bed for the night.
ADVERTISEMENT
Easy Pose
Get your hips and low back ready to face the trail again tomorrow.
- Lay down a sleeping pad or towel, or find a soft patch of grass or dirt to cushion your bottom. Sit and draw your legs in, crossing them at the shins with each foot beneath the opposite knee. There should be a gap between your feet and your pelvis—comfort in this pose is key.
- Rest your wrists on your inner kneecaps with your hands gently dangling out front. Softly press your pelvis forward and puff out your chest, keeping a flat back. Touch your pointer fingers to your thumbs and close your eyes.
- While in this pose, practice Box Breathing (Sama Vritti Pranayama) to slow your heart rate and control your breath. Inhale through your nose for four seconds, hold that breath in for four seconds, then exhale through your mouth for four seconds, hold for four seconds, and start over. This may be difficult at first, especially if you just finished your hike, but if you stick with the rhythm you’ll eventually find your heart rate slowing down and your breathing getting closer to the four second intervals.
- Stay in Easy Pose and practice Box Breathing for 5 minutes.
Pigeon Pose

Stretch your hips and glutes to fend off soreness after a day on the trail.
- Start in Downward Dog. Inhale and lift your left leg up while keeping your leg straight and your foot arched, then, as you exhale, flex your knee and bring it towards your body, hovering directly below your chest.
- Inhale as you drop your left knee to the ground in line with your left wrist, and your left foot slightly outside of your right wrist. Keep your toes and heel aligned. Gently lower yourself down by dropping your right knee to the ground first, then bringing both elbows to the ground. The stretch may feel intense, but it shouldn’t be painful.
- For a more gentle stretch, rest your elbows on your backpack or any other soft, tall surface to take the pressure off of your outer hip. Once you’re situated, press your right leg back, keeping it straight. Rest the top of your right foot on the ground.
- Take long, deep breaths in this pose; if you feel comfortable, stretch more deeply on each exhale. To exit the posture, press back into your hands to elevate your back, roll onto your right foot to elevate your hips, and bring your left leg back and up into the air. Shake out your raised leg, then drop it back down next to your right leg. Repeat the posture on your right side. Hold for 3 to 5 minutes.
—Kyle Houseworth
ADVERTISEMENT
Thread the Needle
This is an incredible hip opener and stretch for tight IT bands. Even better? You can do it in a tent.
- Lay on your back with both knees bent and cross your left ankle onto your right knee (keep your left foot flexed).
- Lift your right foot off the floor, bringing your knee towards your face and intensifying the stretch in your left outer hip. Reach your hands through the gap near your groin and clasp them around your right knee of thigh.
- Hold for 1 minute before repeating on the other side.
—Emily Pennington
Practice Mindfulness

When your inner monologue is running rampant, try this meditation exercise to stay present. Try this while you’re hiking, aiming to spend 15 to 20 minutes on each step.
- Turn your attention toward the action of walking. Feel your knees bend and straighten, your muscles tighten and relax, and the ground roll beneath your feet. Becoming absorbed in your motions heightens body awareness, control, and balance. Try practicing mindful walking for 1 mile. If you’re able to focus for that distance, go to step 2.
- Direct your thoughts to your breath. Practice breathing in and out through your nose only, then your mouth. Pay attention to inhales and exhales in relation to your pace and exertion. By focusing on your breath, your mind will become less distracted and your heart rate will stabilize. This balances your adrenaline and cortisol levels, making you less prone to fatigue. For these reasons, present-moment awareness can also be a useful tool to maintain calm if you find yourself in a stressful situation. Continue on to step 3 whenever you are ready.
- Repeat an affirmation. Do this either silently or aloud (a twofer benefit in bear country). In reciting a positive mantra, you will stay focused during your hike. This practice is popular among elite athletes; evidence shows that positive self-talk boosts performance.
—Seth and Morgan Kulas
ADVERTISEMENT
Keep a Nature Journal
Traditional journals can be outlets to record your thoughts, but nature journals also offer an opportunity to record the sights and sounds you experience on the trail and store those memories for the future. The practice of heading into the great outdoors and recording may conjure up memories of science camp. But hikers and naturalists of all ages enjoy nature journaling for a variety of reasons: Journals provide tangible memories of your hikes, foster a deeper appreciation for the outdoors, and help expand your scientific understanding of nature. Make a notebook and pencil part of your essential hiking kit.
You can use your nature journal to record anything you want to commit to memory or spend more time observing—a view, a specific plant or animal, a decomposing stick, or whatever you find interesting. What you choose to record will have a lot to do with the goals of your nature journal: Do you want to spend more time appreciating a view? Learn to identify specific plants? Notice parts of nature you may otherwise overlook? Figure out what you want to do with your journal and start there.
ADVERTISEMENT
When you think you’ve covered everything, look harder. Sketch things from different angles, take rudimentary measurements, or zoom in on the details. You don’t need to be an artist to keep a journal. Your drawing is to deepen your own understanding of your surroundings, not to make something pretty. Everyone has a medium they’ll be most comfortable with: writing, sketching, or more scientific recordings, like measurements and photographs. Lean on whichever you prefer, but remember the best information will come from a mixture of media. It’s standard to label every page with your location, the date, time, and weather.
Spending time outside is always healing, and nature journaling can be a great way to expand the ways you engage with the outdoors while giving you a stronger appreciation of them to boot. It’s a fantastic remedy to a go-faster culture, allowing you to be more present in the beautiful world we live in.