Updated July 7, 2025 10:03PM
7 Pro Tips for Taking Flight with Your Photography
Knowing how to fly your drone is half the battle when taking photos from above.
For new and experienced pilots alike, taking to the sky with a new drone is where the fun happens. Like any activity though, following a few smart pointers will make the experience all the more enjoyable. While new drones, like the Mavic Pro from DJI, are sturdier—making them easier to transport and better able to survive the learning curve for new pilots—it’s still prudent to take the time to familiarize yourself with your unmanned aircraft system (UAS). As exciting as it sounds to rip open the packaging and take to the skies, patience and pre-flight diligence will ensure your experience is more “wow” than “whoops.”
Read the instructions
This should be a given. As eager as you are to take flight, each drone is unique and you need to take the time to understand what you are working with and how to fly it.
Charge the battery
A fully charged battery is essential to get the most out of your flight time. Professional photographer David Clifford, who uses drones to capture hero shots for his clients, recommends recharging batteries the night before you fly to ensure you have a fresh charge. Catherine Aeppel, another professional photographer who shoots with drones, says that while she stores her drone in the garage, she’s found that keeping her batteries inside at a consistent room temperature helps to preserve battery life.
Get familiar with the controls
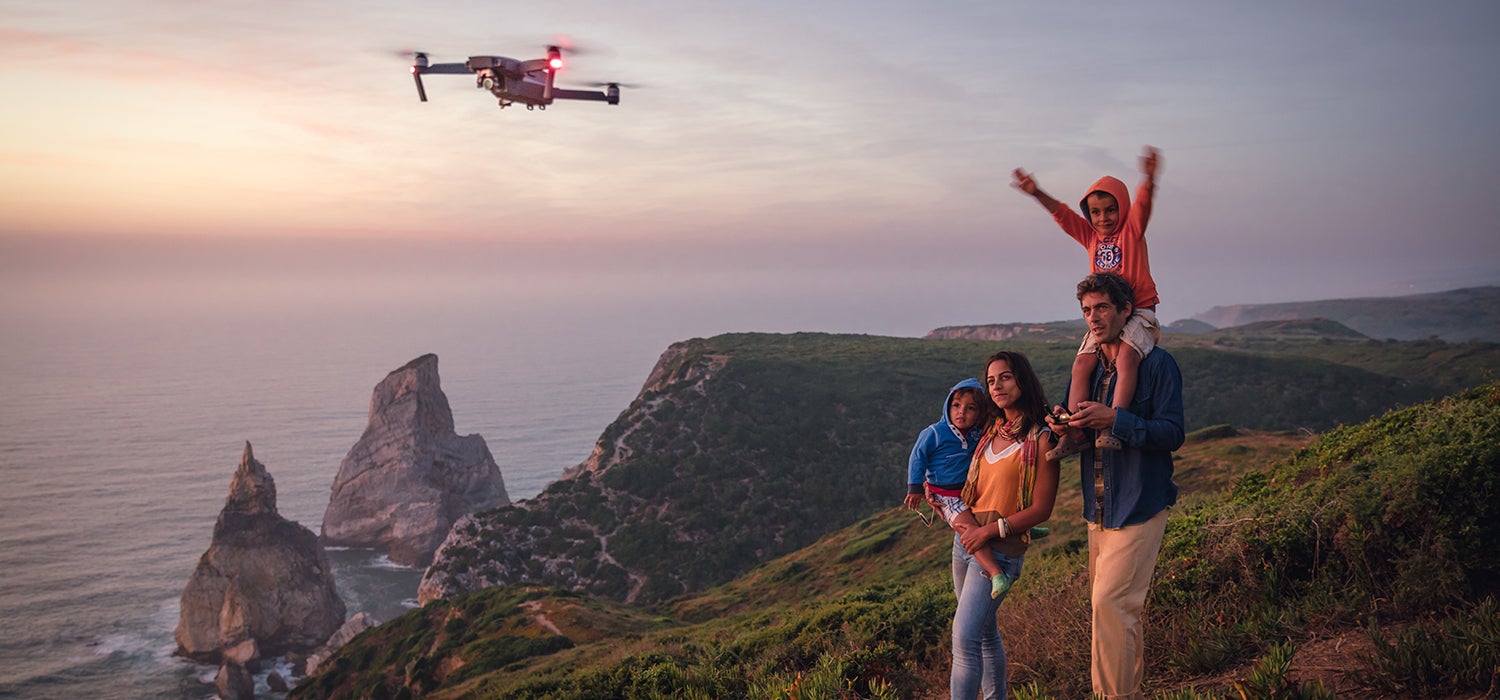
If you’ve played a video game in the last 25 years or so, you’ve got a head start on flying a UAS. In addition to having the standard dual-throttle control, the Mavic Pro has a space-conscious, condensed remote that has a small display of its own, with control sticks, and a bay for your smartphone to slide in underneath. It also has a feature called FlightAutonomy, which allows it to sense and avoid obstacles (helpful to new pilots!), hover in place and automatically land almost exactly where it took off.
ADVERTISEMENT
Practice, practice, and practice some more
Taking off, landing and maintaining position in the sky are essential to successfully flying your drone. And just like any new activity, it takes significant practice to become an expert. Mavic Pro also has a few handy features, like the ability to track and film a specific subject, stay at a steady height above uneven terrain, and even slow down for more precise movements. These attributes deliver consistent, professional quality images and help lessen the learning curve for beginners.
Have a spotter
Especially for up and coming pilots, keeping your eye on the drone, the controls, and your surroundings, takes some adjustment. Not only does having a friend around make flying more fun, they can keep a second set of eyes on the drone at all times.
Keep it close
The top long-range drones have a flying range of 300m. Some, like the Mavic Pro, have an impressive range of 4.3 miles from the controls. But a wise beginner tip from Clifford is to keep your drone close enough so you can see it, at least until piloting skills improve. Having a clear line of sight between the drone and the control antennae also makes for a stronger signal and more precise flying. To lessen the chance of losing a signal, the Mavic Pro is equipped with back-up sensors. If a key sensor fails, the second one will kick in for uninterrupted flight.
ADVERTISEMENT
Recognize the power in your hands
Aeppel reminds people that when flying a drone, you are truly piloting a small plane! You’ll be able to capture stunning photographs and videos, but it’s your responsibility to learn how to operate the technology. Especially for your first few flights, consider heading to wide open spaces [link to article one], where there aren’t a lot of people.
To maximize your drone use, check out more on where to fly them and how to get the shots you want.