Published December 9, 2021 10:50AM
The 25 Habits of Highly Successful Hikers
Guarantee yourself a great adventure– every time–by adopting these proven routines for planning and pulling off the perfect trip.

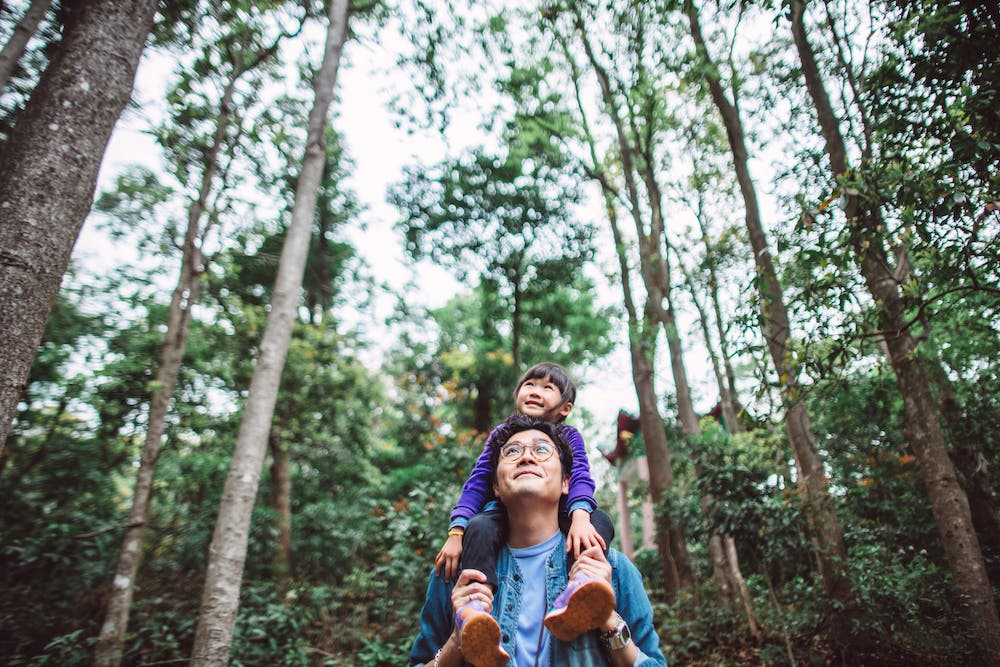
(Photo: sarote pruksachat via Getty Images)
Some people get out every weekend, enjoy extraordinary adventures, and make it all seem so easy. Their secret? They’ve made backpacking a routine part of their life. And you can, too. Just develop the right habits–the ones that help you plan early, stay in shape, pack efficiently, and avoid those annoying hurdles that get in the way of a good time. Here’s how.
1. Plan big adventures by March 1
Fortune–and permit regulations–favor the prepared. Start early to prevent the chronic lament: “Maybe I’ll hike Yosemite next year.”
The best adventures rarely happen spontaneously–you make them happen. Set aside time–when you take the kids to the library, instead of watching reruns–for research. Bookmark websites, dog-ear guidebook pages, clip out magazine stories. Someone tells you about a secret lake? Write it down.
Plan the details months in advance. For summer adventures, get things organized in winter—by March 1 at the latest, when many coveted permit slots and campsites open up. Line up companions, commit to dates, and schedule your vacation time. Going to a popular destination? Put a reminder about permit application dates on your calendar a week early so you’ll remember to submit the form on the first day possible.
ADVERTISEMENT
2. Choose the right partner for big trips
Challenging conditions can test the best of friendships. To improve group dynamics:
- Plan well in advance so you have time to find the best companions.
- Communicate the details and difficulties of your proposed trip to prospective partners. Meet with them to review guidebooks, articles, backpacker.com, and Google Earth pages.
- Agree on training goals for demanding hikes.
- Ask potential companions about prior trips. When things went wrong, what was the problem? If their former partner is always to blame, keep searching.
- New partner? Take a short shakedown trip to determine “tent compatibility”—that is, will you get tired of each other if stuck inside for hours on a stormy day?
3. Call park rangers three days before departure to check on trail conditions
Who would know the area more than the people who live and work there? Park rangers can also recommend alternate trail routes if your intended hike is too dangerous.
4. Always be ready for weekend getaways
“I never seem to make it out the door.” Do you say that too often? Stay ready all the time to avoid uttering those awful words ever again.
- Identify five destinations within an hour of home for dayhikes and overnights. Make a folder on each that includes maps, driving directions, and notes on campsites.
- Make sure your gear is organized in one place (a big plastic bin in the garage, say). Organize, clean, and repair gear within a day of returning from one trip so it’s prepped for the next. Refill fuel bottles, too.
- Keep camp foods–dry goods like pasta and rice, fixings for a simple dinner and breakfast, and perishables like cheese–on hand so you can take off on short notice. Keep bulk cocoa, nuts, and jerky in your bin.
- Set hiking dates with friends or family so you hold each other to it.
ADVERTISEMENT
5. Take care of your feet
Make sure you wear boots that are appropriate for the terrain and load. Unnecessarily heavy and stiff boots will cause fatigue, while shoes with flimsy support can create sore feet. For hiking with moderate loads, get a midweight, midheight boot with moderate forefoot flex and torsional rigidity.
Break in boots on dayhikes and errands. Even lightweight shoes need some time to loosen up. Use a foot lubricant like Hydropel or Bodyglide to eliminate friction, or a powder like Gold Bond, BlisterShield, or Zeasorb to keep feet drier. Tape hot spots preemptively. Before long uphills, lace boots snugly below the midfoot (use a double overhand if your boots don’t have locking laces there) and looser around your ankles. For long descents, tighten laces back up around your ankles.
6. Keep spare batteries, first-aid supplies, and fuel canisters at the ready
Don’t do your shopping on the Friday before a weekend trip. Relax before your trip instead of rushing from store to store just to find the one missing piece of gear.
ADVERTISEMENT
7. Make training a part of your routine
Good fitness improves your health and makes backpacking more enjoyable. Here’s how to make exercise habit-forming:
- Have kids? Incorporate them into your workouts. Buy a good kid-carrier pack or jog stroller for younger ones; run alongside older children as they bike.
- Make your commute–and even errands–part of your fitness plan by biking or walking instead of driving.
- Get the most out of short workouts by increasing intensity. Make them trail-specific by adding a 15-pound pack while you’re on a StairMaster, running hills or stairwells, or doing intervals.
- Run laps around the soccer field while your kid plays. You’ll feel like a goof, but you’ll get an hour of aerobic exercise without missing the game.
- Pick up a new sport like Nordic skiing, swimming, rowing, or bicycling: Cross-training builds under-used muscles, prevents repetitive-motion injuries, and lends variety to your routine.
- Backpacking-specific exercises like lunges, step-ups, and one-legged squats help prep your legs. Do them while you watch TV or listen to the radio.
8. Observe the five rules of smart packing
Follow these tips for carrying the right amount of equipment–neither too much nor too little–on every trip.
- Bringing gear and clothing for the worst weather on record adds unneeded pounds. Pack for the forecast (check weather.gov).
- Buy equipment for your typical trips–a lighter 30°F bag instead of a bulky 15°F one, for instance, if you primarily backpack in the summer.
- If you consistently finish hikes with pounds of uneaten food, you’re carrying too much. Keep it to 1.5 pounds per person per day.
- Ditto with water. In many mountain ranges, water sources occur frequently enough that you don’t need to carry more than a liter at a time.
- Lighten your load by making key gear upgrades: Ultralight packs, shelters, and bags are often one-third the weight of their traditional counterparts. On a budget? Start by replacing your heaviest item first (probably your tent). The goal: Keep your base load (everything but food and water) below 15 pounds.
9. Pack efficiently
Separate stuff sacks for clothes, food, toiletries, and small items like headlamps, batteries, and repair gear. Have gear that can’t get wet? Use ultralight drybags, like Sea to Summit’s Ultra-Sil series.
ADVERTISEMENT
10. Hike with a plan
Be smart about when–and how far–to walk, and you’ll be able to cover more ground with less effort.
Vary your daily mileage. Effective hikers often increase it as their packs lighten. And they adjust it according to terrain: fewer miles on days with big climbs, and more on the flats.
Watch the thermometer. On hot days, hike in the cool hours of early morning and evening. Don’t exhaust yourself climbing a big hill in the sizzling afternoon.
Do the obvious: If you want a mellow trip, plan for more days or fewer miles–and lighten your load.
ADVERTISEMENT
11. Get your pack dialed
Purchase the correct size
- Choose a pack that’s big enough for your average load: It’s easier to cinch a pack down on a small load than overburden a pack with a load that’s too big. Make a list of priorities–pockets, waterproofing, etc.–and stick with them.
- Measure your torso length using a soft tape measure (or a string, then hold against a hard tape measure). Standing erect with hands on hips, trace a line connecting your thumbs. From that spot, measure the distance to your seventh vertebra–the prominent bone at the base of your neck.
- Try on several packs loaded with your typical trail weight. Walk around.
- Double-check the fit: Hipbelt padding should wrap over your hipbones. Shoulder straps should have no gaps or bunching and extend a hand’s width beneath your armpits.
Adjust the correct straps
Loosen all suspension straps. With the hipbelt resting atop your hipbones, pull the belt snug. Tighten the stabilizer straps connecting the belt to the pack’s bottom. Next, tighten the load-lifters, which should lie at a 45-degree angle to your shoulders. Finally, tighten the shoulder and chest straps.
On long ascents, loosen the hipbelt and stabilizer straps to increase mobility for hips and legs. When going downhill, retighten.
Load wisely
Loosen compression straps before loading; tighten them when done. Place heavy items (food, fuel, stove) close to your back and pad with your jacket. Keep snacks, sunscreen, and other items you’ll need on the trail accessible.
ADVERTISEMENT
12. Bring your duct tape
Wrap five deep of duct tape around a trekking pole or pencil nub to keep handy for repairs, emergencies, and preventing blisters.
13. Never miss a photo op
Keep your phone in a hipbelt pocket or pants, so you never miss a great shot. Hiking with a camera? Consider using a Peak Designs Capture Clip to keep it at the ready.
14. Eat and drink methodically
Mom was right: A hearty breakfast is the key to a powerful day. Start yours right by eating a good mix of carbs, protein, and fat (oatmeal with nuts and blueberries or a bagel with peanut butter).
ADVERTISEMENT
Monitor how much you’re drinking. Your body absorbs fluids at a steady, slow rate of about a liter an hour; get in the habit of sipping every 15 minutes–not waiting until you’re thirsty and guzzling. On long days, supplement your calorie intake with a powdered energy drink in the afternoon.
Don’t go more than two to three hours on the trail without eating something–even if you’re not ravenous. Recognize signs that your tank’s low, like feeling tired or irritable. During the day, snack on no-prep foods high in carbs like dried fruit, chocolate, bagels, and energy bars. At day’s end, your body craves fat, protein, and salt; reach for cheese, pepperoni, crackers, nuts, beans, and canned fish or meat. A high-sodium soup can also help you rehydrate.
15. Dress for success
Hike in one set of clothes and keep a dry change for camp. Research the weather for your destination (park websites typically show average climate data and give links to the local forecast). Bring layers that, combined, will suffice for the lowest temperatures, but allow flexibility for handling the expected range of conditions. (Example: a light fleece vest and midweight puffy jacket.)
ADVERTISEMENT
It’s been drilled into your head that cotton kills. The exception? A hot, dry desert hike where a damp T-shirt against your skin has a welcome cooling effect. Minimize sweating by stripping down before hard ascents. You’ll avoid getting chilled when the temperature drops up high–or the wind kicks up. Pull on extra layers right before reaching a windy summit or pass, and as soon as you stop for a long break.
16. Use a stuff sack (weighted with a rock) to throw bear-bag ropes.
Bear bag newbie? Never been able get them over the perfect tree branch? Luckily, we created the guide just for you. (Or just use a canister or bear-resistant sack.)
17. Don’t get hurt
Prevent common injuries with these easy steps:
- Avoid long, awkward leaps across streams or rocky gaps. With a heavy pack, the force on joints can turn a wobble into a sprain, strain, or blown ACL.
- Wear boots appropriate for your hike–sticky outsoles with shallow tread for dry rock and packed dirt, but deeply lugged boots for wet trail, mud, and snow.
- Resist the urge to push on when tired. Either set up camp or rest for 15 minutes to eat, drink, and recharge.
- Use trekking poles for better traction and weight distribution. Going downhill, lean on them slightly and step with your feet directly below your hips.
- Sharpen your knife. A honed blade is less likely to stick or chip, and requires less force to use. Remember to cut away from you, and clear your fingers when you close it.
- Have knee or back issues? The simplest way to ease them is to drop weight from your pack. A lighter load will reduce strain on your joints and muscles.
18. Scout photo angles after dinner, then rise early to shoot scenics in the day’s best light
Harsh midday light can make a beautiful vista look washed out in a photo. Dawn and dusk are the best times to get the crowd-free, chromatically correct pictures you want.
ADVERTISEMENT
19. Navigate confidently
Unless you know exactly where you’re going, avoid spontaneous decisions to take an off-trail shortcut. It sounds obvious, but pay attention. Hikers typically lose the trail at a bend or switchback, where others have made the same mistake and beaten out a rogue path. If the trail suddenly narrows or peters out, backtrack.
If the trail seems to take an illogical turn–like straight up a steep slope when it has been following gentle switchbacks–stop and reassess. It could be an animal path.
ADVERTISEMENT
Some parks and wilderness areas have primitive trails that are worth exploring–but can be faint or intermittent. Get info pretrip, from rangers or other sources, about a path’s condition. If it disappears, examine the ground for signs of hardened treadway. Use a map, compass, and GPS to determine location. Watch for saw-cut logs that indicate past maintenance.
When snow obscures the trail, look for a slight depression, or trough, in the snow (polarized lenses make it easier to see). Also, look for a corridor through the forest that has no low-hanging branches or brush poking up through the snow. Look forward and backward frequently for blazes or cairns. A fresh layer of snow concealing the trail? There may still be hiker-packed snow beneath the powder–if your boots abruptly start sinking in more deeply, it could indicate that you’ve stepped off the trail.
20. Stay dry
Expecting heavy rain? Carry a lightweight, collapsible umbrella and a 5-by-8-foot tarp for extremely wet climates. Use them when cooking, eating, and to shield your tens entrance.
21. Always snag the perfect site
Study the map closely for flatter terrain near lakes or creeks (for water) or above treeline (for views). Use programs like Gaia GPS to fly over potential campsites pretrip. Tap resources like guidebooks, online photos, and people who know the area. Wilderness climbers and anglers are good sources, and they often contribute to web forums.
The best designated campsites in parks get snatched up quickly–another reason to reserve a permit well in advance. But many parks with designated sites or camping zones (like Grand Teton) sometimes allow dispersed camping in off-trail areas, which harbor some of the best spots to pitch a tent. Ask the backcountry desk about it. Be adaptable. Example: Camp in a spot without water if it promises killer views. Eat dinner at the last available water source, then carry two liters of water to the better campsite to get you through breakfast.
ADVERTISEMENT
Adjust daily mileages and departure times in order to land at the best campsites early. Carry a tent with a small footprint that fits on tiny sites–or sleep under the stars if skies are clear and there’s no spot big enough for a tent.
22. Prepare for all weather conditions
Pack covers can get blown away by strong winds, and plastic trash bags belong in your kitchen. The lightest, easiest, most effective way to keep your pack contents dry is to use waterproof stuff sacks (we recommend Sea to Summit. In a rainstorm, open your pack only if absolutely necessary–or under shelter.
To prevent condensation buildup inside a tent, open vents and vestibule doors enough to facilitate air movement without letting rain inside. Stake and guy the tent to enhance ventilation. Shake water off raincoats before entering the tent, leave boots and gaiters in the vestibule, and keep wet gear away from your sleeping bag and spare clothing. Dry out shells and baselayers by wearing them in camp or while hiking at an easier pace, when you’ll be generating enough body heat to push the moisture out but not enough to perspire.
ADVERTISEMENT
If you dunk a boot, dump the water out immediately and wring out the insole and sock; reacting quickly will prevent much of that water from soaking in, so the boot dries faster. Stuff slightly damp (not soaked) clothing inside your bag at night. Your body heat will dry it.
23. Challenge yourself
Don’t get stuck in a rut–same places, activities, seasons. Here are seven ways to spice things up:
- Learn advanced navigation skills (Gaia GPS, REI, and your local hiking club are good places to start) and create routes that involve cross-country hiking or scrambling up an off-trail summit.
- Hike at night, especially in open terrain under a full moon.
- Instead of moving camp every day, set up a comfortable basecamp and embark on epic dayhikes.
- Combine backpacking with another activity, like fly fishing, or canoeing to a lakeside campsite and hiking from there.
- Backpack in winter–or, for a softer introduction to cold-weather camping, in late fall or spring. Or use a hut.
- Take a class and learn how to do something you’ve never done before, like mountaineering or canyoneering.
- Hire a guide to help you get out of your comfort zone.
24. Stash celebratory post-hike beers in a cooler or cold stream.
If you’ve already carried these beers for miles and miles, don’t settle for a warm post-hike brew. Set them in a cold stream for a few minutes and enjoy your refreshing treat.
25. Treat water throughout the day, not just in camp. You’ll drink more and carry less.
It’s better to drink water throughout the day instead of cameling up at water sources. You’ll retain the hydration longer instead of peeing it all out.