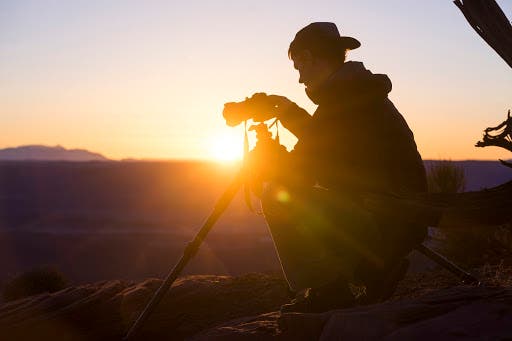
Outdoor Photo Tips with Get Out More Tour Ambassador, Steve Yocom.
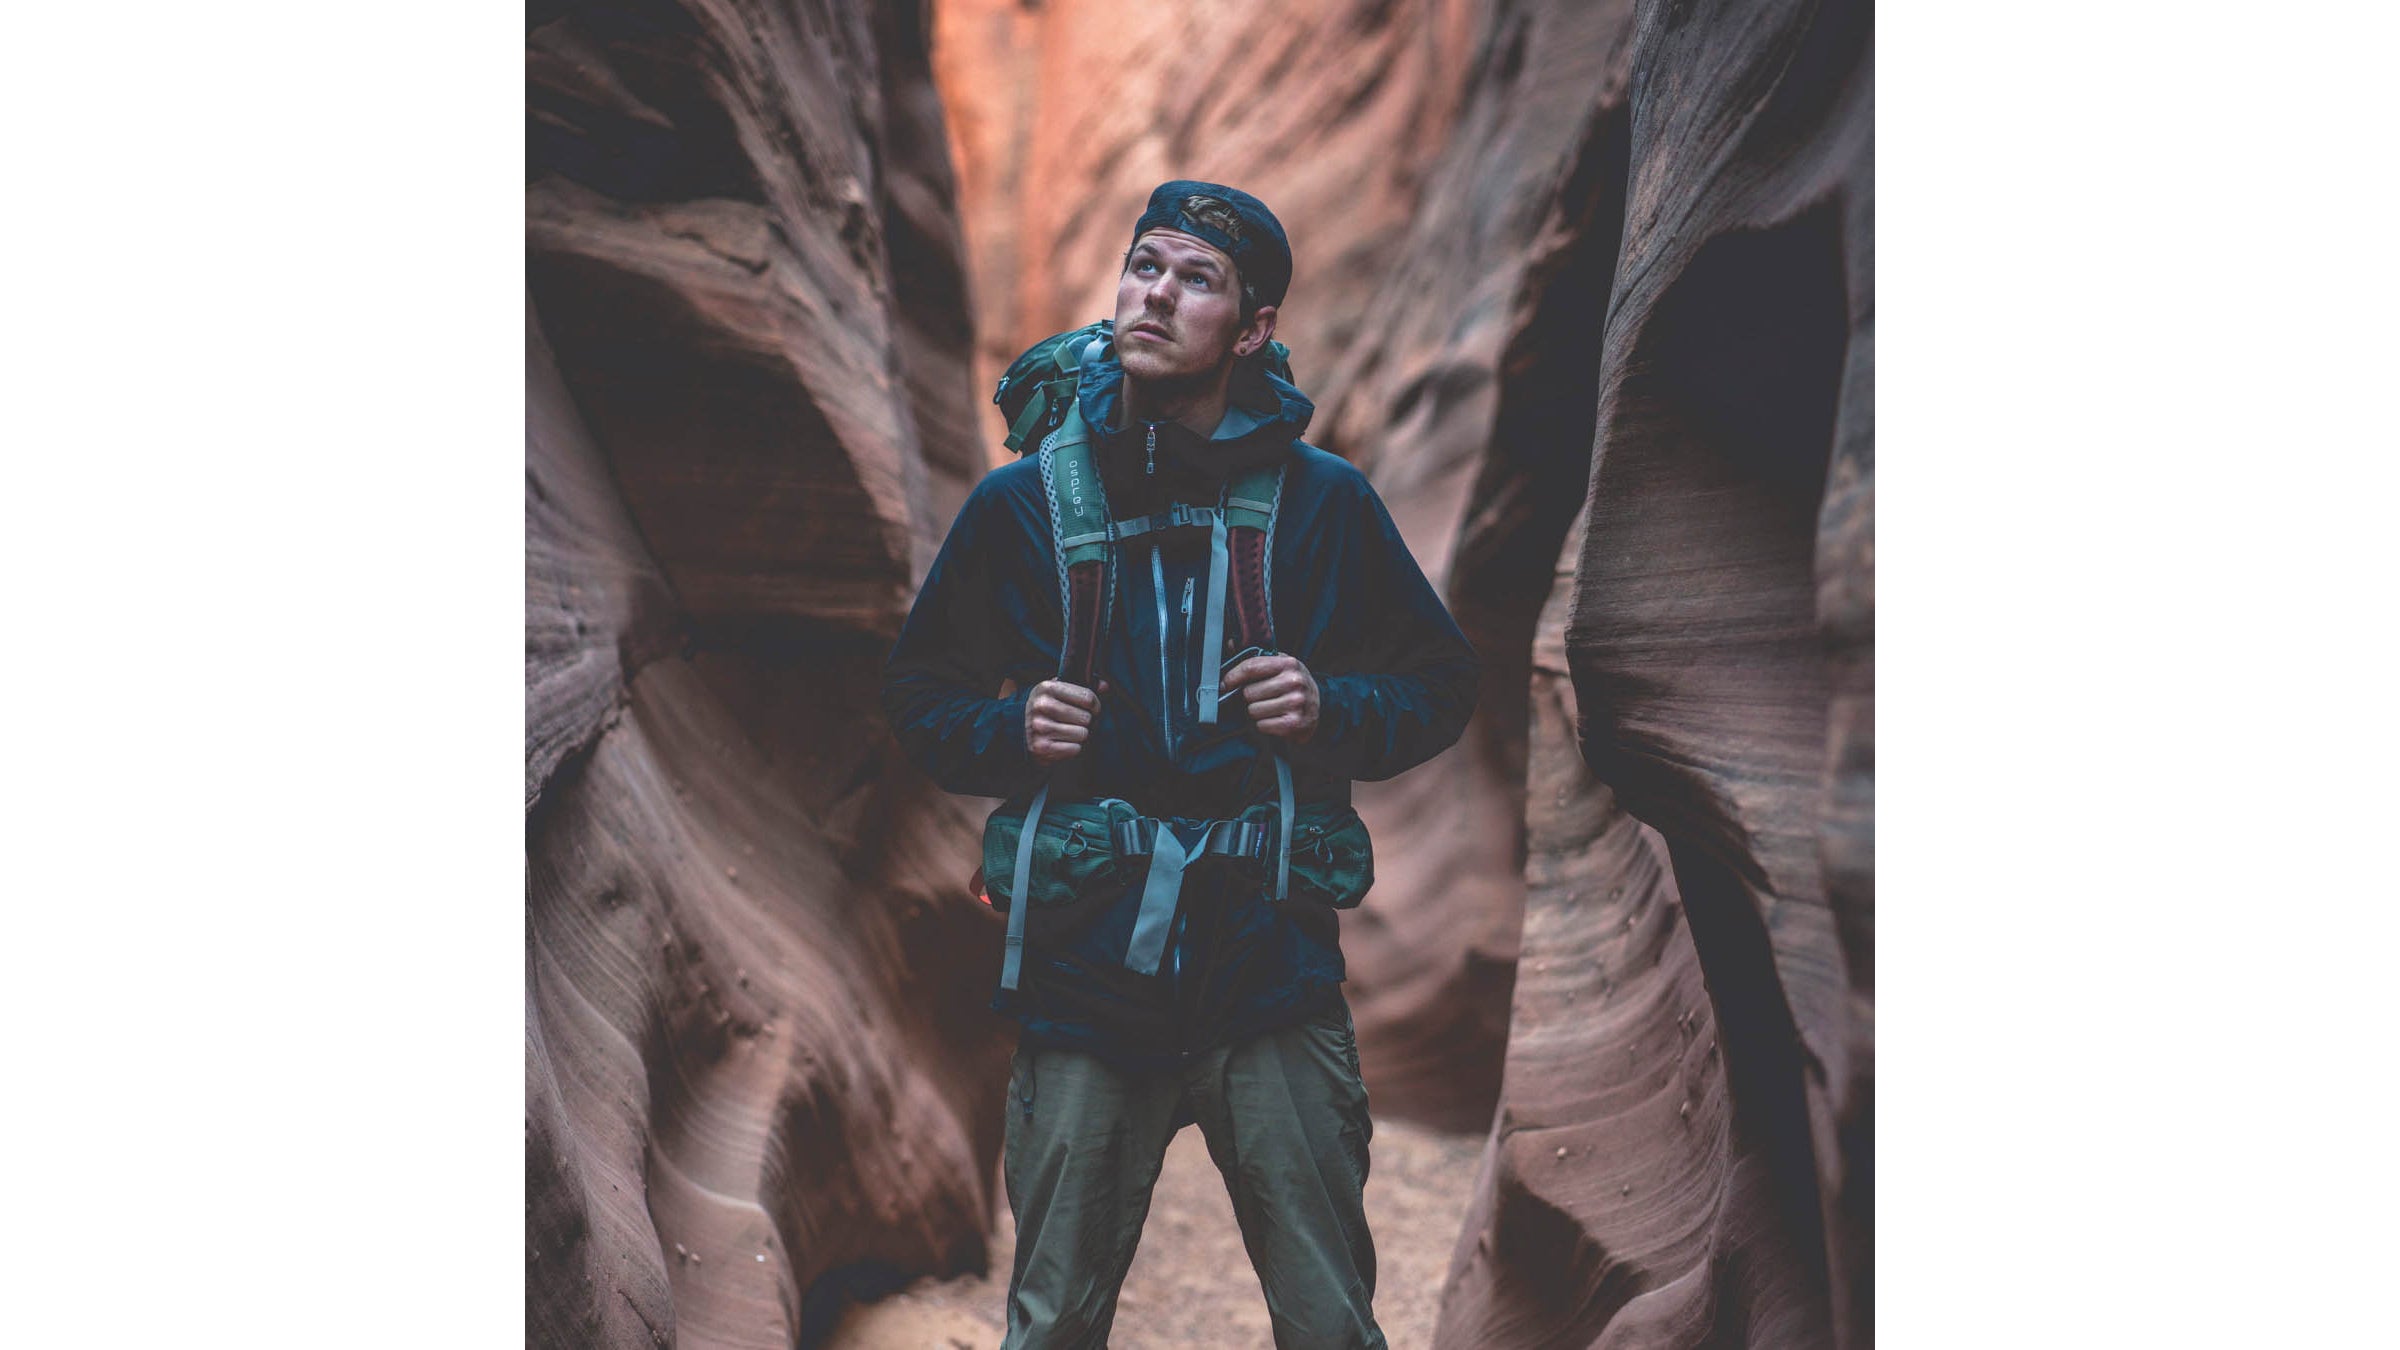
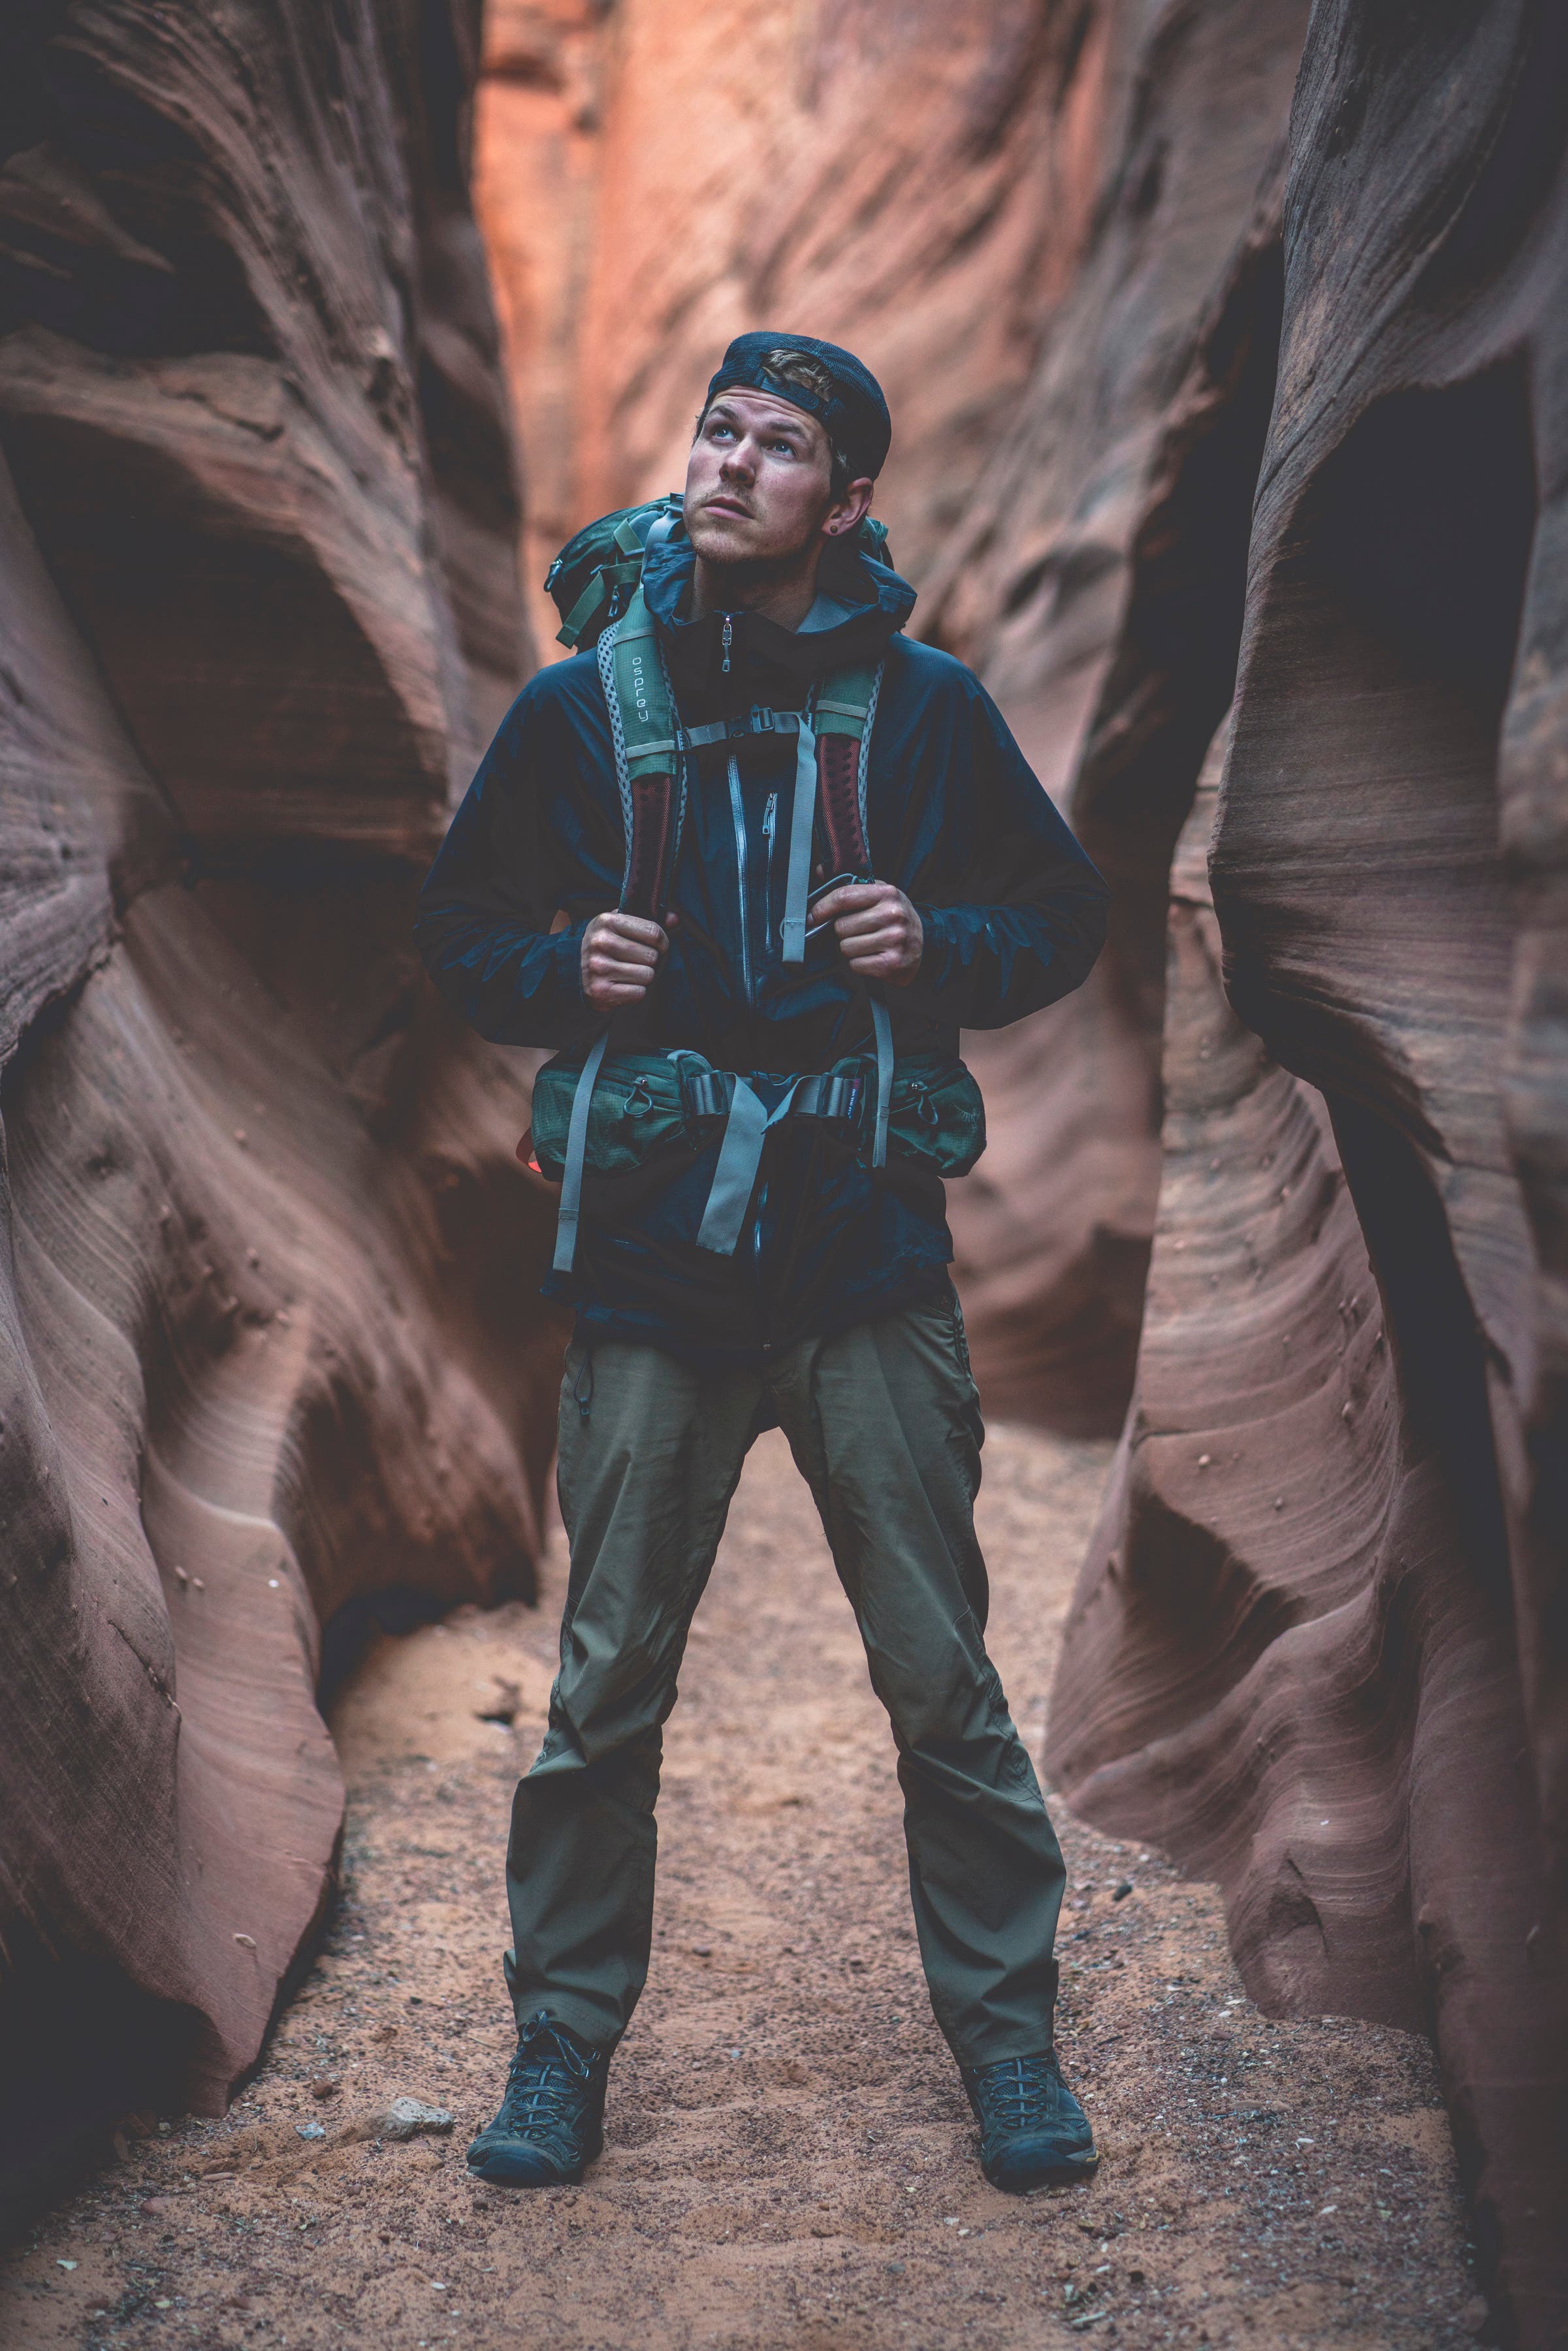
The bright side: Down time can be used to learn new things! Trust me I could do another Bob’s Burgers marathon too, but I promised myself I would come out of this pandemic with at least a few new tricks! I’m going to start with the core aspects of photography and we’ll start branching out on more in depth tips and tricks from there.
I also want to say these are just MY rules. Everything that is my “style of art” follows these guidelines. I am also a firm believer that every rule in photography is meant to be broken at some point or another. Becoming a Photographer has many different lessons along the way but it starts with developing a firm understanding of light and your camera first.
Let’s start with the Histogram and the Exposure triangle – Quality should be a priority right?…Unless you are documenting the first ever Bigfoot and all you have is your cell phone, there is no reason why photos out of a modern day camera shouldn’t look GREAT blown up on your wall. Nailing your exposure helps solidify this. For every tick you move those sliders in post production to correct a flaw, it chips away tick by tick at the quality of your final product. The Triangle represents the three moving parts in your camera that make a photograph: Aperture, Shutter and ISO.
Histogram – If you aren’t familiar with the Histogram, congrats meet your new best buddy. This little graph on a camera is my favorite way of ensuring my exposure is right where I want it to be. I know I know, graphs seem overwhelming…but don’t sweat it, all you need to worry about are the far walls. Keep the info on the graph off those, and your exposure will be even. One easy rule to remember – Right is bright. If the info on your Histogram is all stacked up on the right side it means you are over exposed and have a blowout. No matter how much you drag that highlight slider back, there’s no saving these. Therefore the opposite means if the information is stacked up on the left you are underexposed (AKA too dark). I keep my histogram on live mode so I can make adjustments with the exposure triangle to get the histogram right where I need it to be!
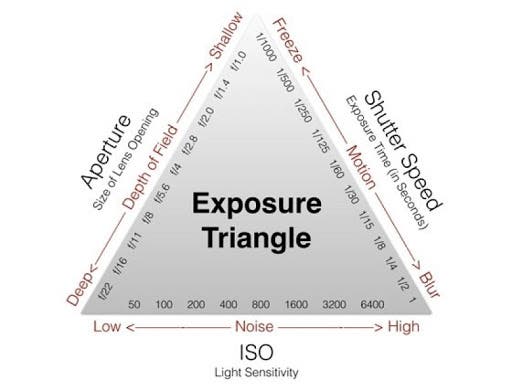
Aperture – First up the Aperture, or your “F stop”, dictates how much light the aperture blades inside the lens are letting in for the camera’s sensor, which also determines how much of the picture is in Focus. To get a quick understanding of how Aperture blades work, set your camera in Manual and adjust the aperture or F# on your camera while looking into the lens. Notice how the higher the number the tighter the blades get? Allowing less light into the sensor, but increasing the depth of focus. The lower the number the more light it lets in, but the smaller your depth of focus becomes too. The higher your F number the bigger your field of depth, You may typically see Landscape images with Aperture ranging from say F11- F22. Enabling them to have more of the scene sharp! The Catch? Well with every “Stop” you lose more and more light, and when the light is GOOD you typically don’t have much of it to work with! Portraits are the opposite, typically a portrait may be around the F1.8 – F8 range, with 1.8 being where the subjects eyes are tack sharp but the background turns into soft unfocused goodness (otherwise known as Bokeh). At the start, don’t get too worried about the exact “number” you need to be at for any given photo. Bank more on staying in the realm of how much you need in focus and go from there. The reason why I believe Aperture sits at the top of the triangle is because ¾ of time it is the starting point for a photograph. The first thing I decided before I even put my camera to my eye is how much of this scene do I want them to see? Do both subjects need to be sharp in order to tell this story? OR am I going wide open to bring the eye right to the product I’m capturing for a campaign. Some exceptions to this might include needing a high or slow enough speed shutter to create a certain type of frame where freezing the action or absorbing light for long enough to create a photo (think astrophotography) may be more important than how much of the photo is in focus.
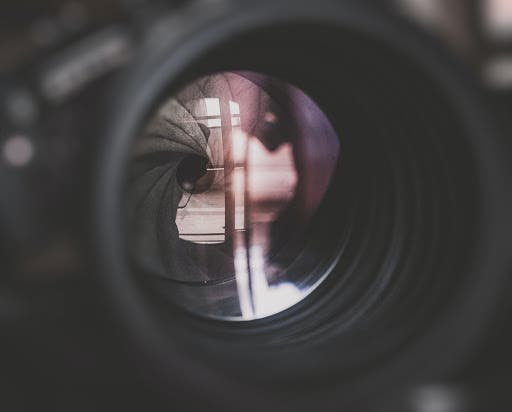
Shutter – The shutter is probably the dial I make micro adjustments to the most. The shutter determines how quickly the frame is captured, which also means how much light is let into the camera’s sensor. Sometimes you need more of that light like say at night, so you may have to absorb light for up to 20 seconds at a time. But sometimes the breeze is blowing and your foreground is moving so you need to speed it up! There may also be occasions where your frame might include a moving target like an animal where you may need to be as high as 1/500 to freeze it and make a sharp photograph. The shutter is always moving in order to freeze exactly what you need to capture. It’s also the fastest way to fine tune your exposure, keeping the histogram nice and happy. A few ticks to the left or right can bring that exposure to a better place quickly. I do have one basic rule you can start with. If handheld try not to go below 1/100, your chances (unless you have OSS etc) of an out of focus image due to handshake etc will go up big time as soon as you start going under this number. If you need to go below that then it’s time to bust out the tripod!
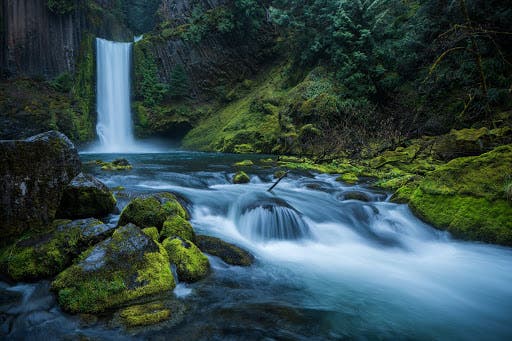
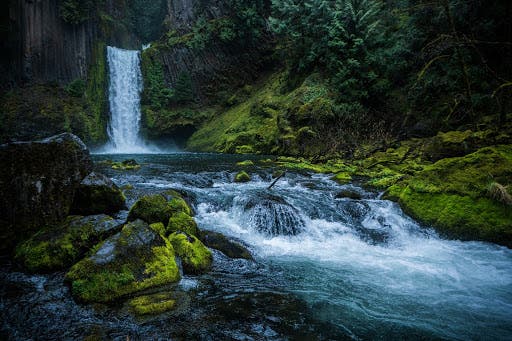
You can also use the shutter to control mood in a photo, like the example below where one presents a fine art kind of feel while the other has frozen the power of the massive waterfall and rawness of the scene.
ISO – ISO, or adding digital light to the frame, is the last on the triangle and for good reason. It should be your last resort. With every bump of ISO your quality is going to take a hit. The only times it is up for me is if the light is low and I need a specific shutter or aperture to make an image. If I can’t go any lower without sacrificing the goal of the photo so then it’s time to add more light with ISO. Live events, Blue hour, Concerts and Astrophotography are some good examples when you may not have a choice but to bring it up.
Now it’s time for your homework.
Head outside with your histogram up, and make some photos in manual mode. Try and take a couple unique photos at your lowest F # followed by your highest. As you spin the dials you will have to either add more light with your shutter or iso to compensate. Practicing this at different times of the day and in different places will teach you a lot. In the beginning if you have a tough time keeping things balanced at say sunset, try shooting just to the side or practicing when the sun has just gone down and the dynamic range isn’t as stark.
Try making a unique photo that freezes something fast, and then try creating some photos that are made using a low shutter. The easiest way to do this is near a waterfall or something similar where one part of your frame is moving and the rest is still. Try many different lengths while also making sure that histogram stays in check!
IF you get something you love, tag #GOMTphototips and I will go through the tags and give out some tips!!!
See you next time!
