Backpacker Photo School: Zoom Burst Photography


Scenery is inspiring, and photos of your trail partners will help memories last forever, but sometimes you just wanna have fun. Show this “zoom burst” technique to your friends and they’ll think you’re a genius. Here’s how to pull it off.
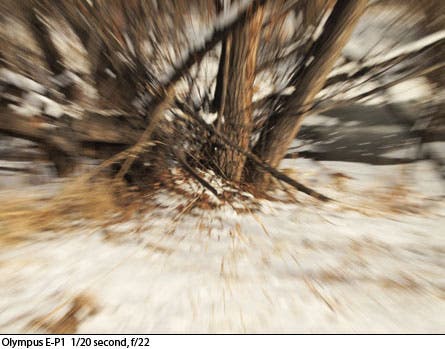
First, you’ll need a camera that allows you to control shutter speed and a lens that can zoom while an exposure takes place. The basic idea is that you’re zooming in or out while the shutter is open. The camera records a blurred image because of the way the perspective is changing during the exposure.
This technique works best on subjects that aren’t solid colors: You won’t see the radial blurring if the whole top of the photo is pure blue sky. A sky with some clouds will work better, and ground filled with colorful leaves or snow with grass spots peeking through will look better than pure green grass or white snow.
Set your camera to a long shutter speed; somewhere between 1/25 and a whole second is about right. (I often use 1/5 second.) You don’t need a tripod, as camera shake isn’t very noticeable in comparison to the radial blur present in the final image, but a tripod does come in handy since it usually takes a few shots to perfect the zoom-burst look. It‘ll save time to not have to reframe the shot each try—there are enough other things to think about while using this technique.
Decide where you want the center of the image to be and frame your photo. Zoom in and out a few times to make sure you’re getting only what you want in the frame. Then zoom while the shutter is open. In my experience, some photos come out better while zooming out, and others work better zooming in. Don’t expect to get a great shot on your first try; you’ll need to play around with different shutter speeds and different amounts of zoom to get a truly interesting shot.
If you’re not getting what you want, try these options:
-Zoom from way in to way out. Use the whole range of your lens—16mm-50mm, for example. This will create long lines and a very fast-looking image.
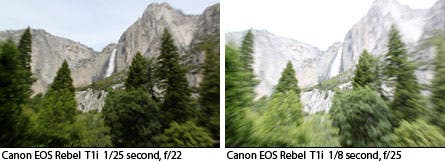
-Zoom just a short way. The best way to do this is to have the focal length somewhere in the middle before pressing the shutter and going to the end while the shutter is open. Be careful to get enough radial blur so that it seems intentional and not just like a blurry photo. (The image at left, for instance, doesn’t have enough zoom for my taste. The one on the right has more movement, but you can still make out the waterfall.)
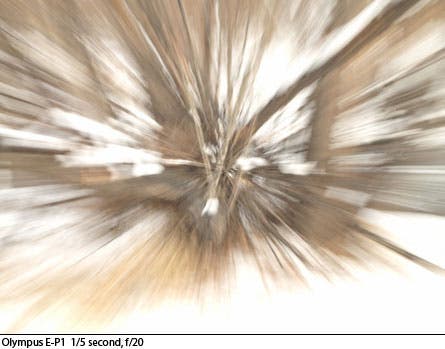
-Zoom the whole time the shutter’s open. This will make the photo very abstract.
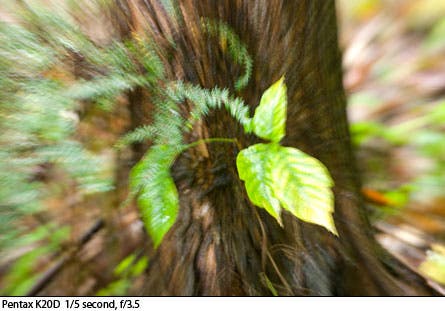
-Start zoomed in, press the shutter, and then wait a moment before zooming out. This will give you a stronger center point.
-See what version of this technique you like best. Try it with a small center point, like a leaf, or a large center point, such as a mountain. Try varying your exposure. Right now my favorite is extremely abstract and overexposed.
OK, time for some homework: show me some zoom burst photos. Enter them into our Reader Photo Contest. I can’t wait to check ‘em out.
—Genny Wright Fullerton