Published June 25, 2010 02:10PM
Backpacker Photo School: How to not let your photos get stolen
Posting your photos online is dangerous. You never know who's going to come along and claim it as their own. Here's how to keep your photo connected with you as the creator.
We can’t stop everyone, but there are ways to prevent most photo theft. The first is to recognize photos as your property and identify them as such. If you’re serious about claiming your photos, others will be less likely to use them without permission. Here are four ways to identify your photos as your own.
Photo Credit:
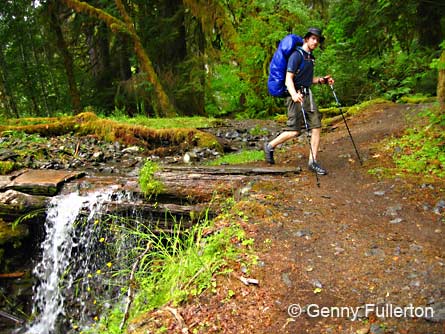
Make it a habit to specifically state who took every photo you post. You can do it by stating below the picture, or in the space for a caption, or you can put it directly onto the photo using a photo editing program, like the photo above. Using the copyright symbol makes it look even more serious. (In case you don’t know, that wonderful little sign is created by holding option/alt and typing the letter g.)
Contact Info:
Lots of people searching around the internet for photos are happy to ask permission before using a shot they like, but only if there’s an easy way to get in touch with you to get the permission. I know it’s fun to have an online name like MtnChick and no real name given, but still say “Photos by MtnChick” and provide an email address. If you don’t want to start checking a bunch of different email addresses, set it up so that MtnChick@yahoo.com forwards to the email address you already check daily. It doesn’t help if you provide an email address but then never check it to respond to people asking to use your photo.
Entering Metadata:
Metadata is info that travels with your file, but doesn’t show up visually on the image. It’s used to give added info about your photo. It’s best to put your name and contact info in this section. Use one of these programs to enter metadata before putting your photo out there into cyberspace:
Photoshop and Photoshop Elements: Open the file. Go to the top menu bar. Choose File, then File Info. In “Author” put your name. Enter the caption and your contact info in the “Description” Section.
ADVERTISEMENT
Adobe Bridge: Select the photo. In the top navigation bar, choose Window. Select Metadata Panel. A section will appear with File Properties, ITPC Core, and some other sections. Under ITPC Core, put your name as “Author” or “Creator”. Enter the caption and your contact info in the “Description” Section.
Naming your photo:
This won’t always work, because some sites like Flickr will auto-rename your photo as you upload it. If you’re emailing a photo, this is a great way to keep your name connected with it. IMG_5679.jpg doesn’t tell anything about the photo or who took it. Rename the photo before sending to include your name and some location information in the filename. A better file name is: John-Smith_Canyonlands_5679.jpg. Do not use special characters such as “:?.)*&%$@! Never use periods in your filenames! Spaces sometimes can cause problems too.
Use these methods to identify your photos, and then submit them to Backpacker’s photo contest by September 10, 2010 for a chance to win a Crumpler Camera Bag.
–Genny Fullerton