Updated December 4, 2024 12:35AM
Gear Pro: Quick Zipper Fix
'Arc'teryx is known for impeccable details, like small seam allowances of only 1.3 mm that let the seams be sealed using thinner and lighter tape, and…'
Question:
Help, how do I fix my zipper?!
Answer:
We all have a jacket with a zipper that just doesn’t cooperate. So we yank on it, impatiently, and then what happens? The slider gets all out of whack, and the zipper just stops zipping.
You could send it back to the manufacturer for a replacement, but that will cost you: about $10 in shipping, perhaps a repair fee from the company, and most importantly, you’ll be without your jacket for god knows how long.
A better solution? Fix it yourself. Separating zippers—like those found on all jackets—are a cinch to fix. There are two types of separating zippers:
Vislon (aka toothed)…

…and coil:
ADVERTISEMENT
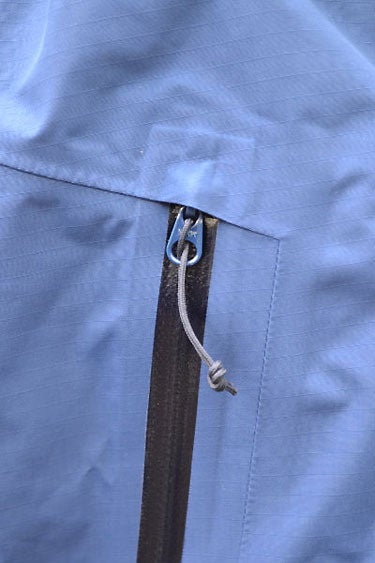
The fix is the same for both, but you need to determine your zipper type so you can get your hands on the proper slider. Just look on the back of the slider. You’ll find a number, followed by a letter (or series of letters, but just concern yourself with the first one). In the above photos, you can see that we are dealing with a #5V (or Vislon) and a #5C (coil).
You can find replacement sliders at any sewing or craft store, even big boxes like Wal-Mart or Target. This kit, available online and some big boxes, is my fave because it includes a bunch of common slider sizes, plus some top and bottom stops, which are key, as you’ll see below.
What you need:
-a replacement slider
-a replacement top stop
-wire cutters
-needlenose pliers
Step 1: Using the wire cutters, snip/crack off the plastic top stop. This exposes the end of the zipper teeth or coil.

Step 2: Slide the ailing zipper right off the track. Make note of the alignment and position of the old slider, so you can mimic it in step 3.

Step 3: Slip the new slider onto the track.

Step 4: With your pliers, just crimp a new top stop into place. This keeps the slider from flying off the end of the track.

For lots more DIY fixes, check out my book, The Complete Guide to Outdoor Gear Maintenance and Repair.
And if you’ve got any other pesky repair problems, let me know at khostetter@backpacker.com. Maybe I can fix it for you and highlight it an upcoming column!
ADVERTISEMENT
—Kristin